Click to Call - Skype, SIP, and TAPI
Overview
This article contains information about Click to Call. The telephony integration in simply involves us extending support in our desktop application for click to call (C2C) using the following protocols:
- tel: or callto: protocol (used by Skype if you have a Subscription or "Skype to Phone" Credit)
- SIP (used by Skype for Business)
- TAPI3
Skype
Using Skype to make a call
Open a Person Record and click the highlighted field below next to any contact number to start a call using Skype. Click on the Skype option to make calls via Skype.
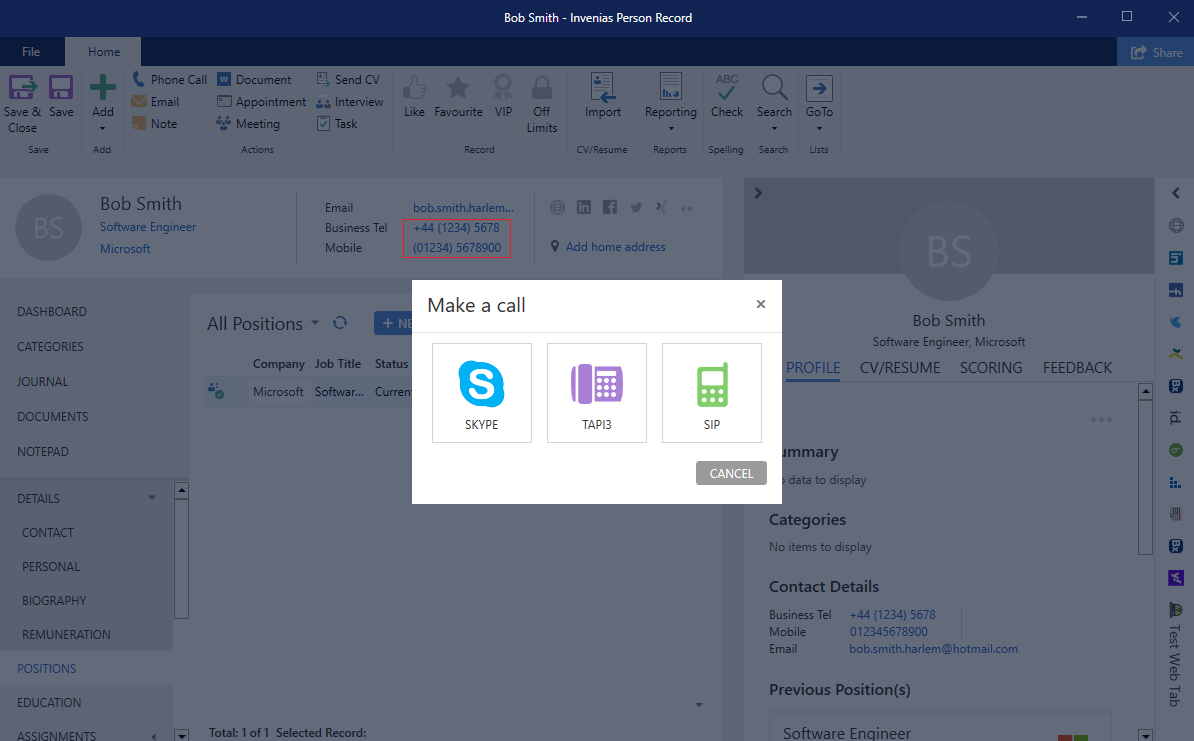
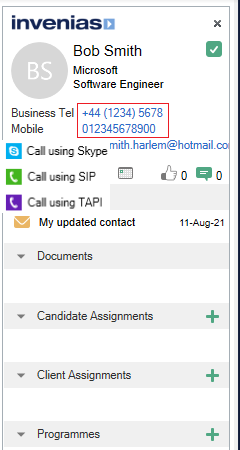
You can also start a call by clicking any telephone number in the Summary Pane to reveal call options for all enabled call integrations.
Enabling Skype for a User
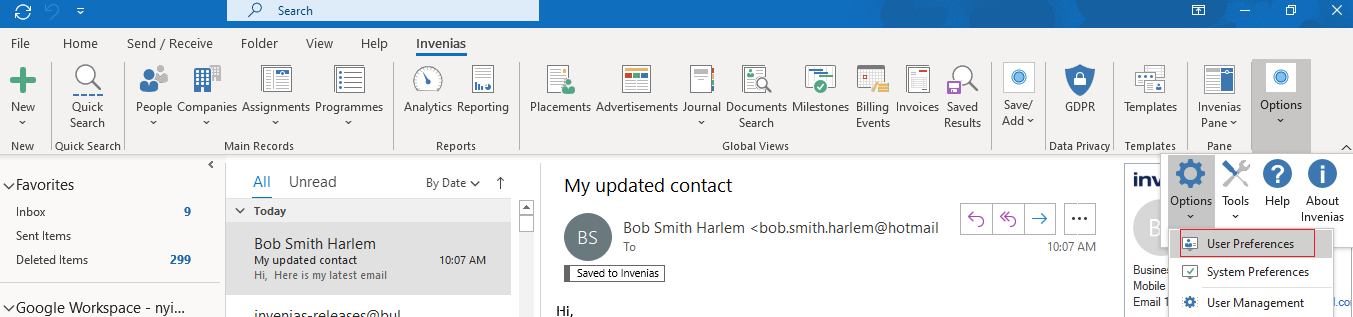
1. First open Outlook and click to the Tab, then click Options and select User Preferences.
2. Click to the Apps Page in the User Preferences window:
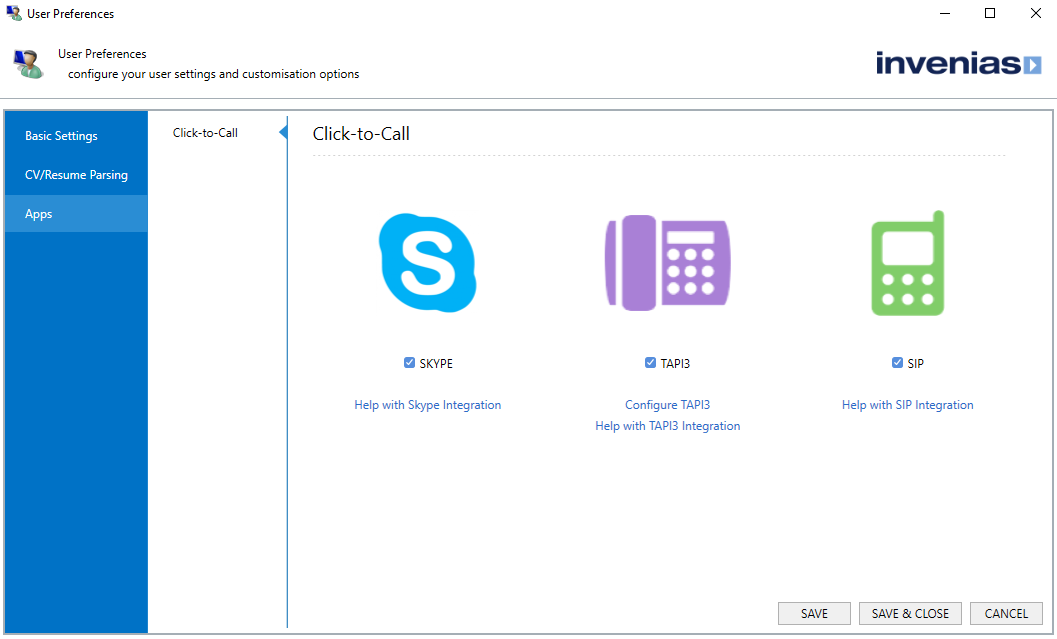
If Skype has been Enabled by your System Administrator, you will have the option to check the box next to SIP.
3. Check the box and click SAVE AND CLOSE.
Enabling Skype in System Preferences
Permission Required: Please note, you need the "Access System Preferences" permission
1. First open Outlook and click to the Tab, then click Options and select System Preferences.
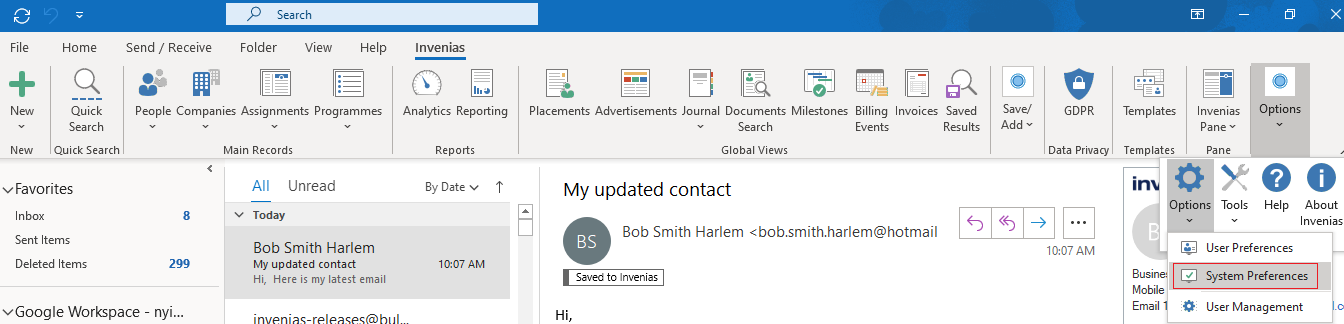
2. Click to the Apps Page:
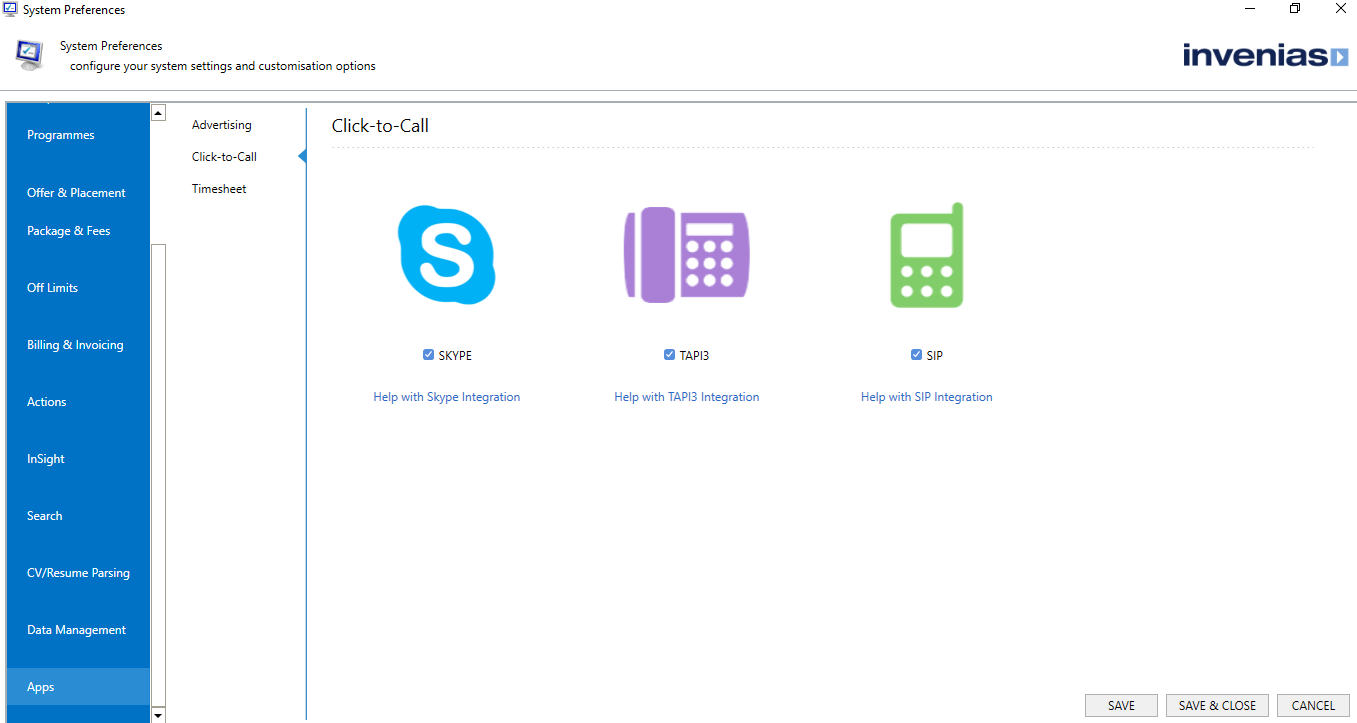
3. Tick the Check box for Skype and click SAVE AND CLOSE.
4. Each User will then need to enable SIP using the workflow described previously.
SIP
Making a call using SIP
Open a Person Record and click the highlighted field below next to any contact number to start a call using your SIP application. Click on the SIP option to make calls via your SIP application.
You can also start a call by clicking any telephone number in the Summary Pane to reveal call options for all enabled call integrations.
Configuring SIP - User level
To enable this integration for your PC:
1. First open Outlook and click to the Tab, then click Options and select User Preferences.
2. Click to the Apps Page in the User Preferences window.
If SIP has been Enabled by your System Administrator, you will have the option to check the box next to SIP.
3. Check the box and click SAVE AND CLOSE.
Configuring SIP - System Level
Permission Required: Please note, you need the "Access System Preferences" permission
1. First open Outlook and click to the Tab, then click Options and select System Preferences.
2. Click to the Apps Page:
3. Tick the check box for SIP and click SAVE AND CLOSE.
4. Each User will then need to enable SIP using the workflow described previously.
Your SIP application must be configured as the Default Program to accept the SIP Protocol (this can be completed using the 'Default Programs' Windows configuration menu).
does not supply or offer direct support for any SIP software application. We would advise contacting the support desk of your SIP application provider if you experience any problems with your SIP service.
TAPI3
Using TAPI3 to make a Call
Open a Person Record and click the highlighted field below next to any contact number to start a call using your TAPI3 application. Click on the TAPI3 option to make calls via your TAPI3 application.
You can also start a call by clicking any telephone number in the Summary Pane to reveal call options for all enabled call integrations:
Enabling TAPI for a User
To enable this integration for your PC:
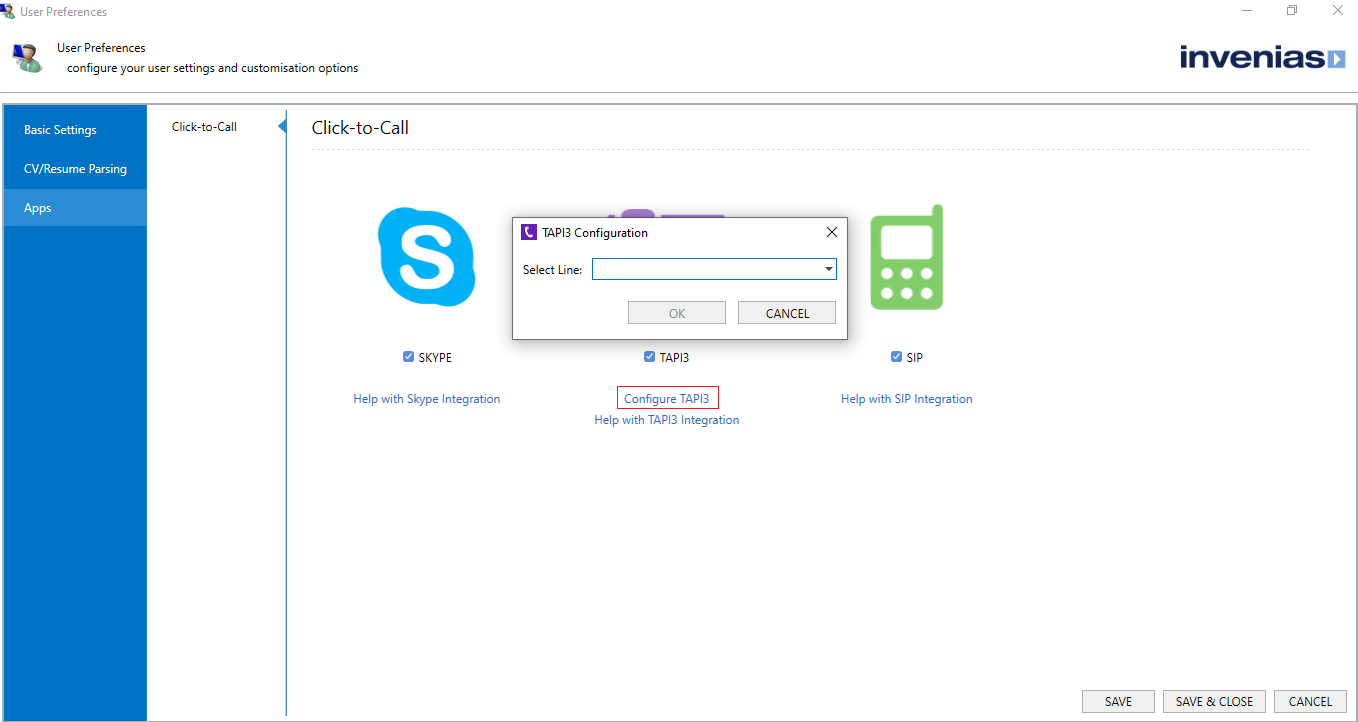
1. First open Outlook and click to the Tab, then click Options and select User Preferences.
2. Click to the Apps Page in the User Preferences window.
3. If TAPI has been Enabled by your System Administrator, you will have the option to check the box next to TAPI.
4. Check the box and click SAVE AND CLOSE.
If you have multiple lines available for TAPI3, click Configure TAPI3 to select the line to use from all detected lines:
Enabling TAPI in System Preferences
Permission Required: Please note, you need the "Access System Preferences" permission
1. First open Outlook and click to the Tab, then click Options and select System Preferences.
2. Click to the Apps Page.
3. Tick the Check box for TAPI and click SAVE AND CLOSE.
4. Each User will then need to enable TAPI using the workflow described below.
Your TAPI application must be configured as the Default Program to accept the TAPI Protocol (this can be completed using the 'Default Programs' Windows configuration menu).
Integrations
To use these protocols you will need some software running on the PC that can handle one of those three click to call methods. Then you may need to make changes on the individual PCs to point the software you are running at your preferred C2C method, as well as enable the corresponding method in the "Applications" section in Systems Preferences.
Some of the Bullhorn Marketplace Partners rely on browser extensions as Bullhorn is a purely web-based application. Extensions give you accesses to C2C functionality in the browser by launching the locally installed softphone software on the PC when you click on phone numbers on any web page. For example, Bullhorn Partners like Cloudcall have developed Chrome Extensions that perform this task.
does not supply or offer direct support for any TAPI software application. We would advise contacting the support desk of your TAPI application provider if you experience any problems with your TAPI service.