Adding Expenses to an Existing Timesheet
Overview
This article outlines how to enter expenses as an Admin.
Steps
Navigating to the New Expense Screen
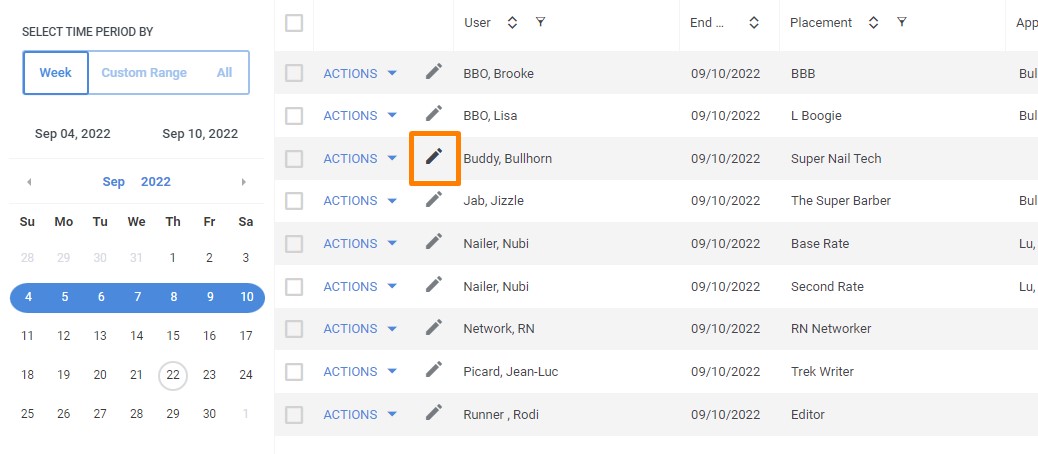
- From the Timesheets tab, select the week in the calendar. Then, select the Edit Pencil to access the Timesheet Details.
- In the Expenses section of the Timesheet Details screen, select the Add New Expense icon.
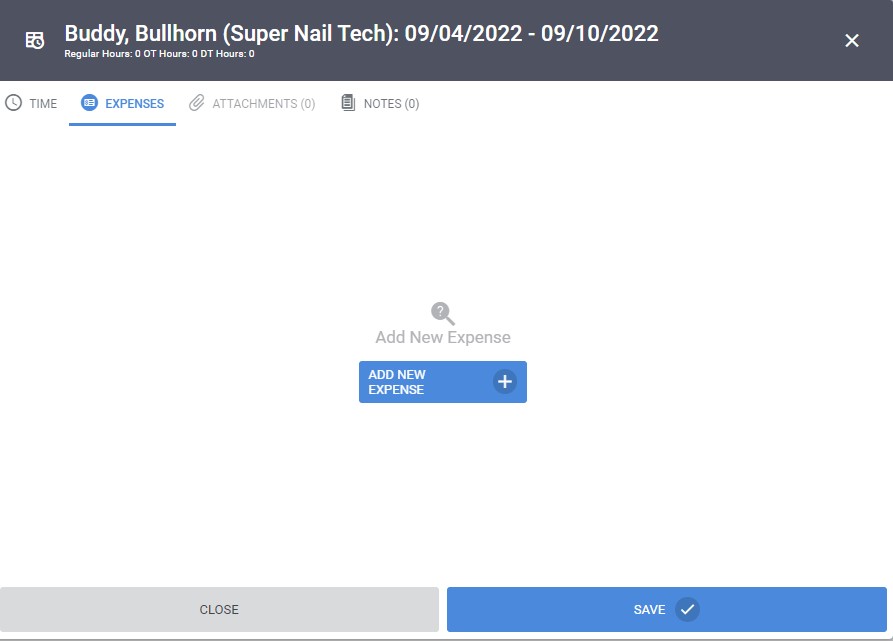
- The New Expense screen will open.
Complete the New Expense form
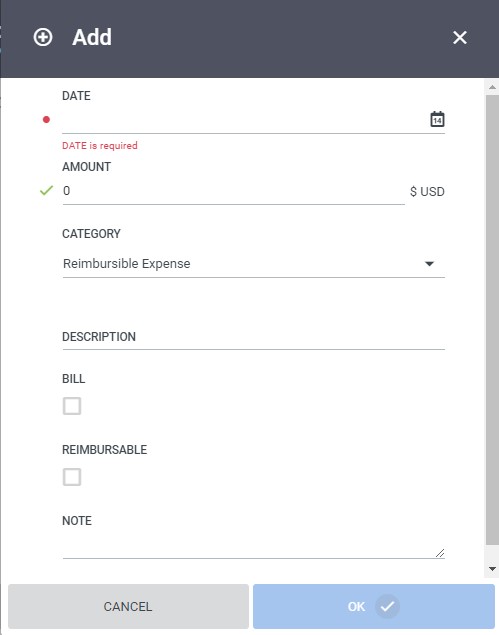
- Enter the date of the expense.
- Enter in the amount of the expense.
- Select the Organization, Project, and Task, if applicable.
- Select the expense Category.
- Enter a Description.
- Select whether the expense is Billable and/or Reimbursable.
- Add a note, if needed.
- Click OK.
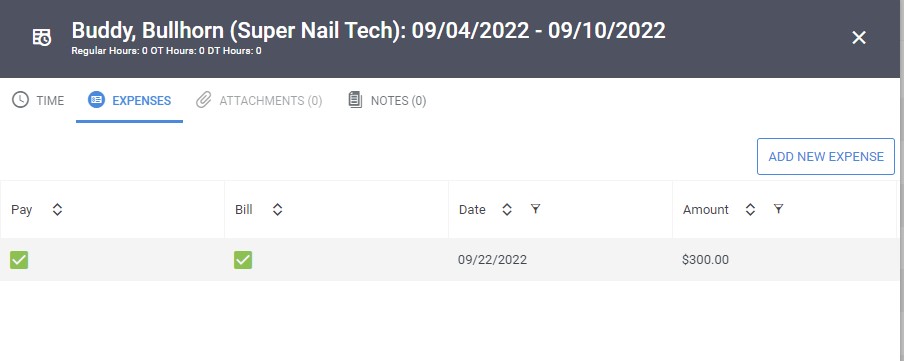
The expense item is now included in the list of Expenses. Be sure to save the timesheet when you are done.
Was this helpful?