: Tabular View
Using a tabular view to display candidate data means that you can look at candidate information that is more relevant to you without having to open their records. The columns of the table are customizable with fields from the Contact and objects and columns are sortable across all pages.
Accessing the Tabular View
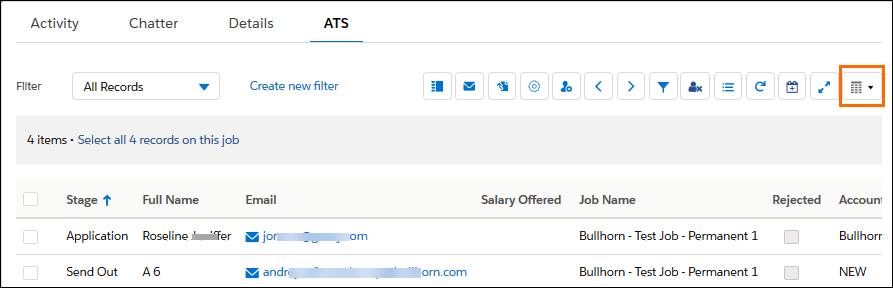
To access the Tabular View click the Action button at the top right of the Job .
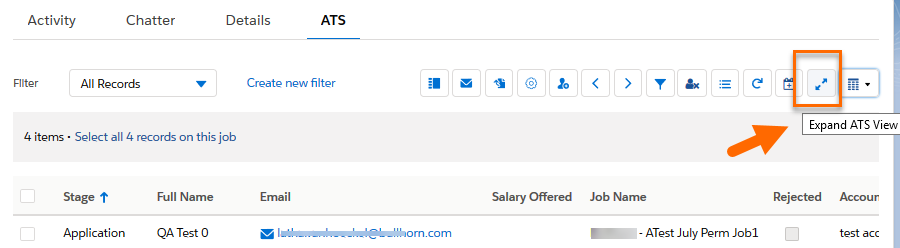
For the best user experience it is recommended that the tabular view is opened in a new tab which maximizes screen availability and makes navigation easier.
Use the Expand View button in the top right to open in a new tab.
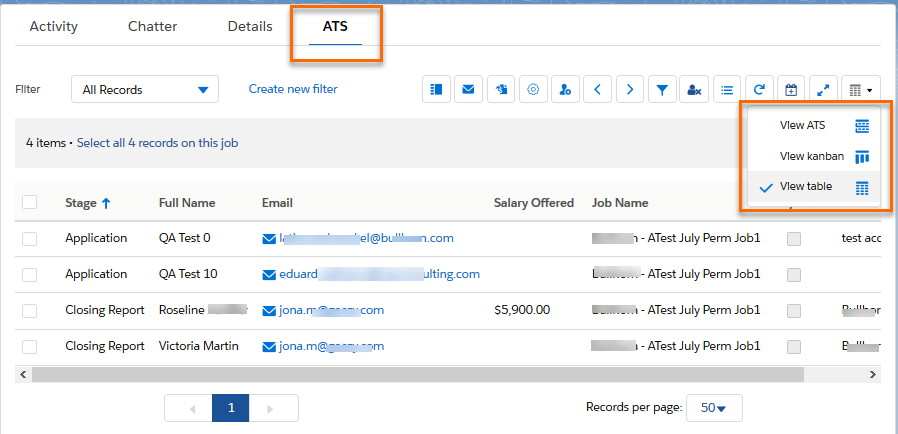
Tabular View can be set as the default view and the columns of the table are customizable with fields from the Contact and objects. See Admin: Configure High Volume Recruiting for ATS v2 for full customization details.
Tabular View Layout
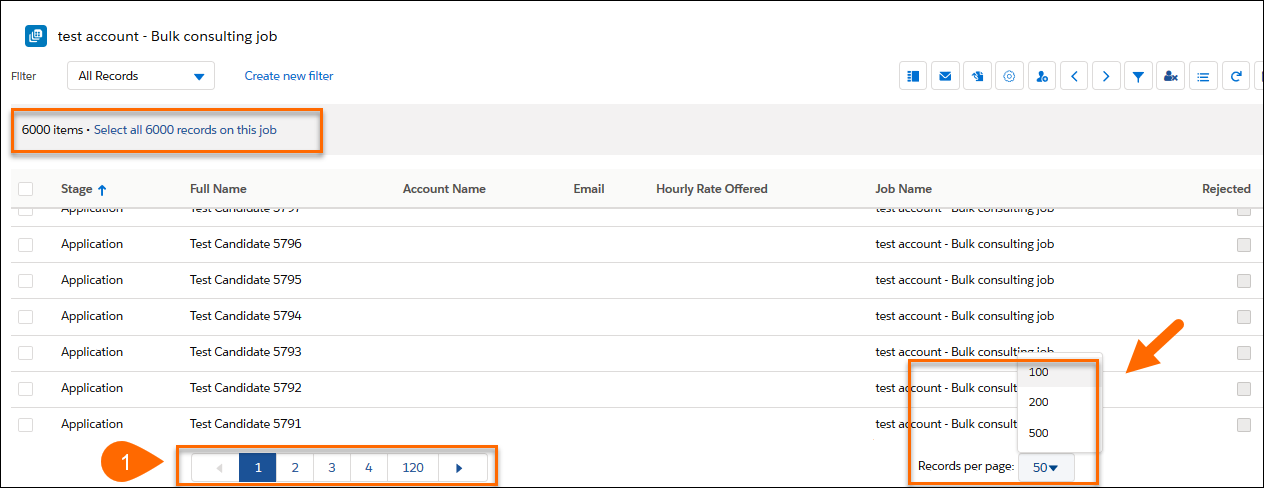
- Navigation: Each page shows the current page number and allows you to go to the next page or skip to a particular page.
- Selecting Records: Users have several options for selecting records:
- Single Record: Use the checkbox next to the individual item.
- All Records on a Page: Use the first checkbox in the header on the left hand side.
- All Records on a Job: Use the hyperlink on the top left that says Select all [total number of records] records for this job.
Selections are persistent across pages, meaning that navigating to a new page after selecting a few candidate records will not result in losing that selection.
- Default Number of Records: The default number of records per page is 500, but you can choose to display fewer records.
Using Filters
Candidate records can be filtered by clicking the Filter drop-down at the top left.
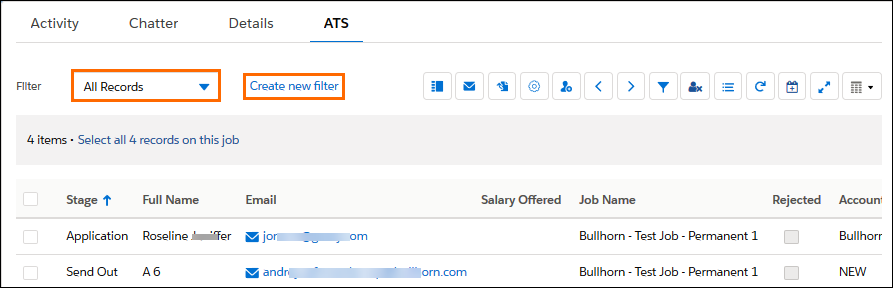
Creating Filters
You can also create your own filters.
-
Click Create new filter.
-
In the Create New Filter window opens, fill out the following fields:
-
Filter Name: Enter the name of your filter (EX: "Best Match").
-
Specify Filter Criteria > Object: Select the Object you want to pull the filter criteria from.
-
Specify Filter Criteria > Field: Select the field you want to pull the filter criteria from.
-
Specify Filter Criteria > Operator: Select the contact you want as the operator you for the filter.
-
Specify Visibility: Specify who will be able to see the filter.
-
Optional Field: Add Condition: Choose to add more criteria to your filter.

-
-
Click Save.
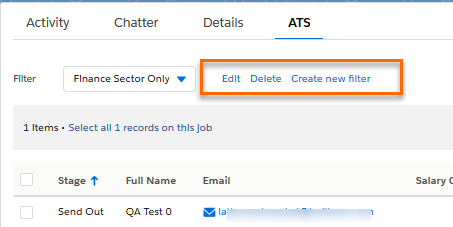
After creating a filter, the ability to Edit and Delete the filter will appear next to the Create new filter link.