Departments
Overview
Please note: This article was written using Invenias 9 so there may be some minor discrepancies.
With Invenias Professional you have the power to create and map Department structures for a Company. It can be used to identify department heads and key players such as specialists. These can be created within a Company Record or by setting up a preconfigured Master List.
This article covers:
Setting Up a Master List
Permission Required: Please note that you will need administrative permissions to set up departmental master lists, but you won't need to them to access the list on a company record.
A Master List can be used as a template for common departmental structures that can be reused throughout many company records.
To Start creating your Master List open system preferences by clicking on the Invenias ribbon toolbar tab in Outlook and selecting System Preferences. Then navigate to Companies > Department Master List.
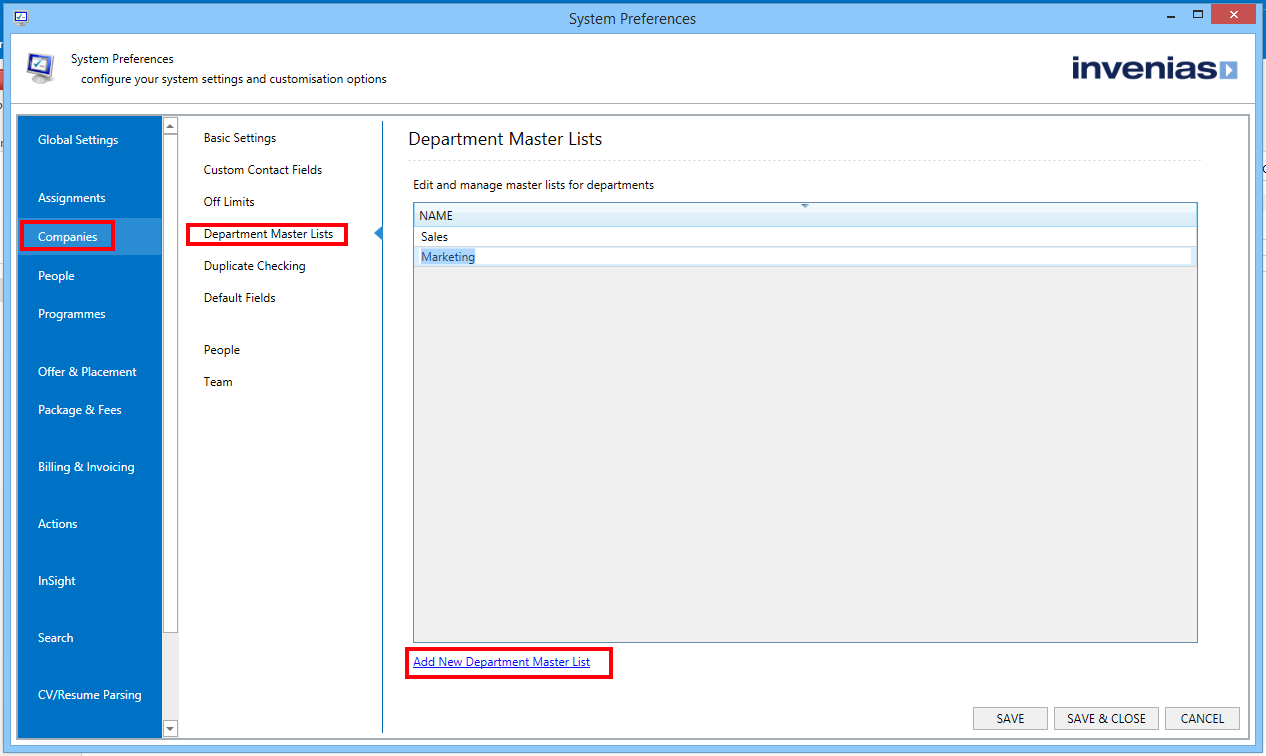
To create a New Master List click on Add New Department List. A new blank item will appear at the bottom of the list, clicking it will give you the ability to rename this New Master List.
Double clicking into any of the Master Lists will open up a window where you can add new Departments and Sub Departments.
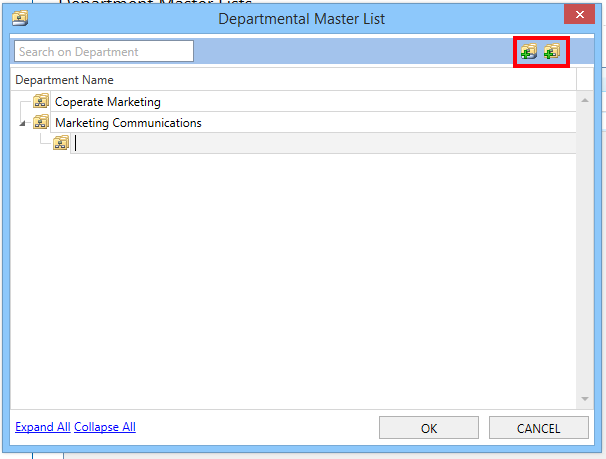
Start creating your structure by clicking Add New Parent Department icon in the top right corner of the screen.
Start typing to name this Department. Click on "Create New Department" to add a child department to the highlighted item.
TIP: If you accidentally create an item under the wrong department, you can drag and drop it to the correct place.
Adding Departments to a Company Record
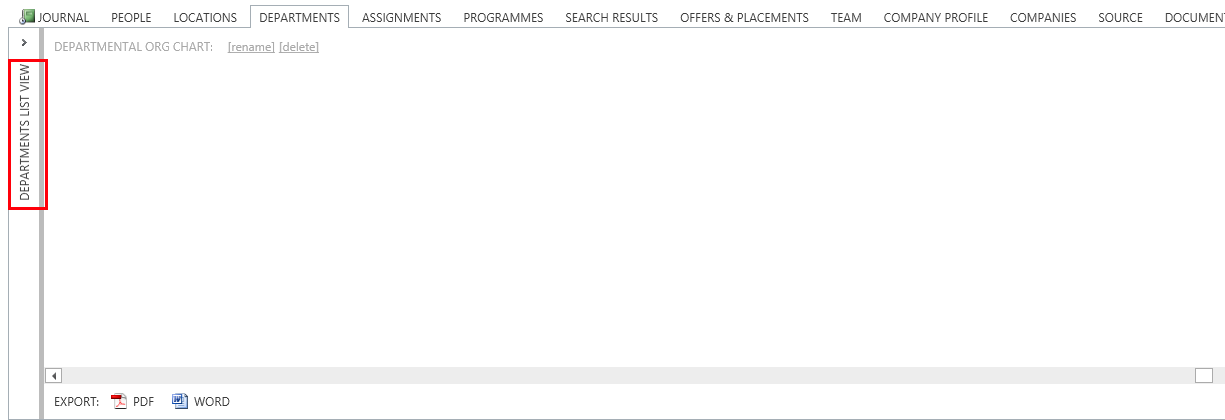
To add a Department Master List to a Company first open a Company Record and select the Departments tab.
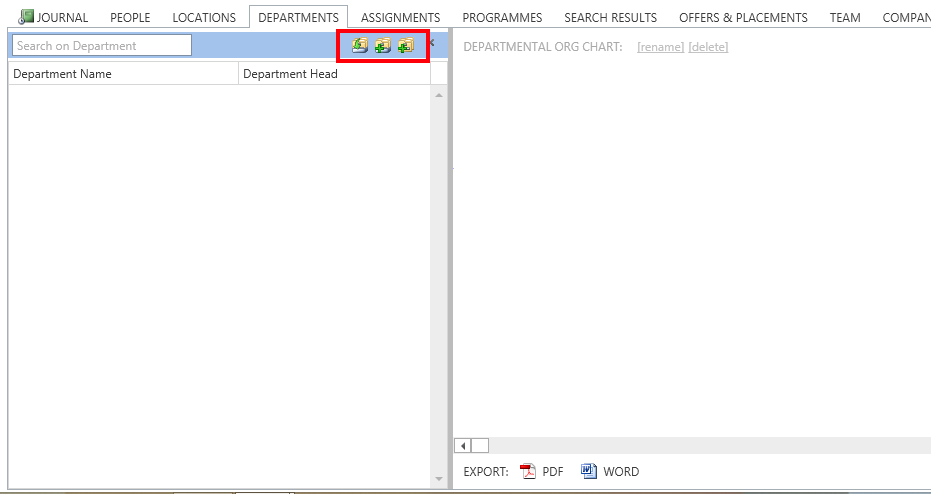
Expand the left hand panel named DEPARTMENTS LIST VIEW by clicking on the arrow. Then click on the Copy From Master List Icon. You will see a dialogue that lets you choose which Master List to import.
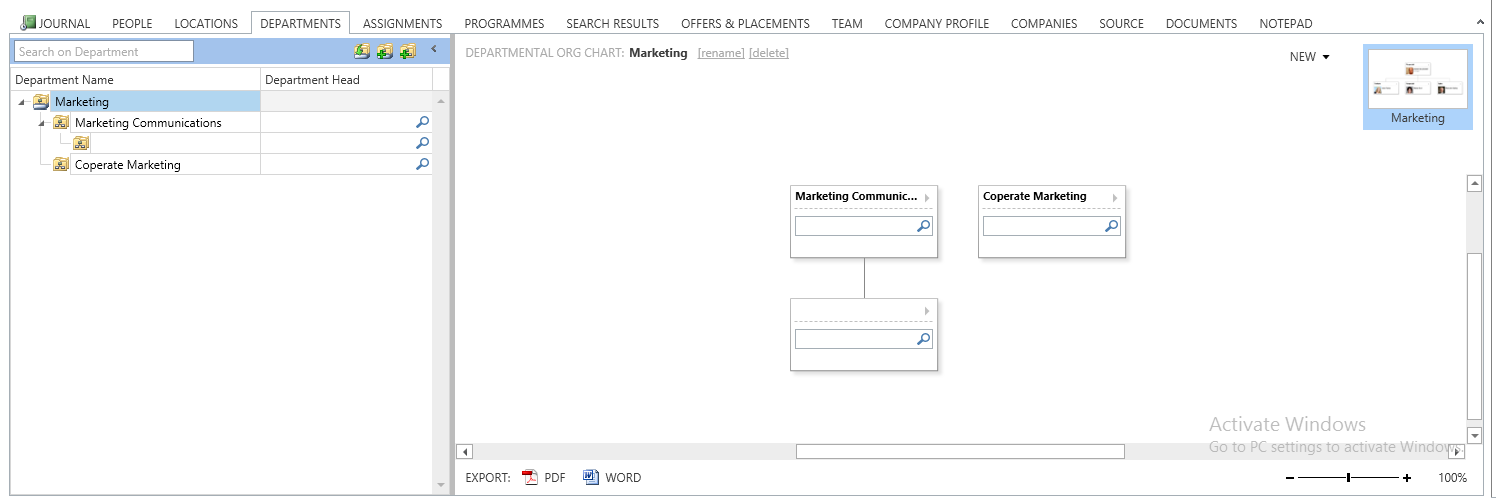
Once you have Departments inside the list you will get a graphical representation on the right hand side of the tab. Clicking on the Lookup Icon you can select to add people from this Company to the selected Department. Clicking the arrow on the right of each department box will display options such as Renaming, Deleting and Selecting a new department head.
You can Delete or Rename the Department by using the options at the top left of the graphical org chart. Please note that to delete the department you must delete all sub departments first .
The options at the bottom left of the graphical org chart give you the ability to export as a PDF or word document. The zoom options at the bottom right of the screen can be used to navigate the org chart.
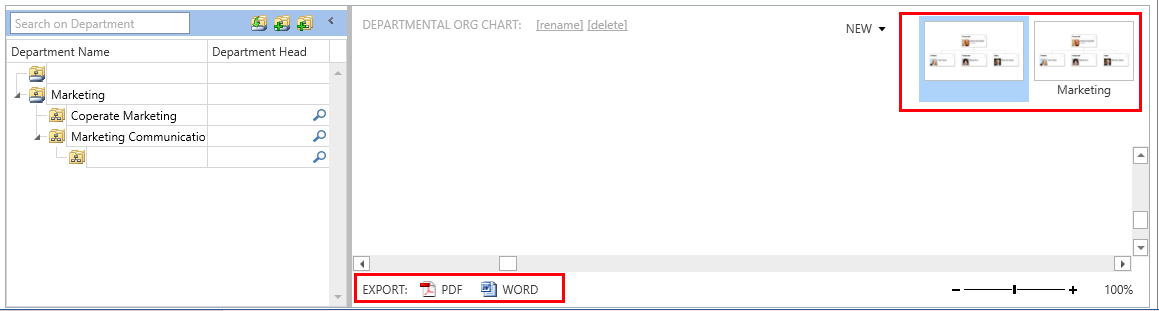
The top right hand corner of the screen shows a thumbnail of the current departmental list, and also enables the ability to create a new Departmental List from scratch or from a Master template. If there are more than departmental lists associated to a company, then multiple thumbnails are shown for easy navigation.
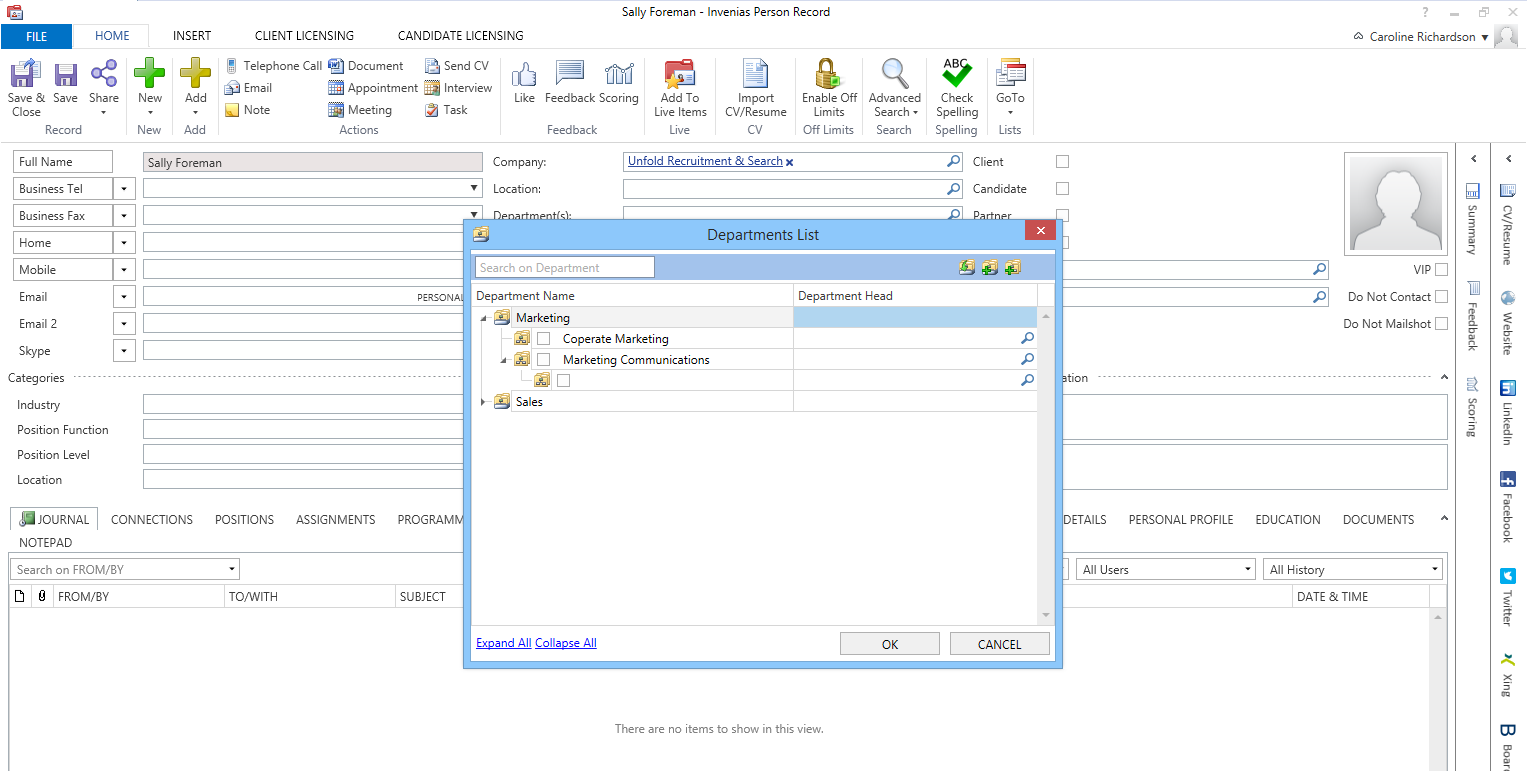
You can also insert a Department List for a Company via a staff member’s department lookup on the person record. Clicking on the Lookup Icon next to Department brings up the company’s current departmental list (if one is set up.) If one is not set up, the same process as creating a department list on a company can be used.