Offers & Placements
Overview
Please note: This article was written using Invenias 9 so there may be some minor discrepancies.
An Offer in Invenias is an offer for employment presented to a candidate in relation to an assignment. A Placement indicates an Offer has been accepted.
This article covers:
- Creating an Offer
- Saving an Offer
- Rejecting an Offer
- Cancelling an Offer
- Accepting an Offer
- Creating a Placement
- Viewing Offers/Placements
- Configuring Offers and Placements
Creating an Offer
Open the Assignment record and click to the Candidates tab:
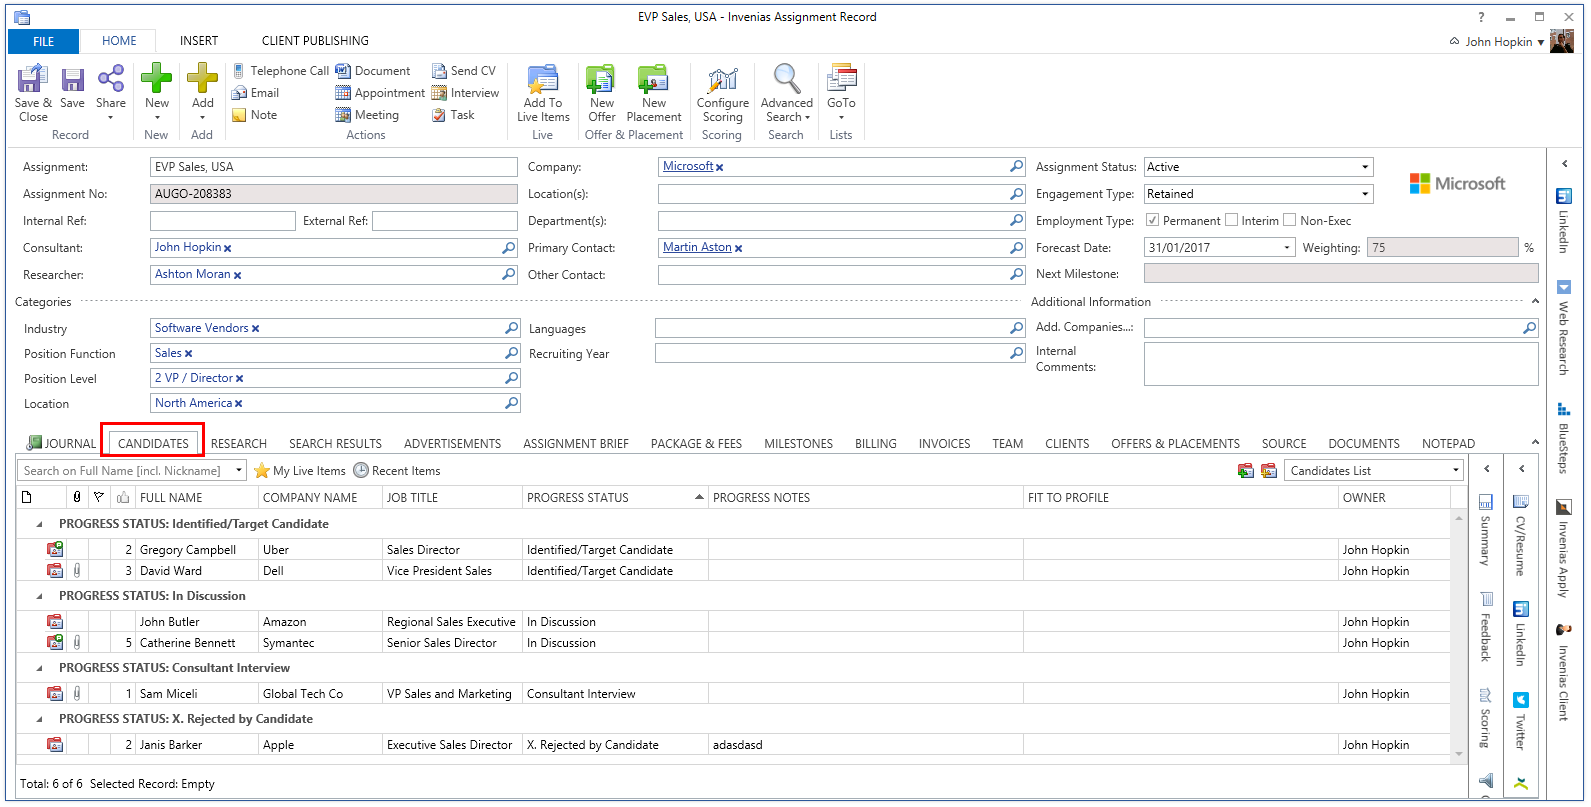
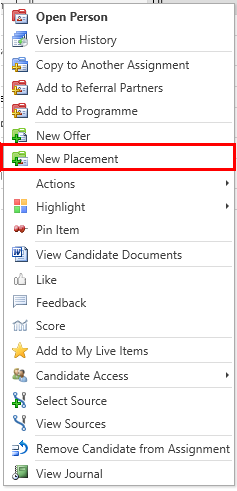
Right click on any candidate and select New Offer:
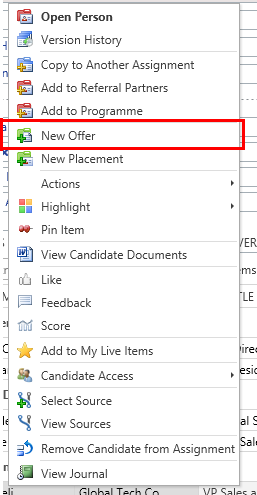
This will open the Offer window, shown below:
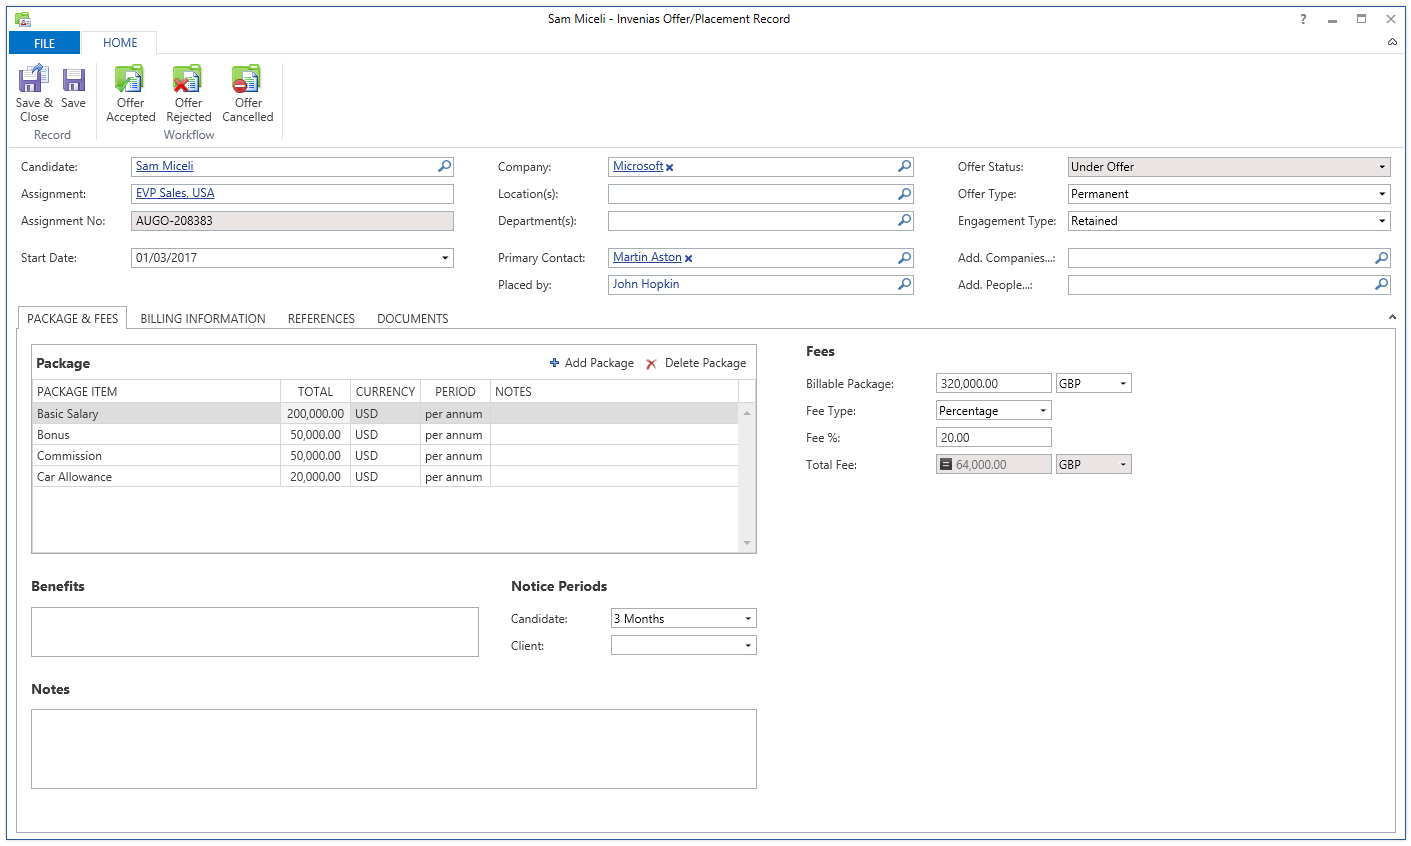
- Candidate - The Candidate for this Offer.
- Assignment/ Assignment No - The Assignment Related to this Offer.
- Start Date - The start date for this Offer, should it be accepted.
- End Date - The End date is shown if this is a Non-Exec, Interim or Session based Offer Type.
- Company - The Company this Offer is related to.
- Location - The location of the position related to this Offer.
- Department - The Department(s) related to this Offer.
- Primary Contact - The primary Client Contact related to this Offer.
- Placed By - The Invenias user who initiated this Offer/Placement.
- Offer Status - Select the Status of this Offer from a predefined list of statuses.
- Offer Type - Select the Offer type from Permanent, Non-Exec, Interim, Session Based. Depending on the selection, this window will update to show alternative options relevant to the Offer Type.
- Engagement Type - Select the Engagement type, e.g. Retained/Contingent etc.
- Add. Companies. - Any additional Companies in relation to this Offer.
- Add. People - Any additional People in relation to this Offer.
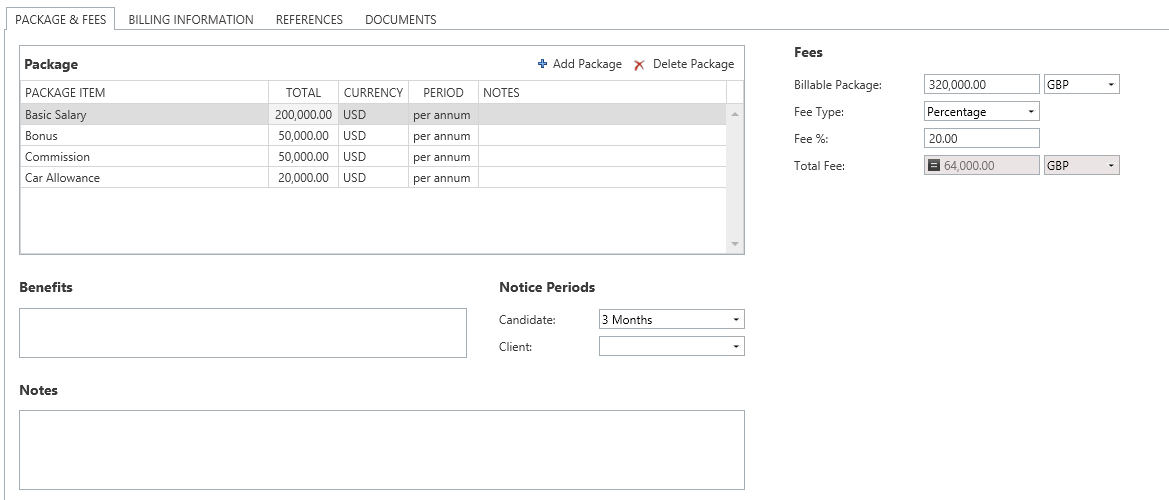
Package & Fees Tab
This Tab allows an Invenias User to detail the Package & Fees information for Permanent or Non-Exec Offers:
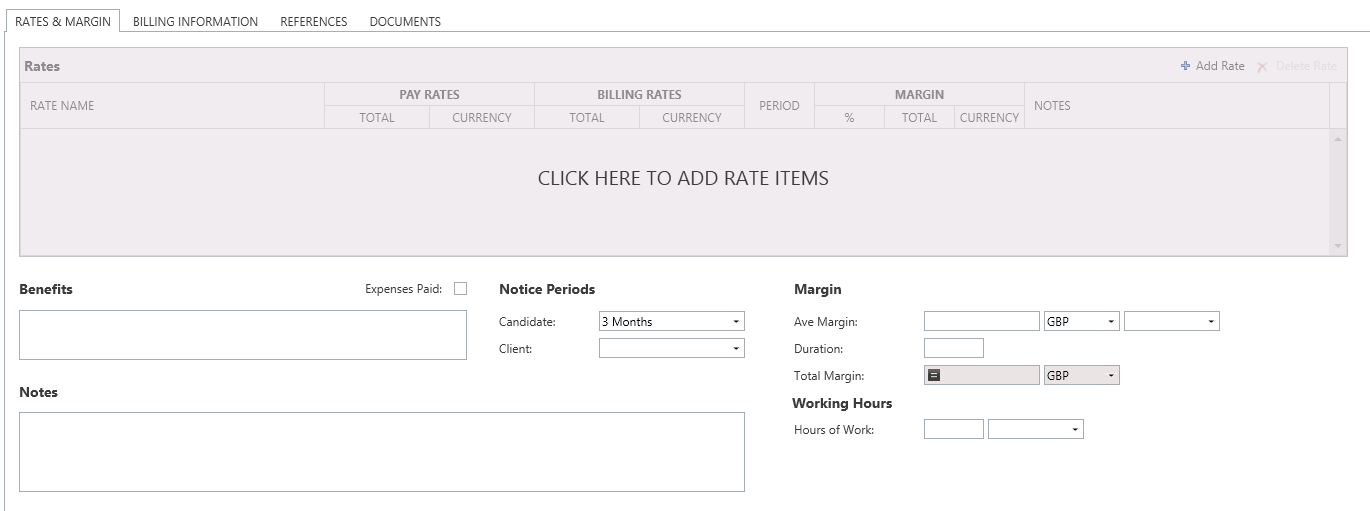
Rates & Margins
If this Offer is for an Interim or Session based Offer Type, the Rates and Margins Tab will replace the Package & Fees Tab:
Sessions Tab
This tab will only be visible if this Offer is for an Offer Type of Session Based.
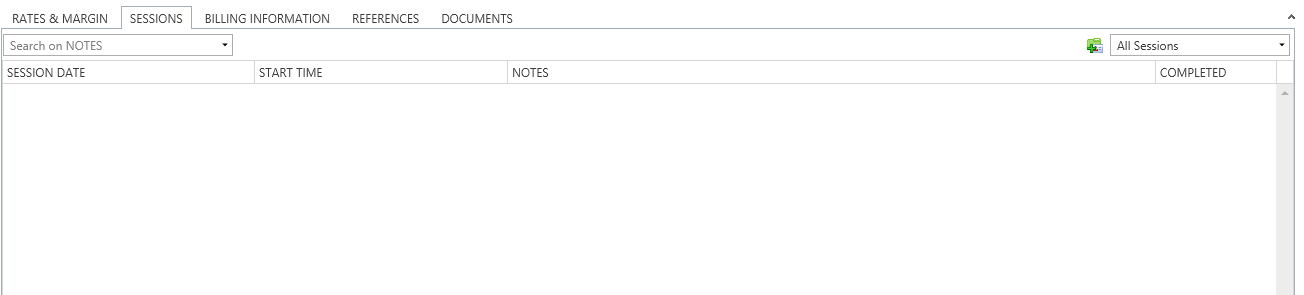
In this tab you can specify the exact sessions of employment included in this offer. To create a session, click the All Sessions icon:

This adds an empty row into the grid. You can set the Date, Start Time and add notes for each session.

Billing Information Tab
For Permanent and Non-Exec Offers, this tab will appear as shown below:
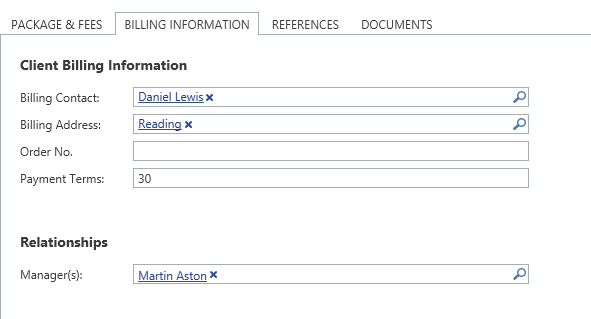
This tab allows an Invenias User to record the Client Billing information in relation to this Offer.
For Interim and Session Based Offers, this tab will appear as below:
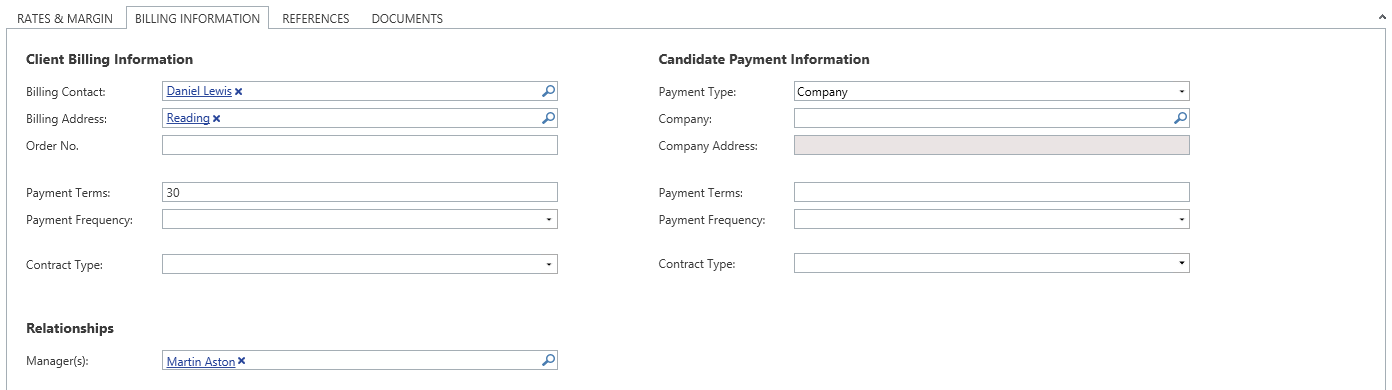
Note there are additional Fields for Payment Terms and Frequency, and for recording Candidate Payment Information.
References Tab
This tab allows you to add a Reference to this Offer or link an Existing Reference.
Documents Tab
You can add a Document to this Offer such as a Document created using a Candidate offer Template.
Saving an Offer
After Saving an Offer, the following Offer & Placement wizard will launch:
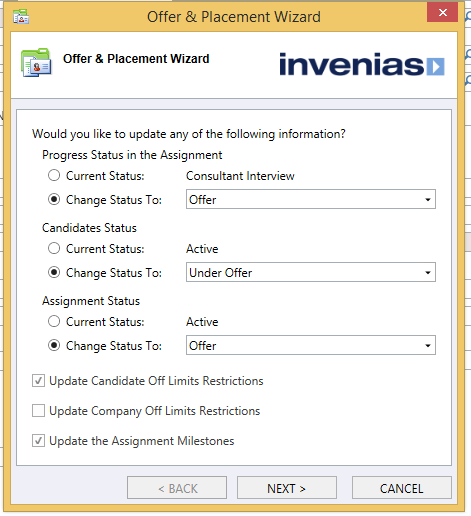
This Wizard will open whenever an Offer/Placement is opened and Saved.
On the first page you will be prompted to update the Candidate Progress Status, the Candidates Status (in their Person Record) and the Assignment Status.
You can also choose to update Off Limits Settings and Assignment Milestones. If these options are checked you will have an additional step in this wizard to make any required changes.
A system administrator can configure the default settings in this wizard in system preferences.
Click here to view an article explaining Off Limits in detail.
Rejecting an Offer
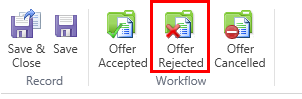
If an Offer is rejected by a Candidate, you can Record this by opening the Offer from the Offer and clicking Offer Rejected in the Toolbar:
Invenias will prompt you to select a reason from a list defined in system preferences:
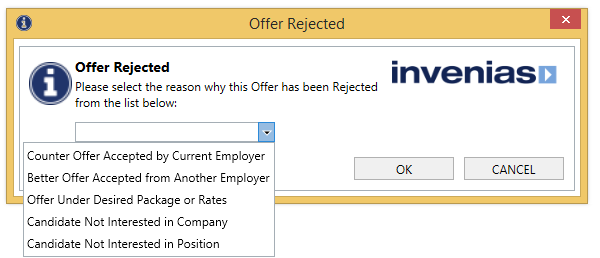
Clicking OK will return you to the Offer Window and update the Status to Offer rejected.
Cancelling an Offer
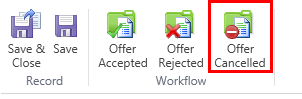
If an Offer has to be cancelled by a Candidate, you can Record this by opening the Offer from the Offer and clicking Offer Rejected in the Toolbar:
Invenias will prompt you to select a reason from a list defined in system preferences:
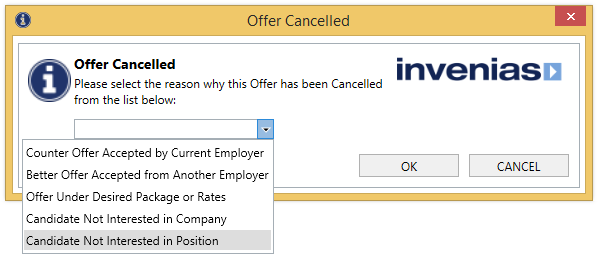
Clicking OK will return you to the Offer Window and update the Status to Offer Cancelled.
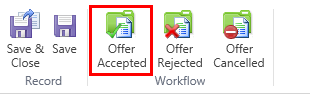
Accepting an Offer
If an Offer is accepted by a Candidate, you can Record this by opening the Offer from the Offer and clicking Offer Accepted in the Toolbar:
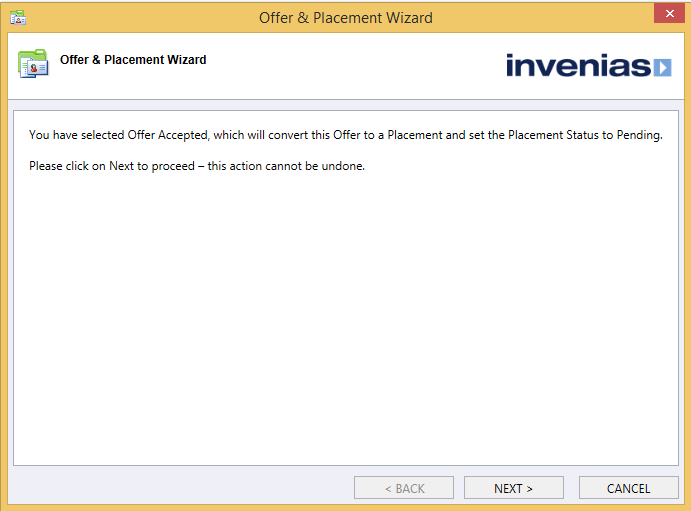
This will open the Offer/Placement Wizard to guide you through the steps to convert this offer into a Placement:
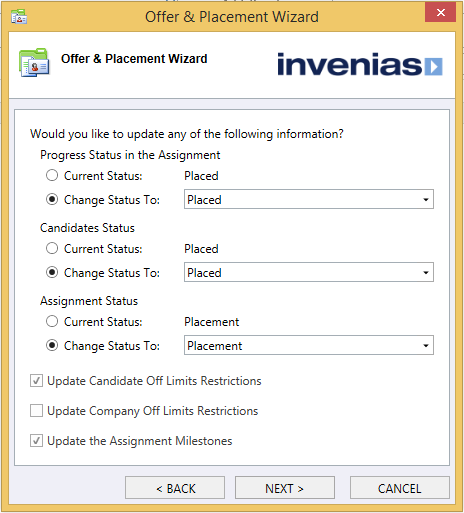
The wizard will then prompt the user to update Progress and Record Status, similarly to when described earlier as when Saving an Offer:
The Offer window will update as shown below for a Permanent or Non Exec Placement:
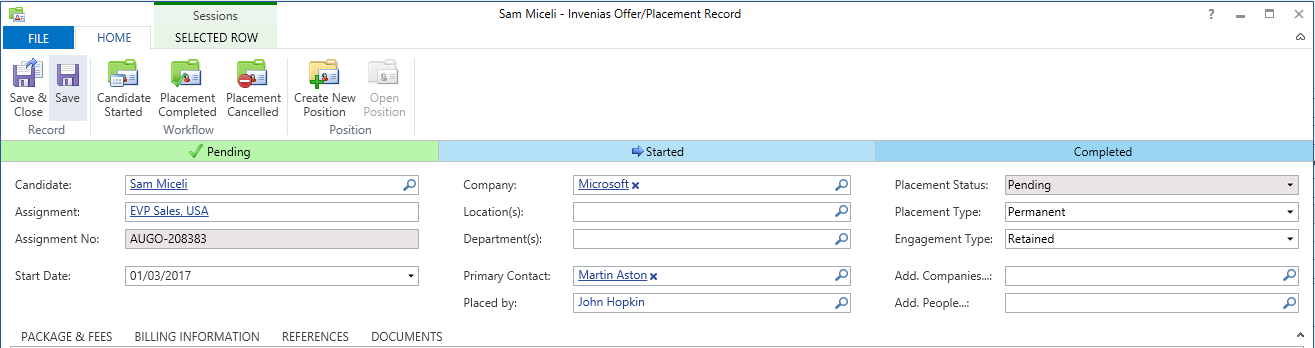
The visual workflow indicates the current status of the Offer/Placement, in this example it is currently set as pending because the Candidate hasn't started this position yet. After accepting an Offer, Invenias will not create a new position automatically, as the Candidate may not have started at the new position yet.
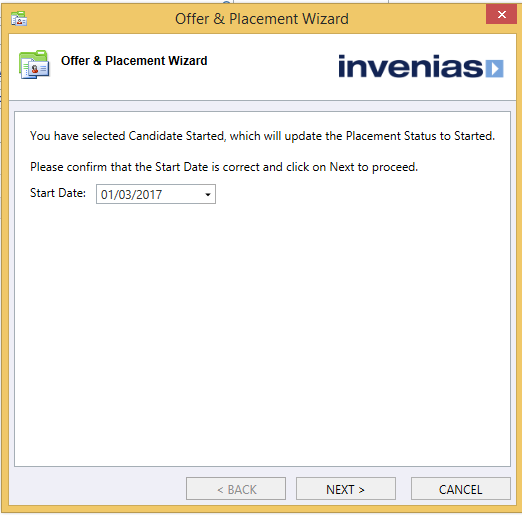
Clicking Candidate Started will prompt the user to specify a Start Date (shown below), then continue through the wizard previous described to update Progress Status and Off Limits etc:
Note this this will not automatically Create a New Position for the Candidate in their Record. To do so, click Create New Position in the Toolbar:
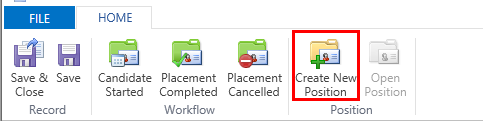
This will open the Position window, copying across information from the Placement such as Package/ Rates, Placements and References.
For Interim and Session based Placements, you will see the additional toolbar options:
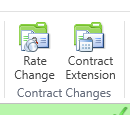
If the Rates change partway through the Placement, click Rate Change to open the following wizard:
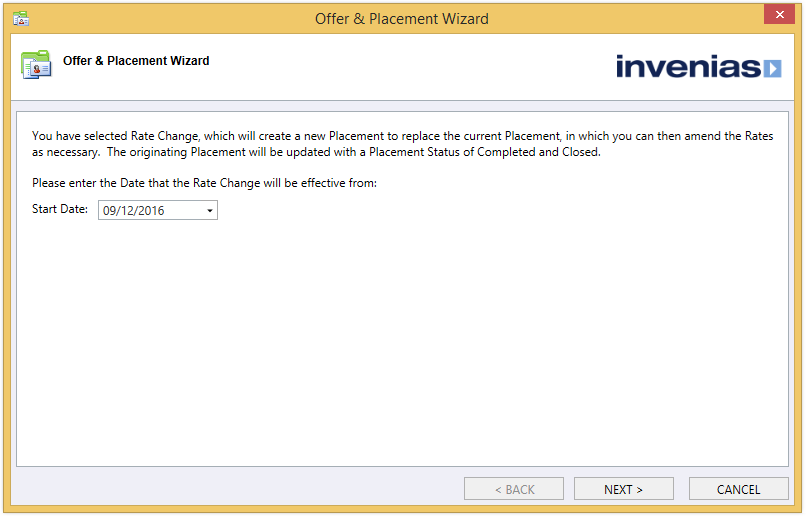
This will guide the User through creating a new Placement, closing and completing the original Placement.
If the Contract Extends beyond the dates specified originally, click Contract Extension in the toolbar to open the following window:
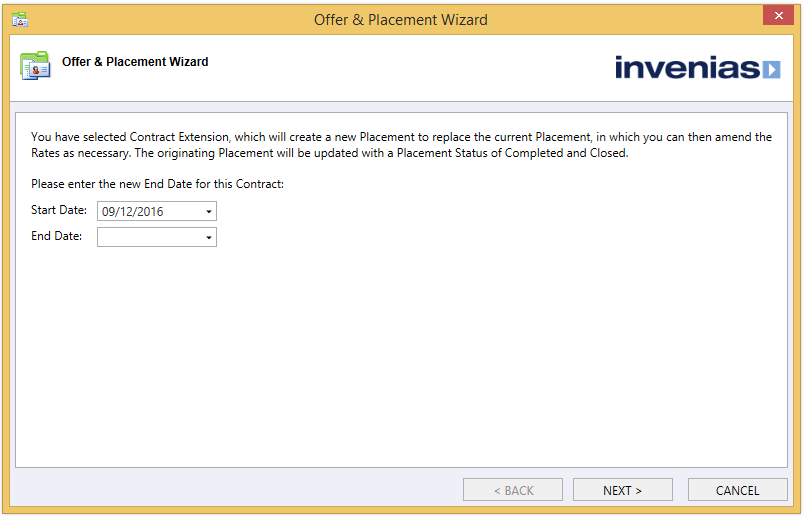
This will guide the User through creating a new Placement, closing and completing the original Placement.
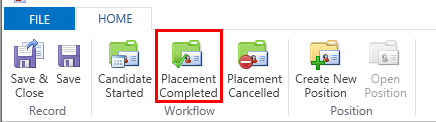
Completing a Placement
Even if the Candidate has started a Permanent Placement, the Placement may not be seen as complete until they have completed any probation period. This may also be linked to Fee's payable by the Client Company for filling this role. Therefore Invenias has a separate Completed option which should be checked only when any probation period has been completed.
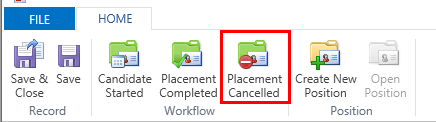
Cancelling a Placement
Clicking Placement Cancelled in the Toolbar will prompt the User to select a Reason for the Cancellation, then cancel the placement.
Creating a Placement
You can bypass creating an Offer and converting it into a Placement by just clicking New Placement from the Candidate List in an Assignment:
This will open the Placement window as previously described.
Viewing Offers/Placements
Candidate Offers/Placements can be viewing in the following locations.
Assignment Record
Click to the Offer/Placements Tab:

Person Record
Click to the Offer/Placements Tab:

Global Offers/Placements
Open the Global Offers/Placements List from the Invenias Toolbar in Outlook:

This will show all Offers/Placements across the database. You can sort, group and filter to your preference. This article explains more about display views in Invenias.
Configuring Offers and Placements
To Access System Preferences requires the User Permission "Access System Preferences"
Open System Preferences > Offers and Placements
Billing Information:
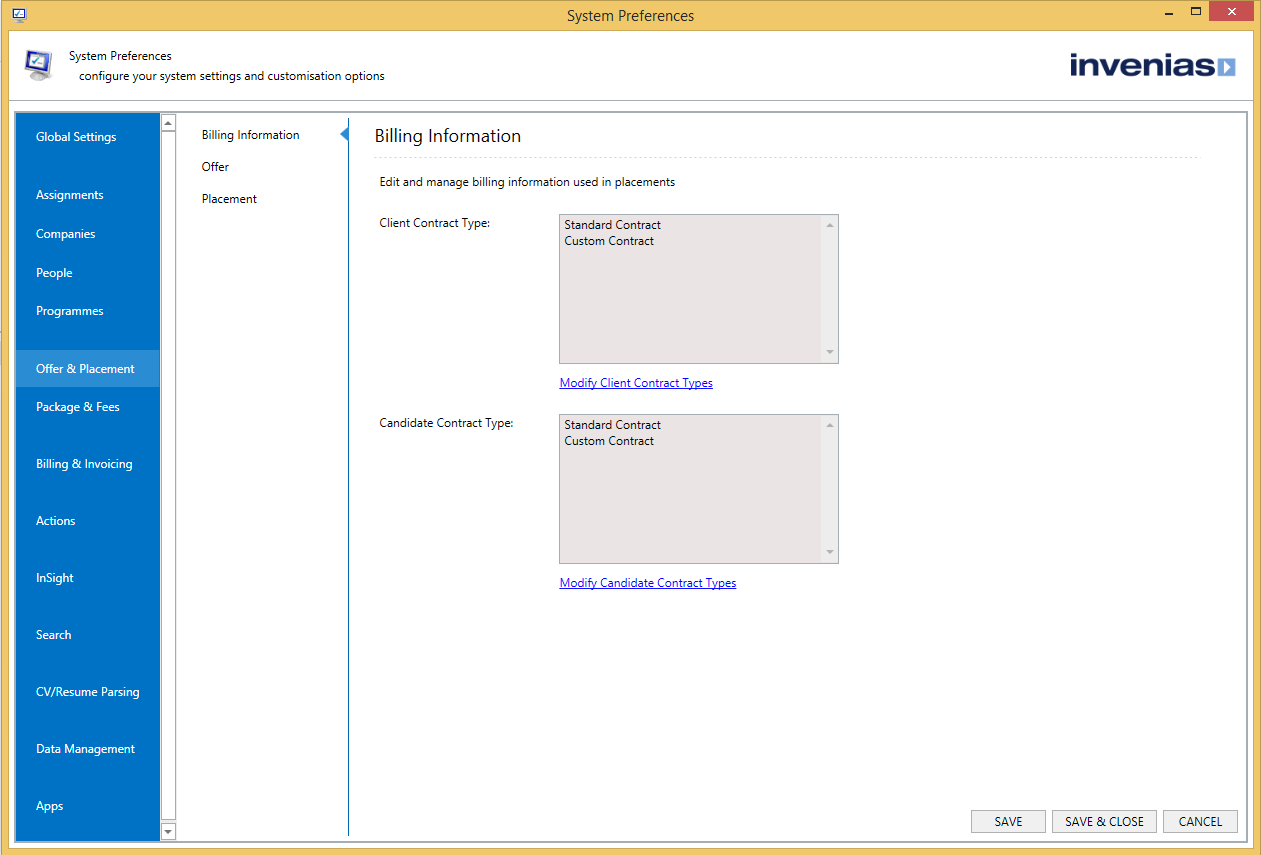
Client Contract Type - Define the List of Client Contract types to select from in a Placement.
Candidate Contract Type - Define the List of Candidate Contract types to select from in a Placement.
Offers Configuration:
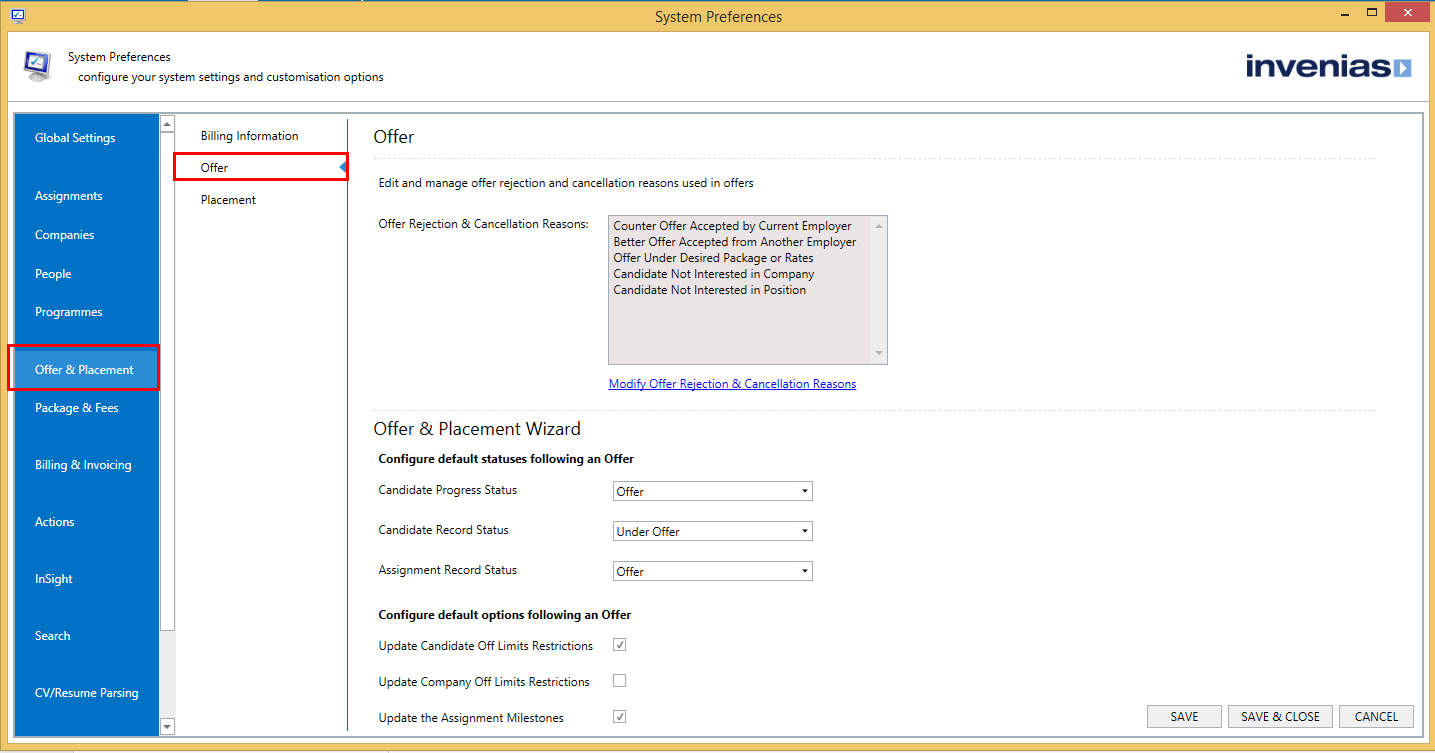
Offer Rejection & Cancellation Reasons - Reasons entered here are presented to the User when Rejecting or Cancelling an Offer.
Configure Default Statuses Following an Offer - Following an Offer being Saved, the User is prompted to update various Record Statuses. The options here define the default statuses in this wizard.
Configure Default Options Following an Offer - Following an Offer being Saved, a User can optionally update Off Limits and Milestones by ticking a checkbox on the first page of the wizard. The setting here defines whether these check boxes are ticked by default.
Placements Configuration:
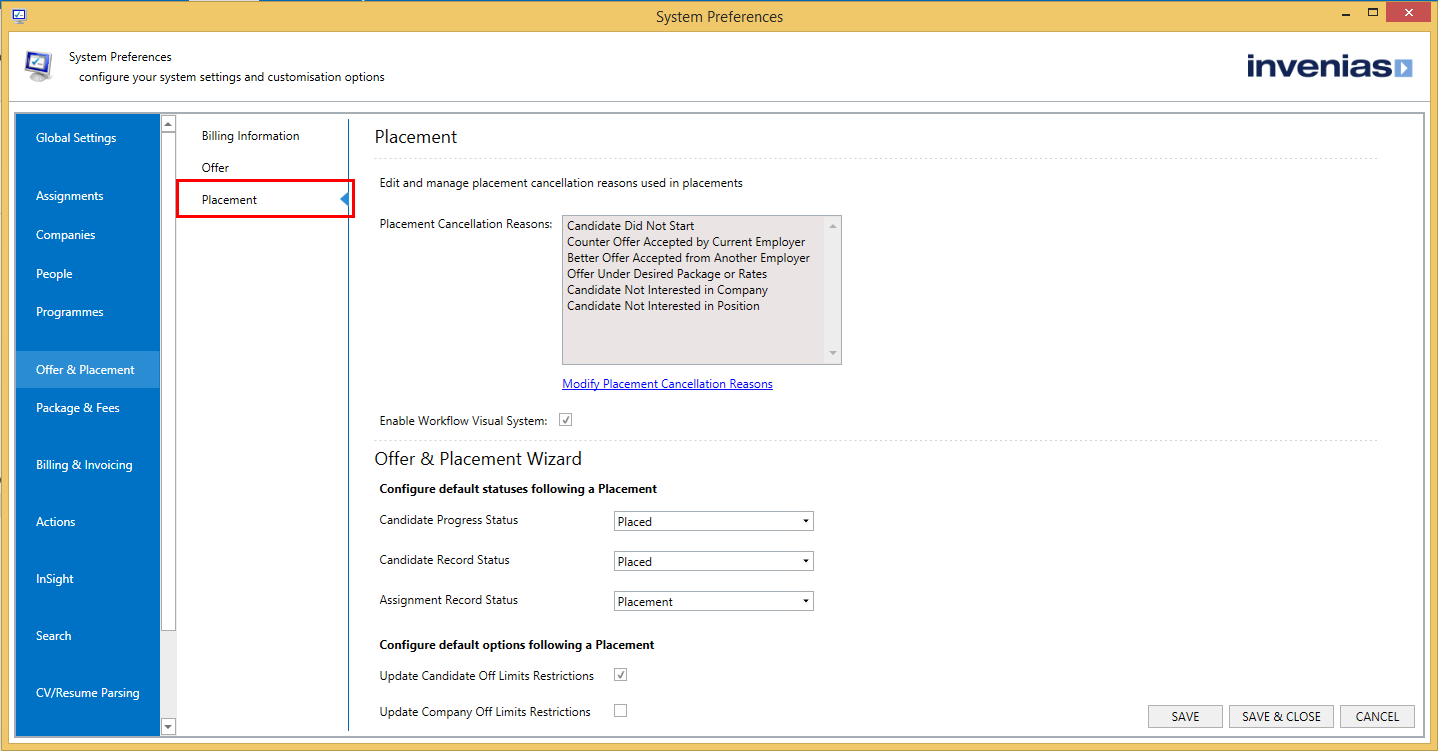
Placement Cancellation Reasons - Reasons entered here are presented to the User when Cancelling a Placement.
Configure Default Statuses Following a Placement - Following a Placement being Saved, the User is prompted to update various Record Statuses. The options here define the default statuses in this wizard.
Configure Default Options Following a Placement- Following a Placement being Saved, a User can optionally update Off Limits and Milestones by ticking a checkbox on the first page of the wizard. The setting here defines whether these check boxes are ticked by default.