Adding Custom Fields to Records
Overview
You may have information you want to include on entity records that doesn't have a corresponding field out of the box. For these situations, you can create custom fields.
You will need to have access to the Control Panel to complete these steps. If you do not have access, you will need to work with an admin who does.
You can add up to 30 custom fields and 30 custom drop-downs to the following entities:
- Placement (Assignment)
- Employee
- Company
- Department (Contact)
- Manager (Approver)
- Vendor
Create a Custom Field
For this example, we will create a custom text field on the Placement entity.
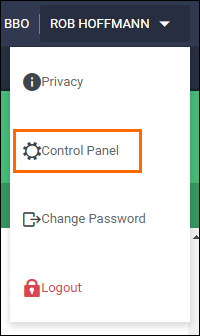
- Access the Control Panel.
- The Control Panel will open in a separate browser tab.
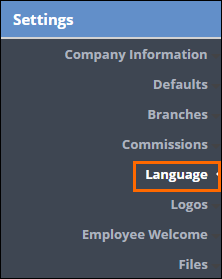
- From the menu on the left, click Settings.
- Under Settings click Language.
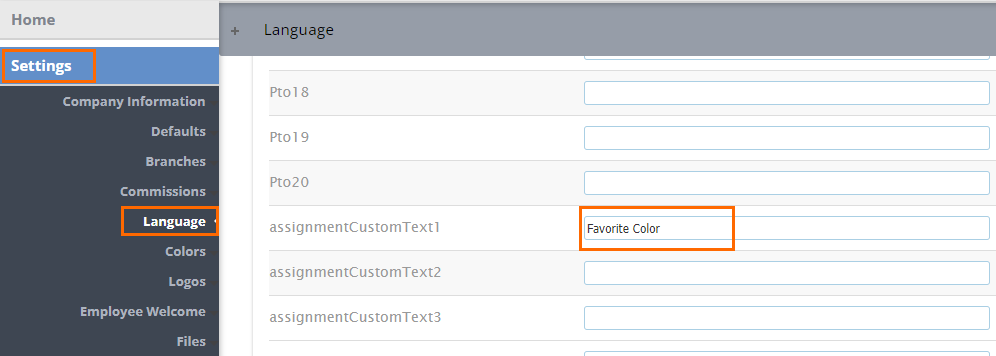
- Scroll down to find the entity fields you want to work with and locate an unused CustomText field for your entity.
- The custom fields settings are grouped by entity starting with assignmentCustomText1 - 30. assignmentCustomDropdown1 -30, companyCustomText1 - 30, and so on.
- In the Display Word column, enter in a label for the field.
- This is how the field will display on the record.
- This is how the field will display on the record.
- Select Save at the top of the page before proceeding.
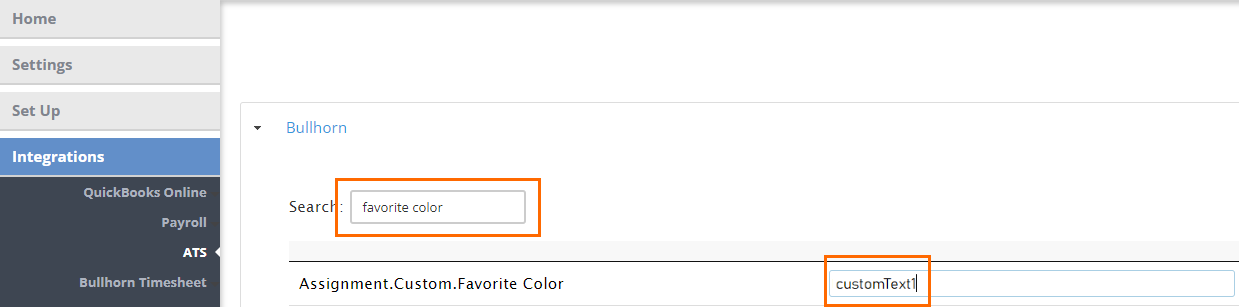
- From the menu on the left, select Integrations > ATS and search for the Display Word you set for the custom field.
- In another tab open Front Office and navigate to Admin > Field Mappings.
- Locate the field that houses the information you want to send to Back Office. Copy the field name exactly as shown.

- Return to your BBO tab and paste this field name into the custom field you created in the Control Panel.
- Select Save at the top of the page again.
- Log out of Back Office and then log in again to see the changes reflected on the records. Keep in mind, a new field can take up to 24 hours to update and reflect the data housed in the ATS once connected. If data takes more than 24 hours to update, please contact Support.
- The custom field you created will now display on the record.
Was this helpful?