Creating Projects from the Company Tab
Overview
This article will cover how to create and assign projects to placements from the Companies tab.
Steps
- Navigate to the Companies tab.

- Open the company record by selecting
 next to the company name.
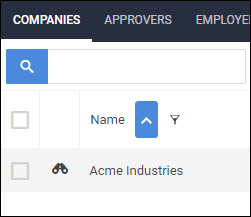
- Choose the Projects tab.

- Select Add to create a new project.

- On the Project Edit tab, complete the following fields:
- Name - Enter how the project will display on timesheets and invoices.
- Category - This is typically a department or area of work.
- A placement can have up to three categories, but each category can have multiple projects listed under it.
- For example, a category of Clerical can have projects such as Phones, Filing, Meetings, etc.
- A placement can have up to three categories, but each category can have multiple projects listed under it.
- Description - Used to provide more information as to what the project entails.
- Status - If you are no longer using a project you can set it as inactive. It can always be re-enabled later.
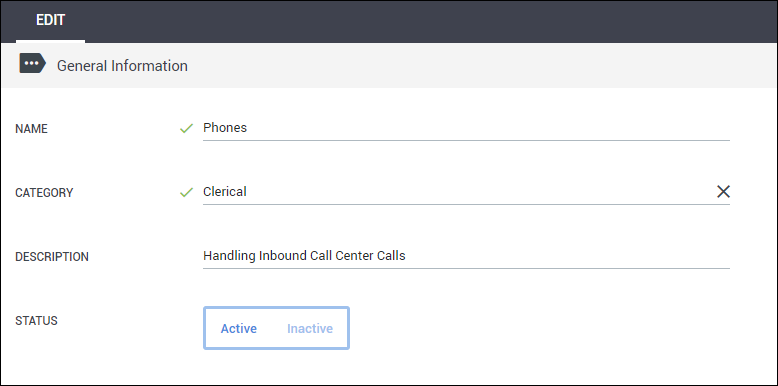
- Select Save to confirm your changes.
- While still in the project, if there is a manager associated with the projects, go to the Managers sub-tab.
- If not applicable, skip to step 11.
- Check the box for the manager.

- Select Save to confirm your changes.
- Choose the Placements sub-tab.
- Check the box for the placements assigned to this project.
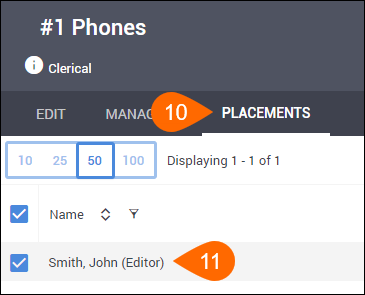
- Select Save to confirm your changes.
Was this helpful?