Onboarding V2 Guide
Overview
This article contains information on the new changes coming with the Onboarding V2 app.
Look and Feel
After logging in, you will notice that things look a lot different from the original app. You should spend some time getting to know the new layout. If you are familiar with BBO, most things are still where you expect them to be.
Here are some of the bigger changes:
The look of the Employee and Placement tabs have been overhauled to display as lists.
Adding and Moving Columns
To customize your list views:
- Select Actions > Edit Columns.
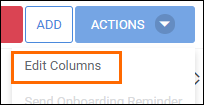
- From the Edit Columns screen, you can add, remove, or move any columns you need.
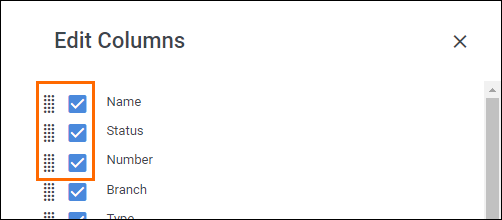
- Select OK to confirm your changes.

- On the list view, you can adjust the columns to your desired width.
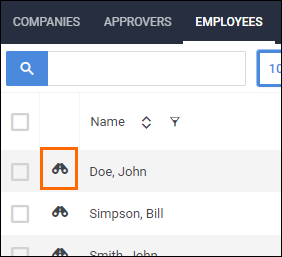
To view a record, select the  next to the record.
The biggest change to note on the Employee and Placement records are how documents are handled.
To send a new document or packet:
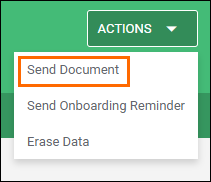
- Select Actions > Send Document.
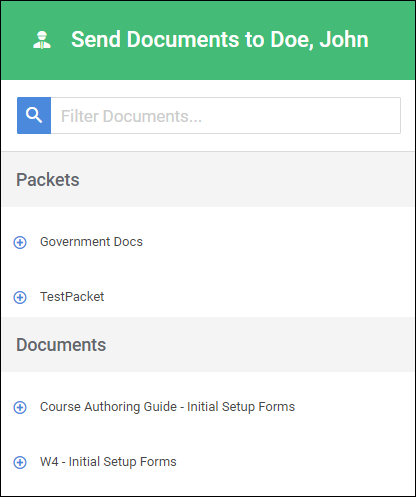
- The new Send Documents screen makes it easy to find and assign documents by using the search filter.
To work existing documents:
- From the record’s Edit tab, select Document(s).

- You can only select this once documents have been assigned.
- On the Documents slideout, you can open and edit a document by selecting
 next to that document.
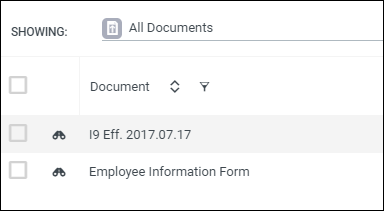
- You can also select the Actions button to perform additional document tasks.

Placement Approvals
You can approve one or more pending placements directly from the Placement List by choosing the placements you with to approve then selecting # Selected (Actions) > Approve.
Onboarding Enhancements
Several new features have been added to enhance the onboarding experience.
If you look at the Onboarding tab, you may notice that the Onboarding Dashboard is no longer there.
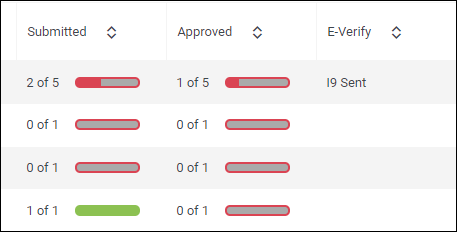
All of the functionality of the Onboarding Dashboard has been moved to the Employee and Placement lists with the addition of onboarding specific columns:
- Submitted
- Approved
- E-Verify
If you don’t see these columns on your list view, go to Actions > Edit Columns to select them.
As an Admin, you can now edit and complete their portion of the documents from the record’s Document(s) tab, as described above.
Documents Tab Overhaul
The Documents tab has also received an overhaul.
- To create a new document, select Create New in the upper-right.

- To edit an existing document, select the pencil icon next to the document.
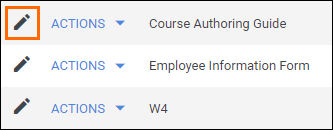
- To view the document options, select Actions next to the document.

Archiving Documents
Clients now have the ability to hide documents from the Documents tab and exclude them from the send documents workflow with the new Archive Document feature.
Please note that while documents and packets can be easily archived, archiving a document removes it from any packet to which it previously belonged. Unarchiving a document does not restore the document to the packet.
- While on the Documents tab, locate the document you wish to archive and select Actions > Archive Document.
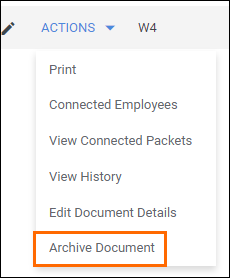
- Select Archive Document on the confirmation popup.
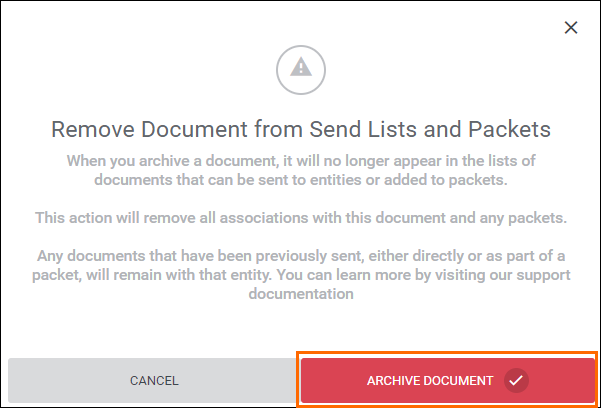
- To unarchive a document, make sure your Document column filter is set to Show Archived Documents.
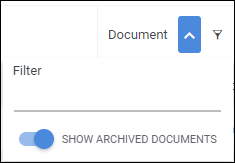
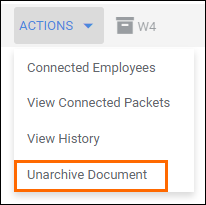
- Locate the document you wish to unarchive and select Actions > Unarchive Document.
The Document Builder has been updated so fields are easier to create and place on the document.
To add a new field:
- From the field bank on the left, select the Add New tab.

- Select the type of field you want to create and drag the field over to the document.

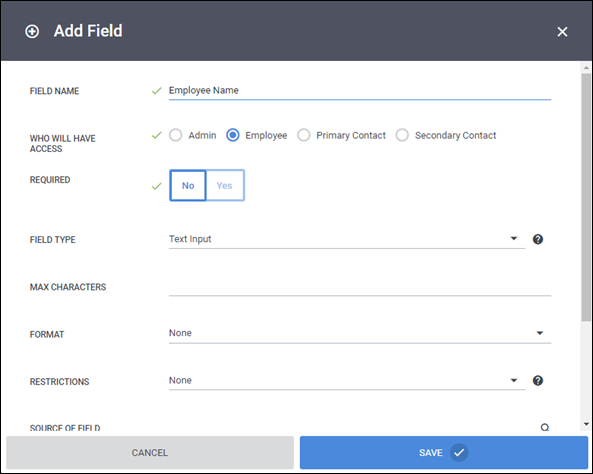
- The Add Field screen will open, allowing you to customize the field settings.
- Select Save when you are done.
To add an existing field:
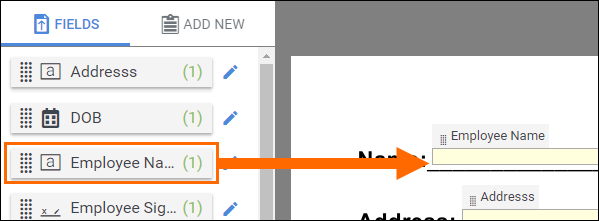
- In the field bank on the left, select the Fields tab.

- Locate the field you want to use and drag it from the bank and place it on the document.
To edit or remove fields:
Guides
To assist with placing fields, you can use Guides feature to make sure everything is aligned.
- As you move a field on a document, you will see red guidelines to ensure proper placement.

- The Guides feature is turned on by default. It can be turned off by selecting Hide Guides toward the top of the screen.

Creating and Editing Packets
The Packets tab has been updated to include a new filter option to locate the exact packet you wish to work with.
When adding documents to a packet, you can now add them by searching for the document.
- You can continue to add and move documents within a packet. The changes won't be applied until you select Update.
Archiving Packets
Another new feature is the ability to archive packets. With the Archive Packet feature, unused packets will be moved to a separate section.
- While on the Packets tab, select the packet you wish to archive.
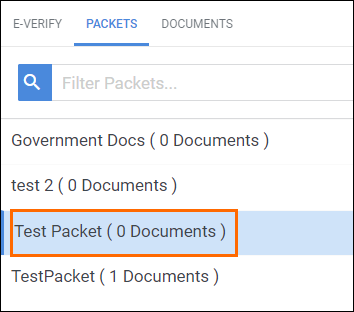
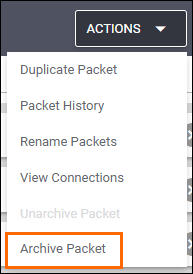
- Select Actions > Archive Packet.
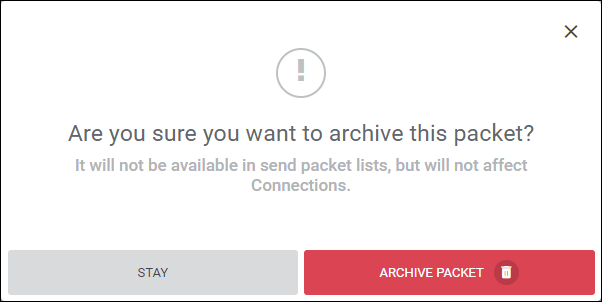
- Select Archive Packet to confirm.
- The packet will appear in the Archived Packets section.

- Archived Packets can be made active again by choosing the packet from the Archived Packets list and then selecting Actions > Unarchive Packet.
Removing Packets
The ability to remove packets from an employee or placement record has been enhanced. In V2, documents can now be broken out from the packet, allowing documents to be handled individually.
To remove or break out a packet:
- Navigate to the Employee or Placement Record.
- Select Documents.

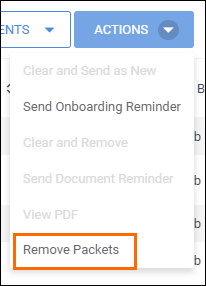
- Select Actions > Remove Packets.
- In the Remove Packets popup, you can select the packets you wish to remove.
- If you want to remove the packet and all documents entirely, select Remove Selected Packets.
- If you want to keep the documents, select Remove Packets and Keep Documents.
FAQ
“Will the Onboarding Dashboard ever come back?”
We’re working on a new and improved dashboard for you to track your onboarding activity. In the meantime, we hope the new Submitted and Approved columns in the employee and placement lists, in conjunction with the document details view accessible from the Documents button on the list slideouts, will help you accomplish everything you used to do on the dashboard.

