Create Job Records
Do the following to create job records:
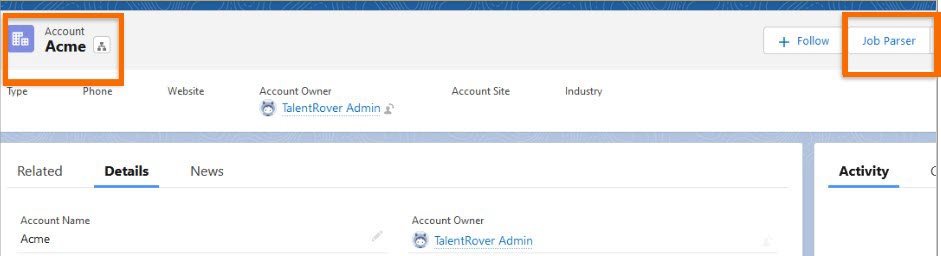
- Click the Job Parser button on the account record. Parsing from the relevant account record ensures that the job record is created with the correct account association.
- From package version 2023.07 onward, you also have the option of parsing a job description from a contact record. Please note that this is specifically designed to work from client contact records. If the job description is parsed from a client contact record:
- The Account field on the job gets populated with the parent account from the contact record.
- The Job Contact field gets populated with the contact from which the parsing action was launched.
- From package version 2023.07 onward, you also have the option of parsing a job description from a contact record. Please note that this is specifically designed to work from client contact records. If the job description is parsed from a client contact record:
- In the Job Parser pop-up window, choose whether you want to Upload a job description document or Paste the job description.
- Use the file uploader, drag and drop, or paste to enter your information.
- Select the Job Record Type from a picklist. This field is required and the Parse it! button will stay deactivated unless this field is populated.
- Click Parse It! to create a job record.
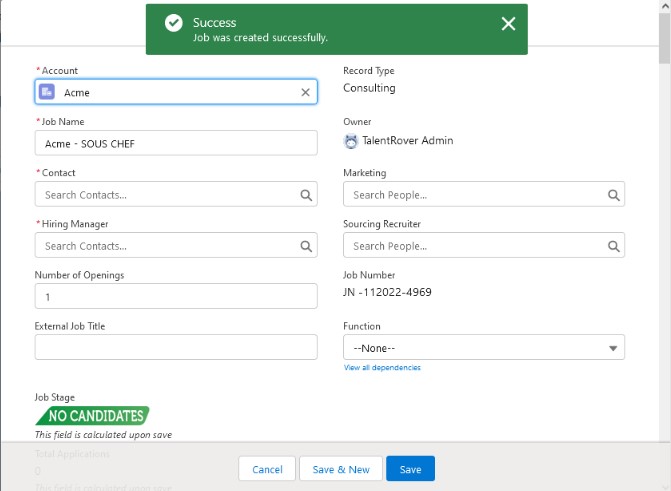
After parsing the job description, the Job tab opens to the newly created Job record in edit mode. You have two options:
- Click on Cancel to have the Job record saved with just the parsed data.
- Add or change data and then click on Save.

The file containing the job description is deleted immediately after parsing and job description documents are not saved in .
Was this helpful?