Creating and Changing Events
Overview
You can plan your activities and view, create, and change your events in a day, week, or month view. This article will walk you through creating and changing calendar events.
Create a Calendar Event
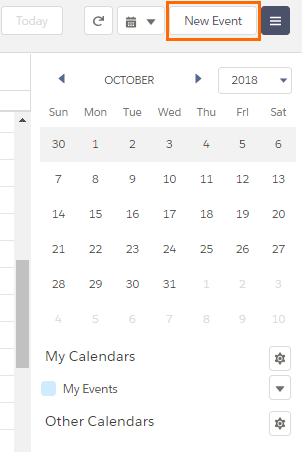
- Navigate to your Calendar page.
- Select New Event.
 .
.
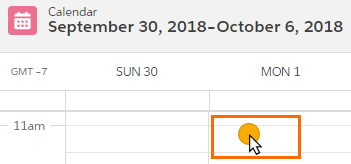
You can also click the desired calendar time slot to create a new event.
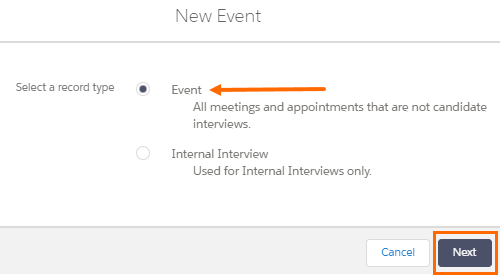
The New Event popup window displays. The Event record type is the default. - Click Next.
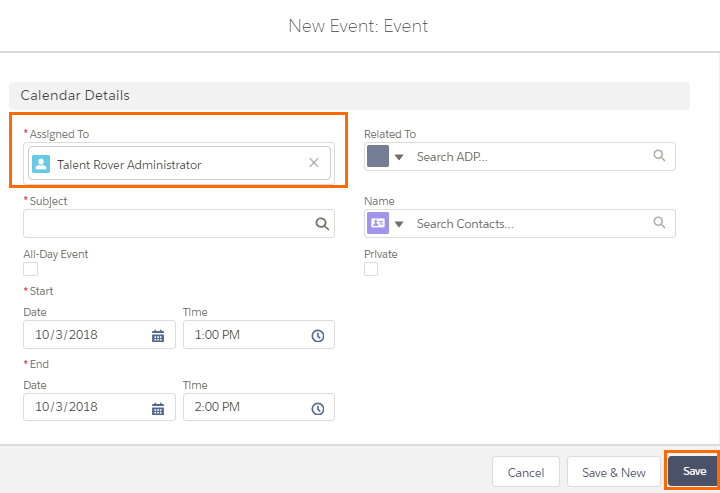
The New Event: Event window displays. - Enter the Event information.
- Assigned To: By default the Event is assigned to you.
- Subject: Click inside the Subject field and choose; Call, Email, Meeting, Send Letter/Quote, Other.
- Start Date/Time: Choose a Start Date & Time.
- End Date/Time: Choose an End Date & Time
- Name: Add the Contact you want to create an Event with. Recently viewed Contacts will appear in the dropdown list when you search.
All the fields with red asterisk are mandatory to fill.
Changing the Owner of the Event
By default, all Events are assigned to you, which means you are the owner of the Event. allows you to change it easily.
- While creating the Event, click the X next to your name.
- You can either enter the name of the person or use Search People to choose a name from the drop-down in the search bar.
- Save your changes.
Was this helpful?