Attach Receipts After Expense Report is Created
When using the Web Time Entry Expense Report feature the first step you should take is uploading expense receipts/images for your report. We recommend uploading receipts prior to creating a new report, however, you can attach receipts to an existing expense report if needed.
The following functionality is for Expenses V1. There is now a new Expenses UI Version (V2) available. If your UI does not match the instructions below, see our Expenses V2 documentation.
This option is only available if the expense report has not been submitted for approval or if the report was rejected by approver or auditor. The receipt images will only be added to the expense report for viewing and will not be linked to specific expense line items.
- Upload receipt images into the Receipt Bank using the options provided: By File Upload, or Email.
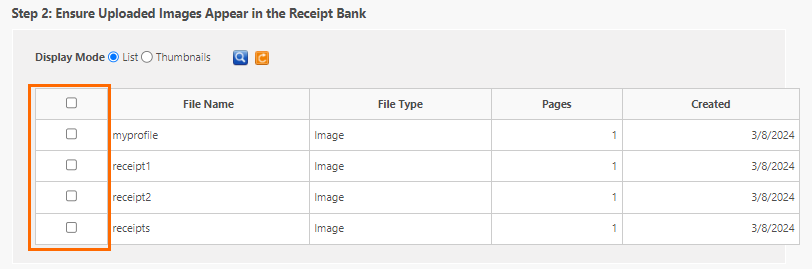
- In the Receipt Bank, check the box left of the image you want to attach to an expense report that has already been created. Check the top box to select all images in the Receipt Bank.
- Click the Attach To button to attach an image to an expense report that has already been created.
- In the window that appears, select the report you want to attach the image to.
- Click Attach to attach the image(s) to the expense report. You will receive a pop up saying the receipt attached successfully.
After submitting an expense report with an image from your Receipt Bank, you can delete the image from the bank to stay organized.