CPA: Adjusting Time in WTE
Closed Period Adjustment (CPA) allows administrators to make direct adjustments to employee timesheets through Web Time Entry for periods that are closed. Follow the steps below to use CPA to make an adjustment.
Before completing the steps below, ensure you review the timesheet in the TMC. See CPA: Reviewing Timesheets for more information.
-
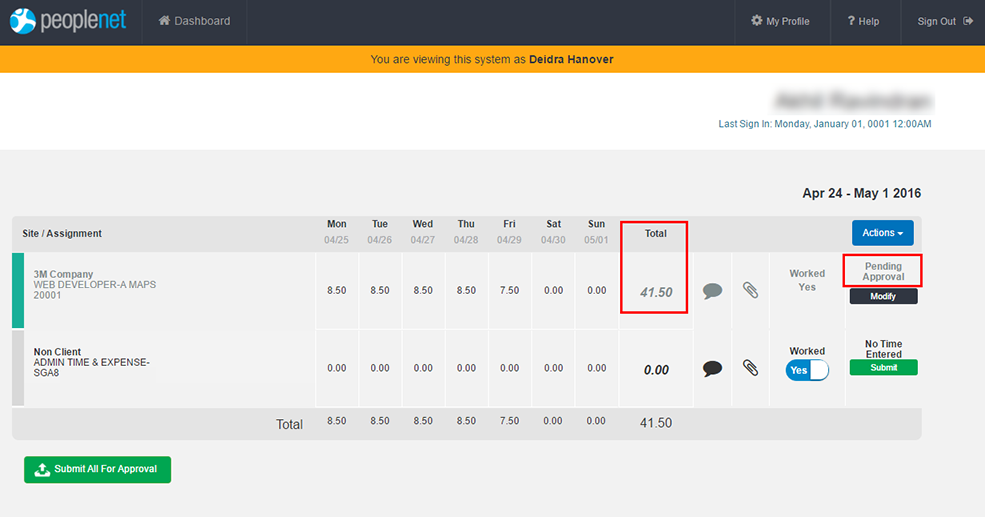
When using CPA to access an employee's WTE account, you'll see a constant reminder with your name listed in orange in the upper part of the screen.
-
By design, some functions may not be accessible to an administrator using CPA to review or adjust employee time cards in WTE.
-
From the timesheet in the TMC, click CPA at the bottom of the screen.
CPA access is limited to certain User Roles. If you don't see this option, this indicates that you do not have access to complete CPA. Contact your agency's time keeping coordinator to gain access to this feature.
-
A new tab will open in your main browsing session. This is where you will complete the adjustment using the Web Time Entry (WTE) application employees use. Locate the week you wish to correct.
-
Click on the Week Ending Date link in blue on the left.
-
Navigate to older weeks using the numbers in the middle of the page.

-
-
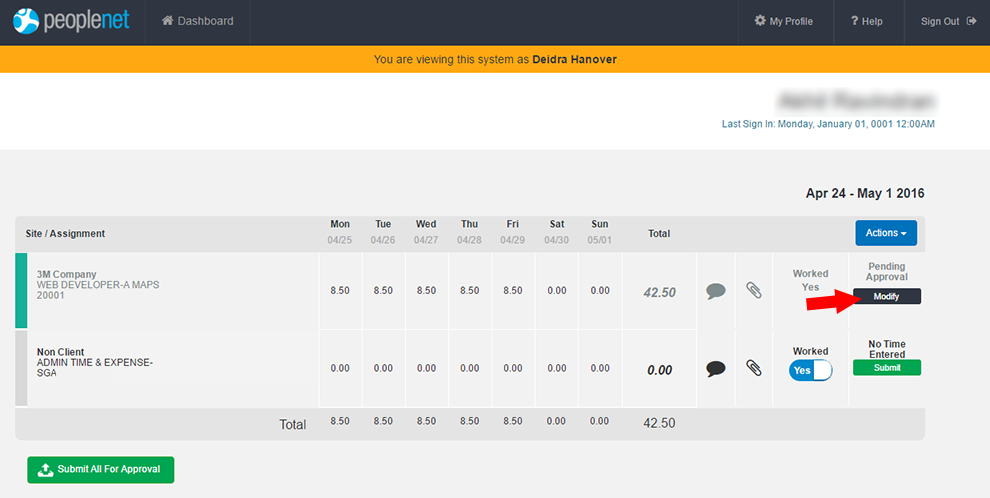
When you select a week ending date, you'll be able to see the time details for that week:
-
The details here represent those last recorded.
-
The client and assignment information are listed on the left.
-
Time details recorded for each day are listed.
-
On the right, you will see the status of time for each assignment.
-
-
Click the Modify button to reopen the timesheet and start making corrections.
-
If you do not see Modify, you can not complete the adjustment.
-
-
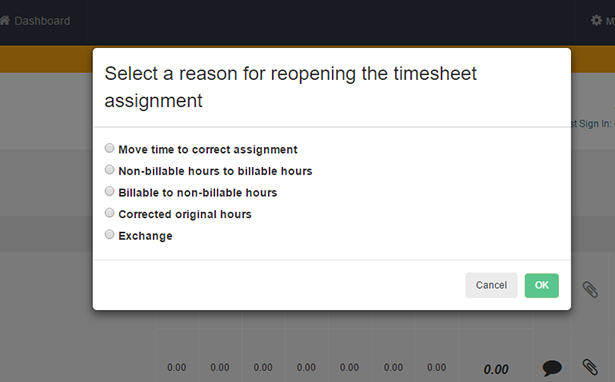
Choose a reason for the adjustment.
-
The options available may vary depending on your setup.
-
Choose the option that best describes your reason for adjusting the timesheet.
-
-
After making a selection, select OK to proceed and reopen the timesheet.
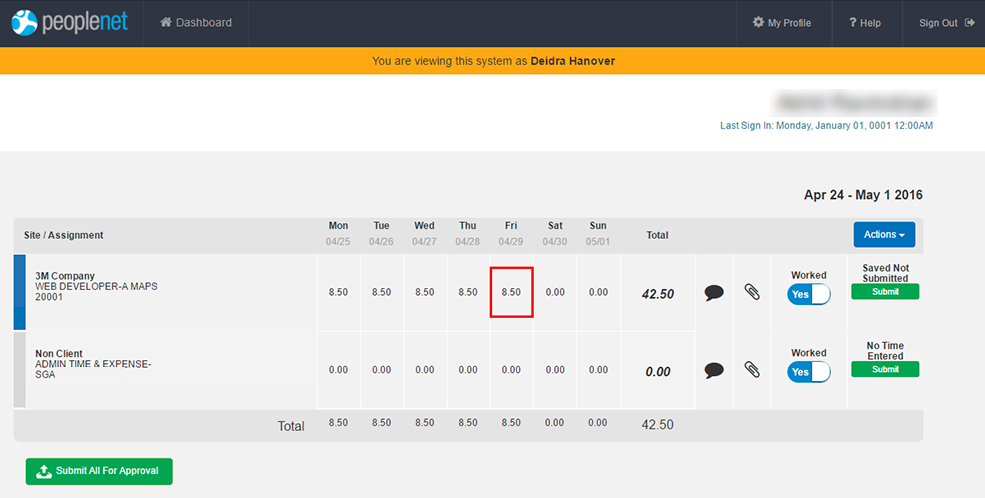
The status of the time card on the right will now change to Saved Not Submitted. This indicates that the timesheet is not finalized yet. After making any adjustments, you must Submit the time card again.
-
To adjust time for a day, choose the cell that contains the number of hours entered for a day and assignment.
-
In the time entry window that appears, adjust the incorrect time and enter new details as needed.
-
Depending on the assignment, you will need to completeHours per Day Time Entry or In and Out Time Entry for corrections.
-
-
Click Ok to save the new time.
-
Submit the adjusted time by clicking Submit to the right of the assignment.
-
You can also click Submit All For Approval if you've made corrections to multiple assignments and want to submit all corrections at once.
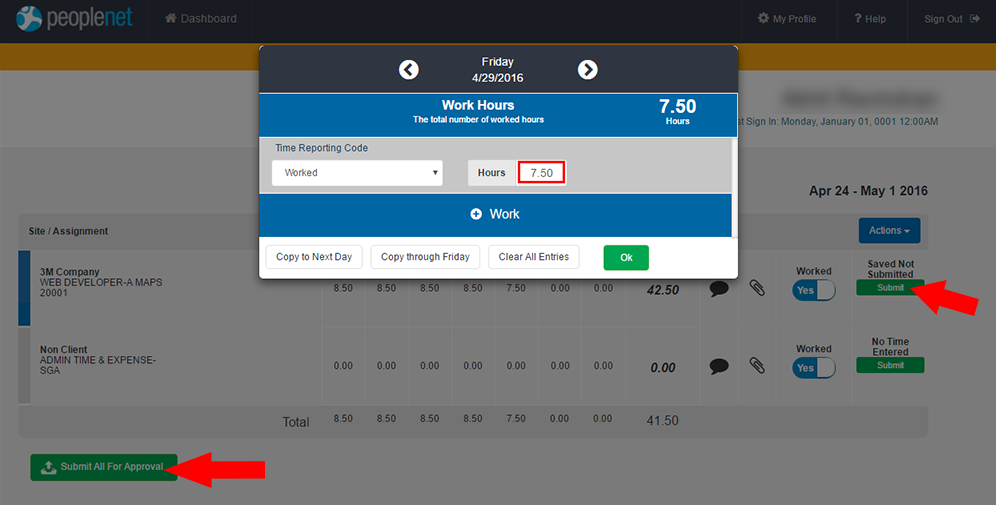
Corrections will vary based on the time entry method set for each assignment. Be sure to submit all corrections after they are made.
-
-
Once you've submitted your corrections, confirm the status has changed to Pending Approval and the Total number of hours for the week is correct.
After completing your adjustments in the Web Time Entry application, close the window and return to the TMC. For information on tracking these changes, see CPA: Using Snapshot. For information on approvals, see CPA: Managing Approvals.