Entering Time the "Clock In and Clock Out" Method
The Clock In and Clock Out time entry method allows you to track your hours in real time. The following steps are done within the Employee Portal.
If you do not see your current assignment in the drop-down menu or you are missing the Timesheets tab, it may be for one of the following reasons:
- Your assignment hasn't started yet. You can not access Timesheets until your start date.
- Your agency did not set you up for this time entry method. They may be using group timesheets instead.
Contact your agency directly for more information about your time entry method or start date details.
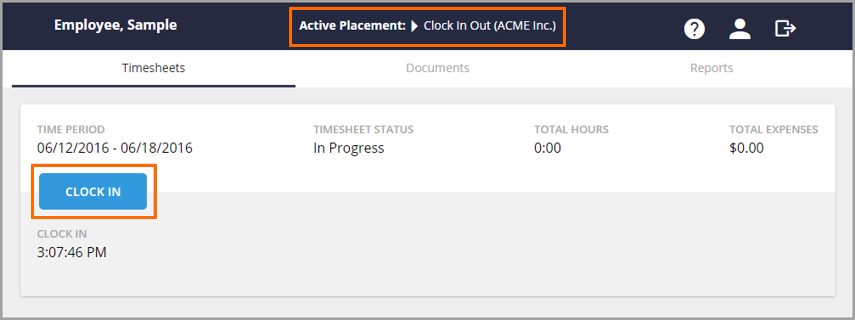
- If you have multiple assignments, select the name of the assignment from the drop-down at the top of the portal.
- When you start your work day, click the Clock In button from the Timesheets tab.
- A modal will open. If you are eligible for different hours types from your firm, you will choose the type here, or just leave as Normal. This is also where you will select the specific project or task you are billing hours against.
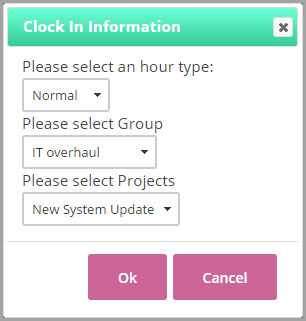
- Once you have made the appropriate selections, click OK.
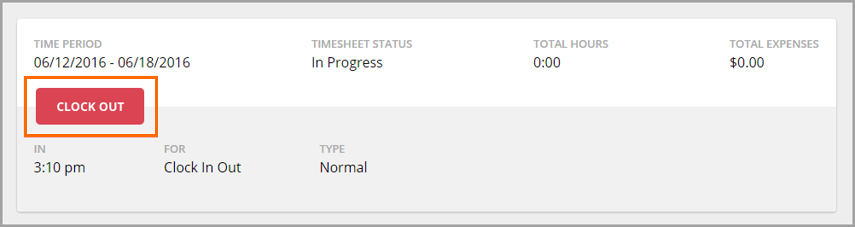
- A confirmation message will pop up. Select OK again. The blue Clock In button changes to a red Clock Out button.
- Once you are ready to Clock Out, select the Clock Out button to end your time on that time block.
- Select OK to confirm your clock out.
Once you are done clocking in/out for the week, select the Submit Timesheet button at the bottom of the page and accept any notifications that pop up. You can also view your timesheet by selecting the View Timesheet button.
Was this helpful?