Onboarding Field Flowback
Overview
Onboarding Field Flowback allows you to collect data from your employees via electronic forms and send that data back to the associated Bullhorn ATS record when the document is approved.
Field Flowback is supported for the candidate and placement entities in the ATS as well as any overview custom objects configured for these entities.
Before You Begin
- In order to use Field Flowback, you must have Onboarding V2 with a Bullhorn ATS integration.
- All onboarding fields are eligible for flowback except for the following:
- Signature
- Signature Text
- Hyperlink
- The following Bullhorn ATS fields are supported:
- All fields on the candidate entity except for those with an edit type of System or Entity Picker.
- All fields on the placement entity except for those with an edit type of System or Entity Picker.
- In order for document data to flow back to placement records, the document must be assigned to the placement.
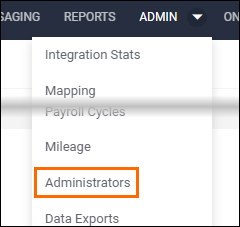
In order to use Field Flowback, each onboarding admin will have to have the necessary permission enabled on their Admin record to gain access to the flowback tab and flowback rule configuration options.
Configuring Flowback Rules
When you are creating or editing document, you can decide which fields you want to use for flowback.
- Navigate to the Onboarding tab.

- Select the Documents tab.

- Create a new document or select the document you wish to edit.
- See Uploading a New Onboarding Document for information on creating a new document.
- Add a new field or edit an existing one.
- See Adding, Adjusting, and Removing Onboarding Fields for information on how to create and edit fields.
- On the Edit Field screen, select Add Flowback Target.

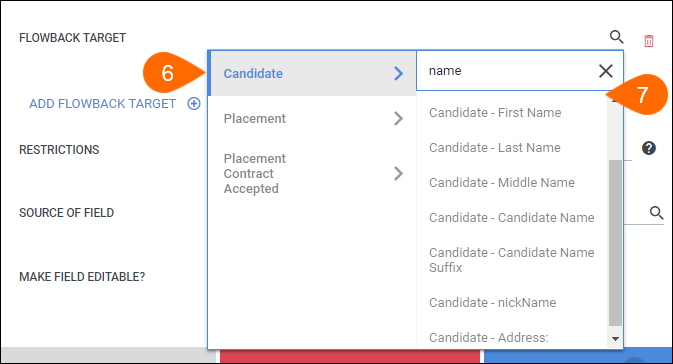
- In the Flowback Target field, select the target entity where you want the data to flow back.
- Search for and select the desired field where the data will appear.
- If you have more entities you wish to populate, you can add them by repeating steps 6 & 7.
- Choose Save to confirm your changes to the field.

- Select
 in the upper right to finish editing the document.
The Flowback list displays all of the rules you have created as well as the option to create new rules. This is a good option for adding rules to existing documents.
- Navigate to the Onboarding tab.

- Go to the Flowback tab.

- Select Add Flowback Rule.

- In the Add Flowback Rule popup, search for and select the document you want to add the rule to.
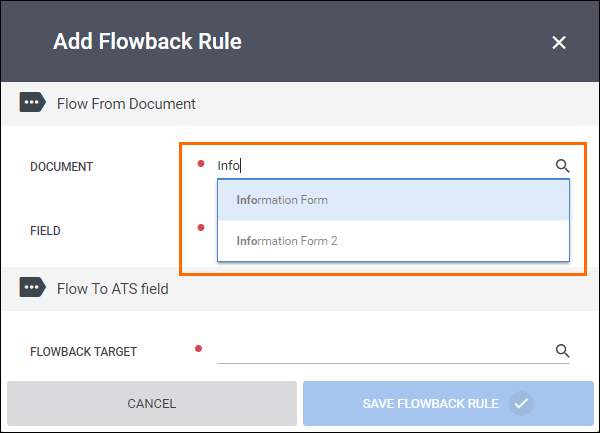
- Select the field that will flow back to the ATS.
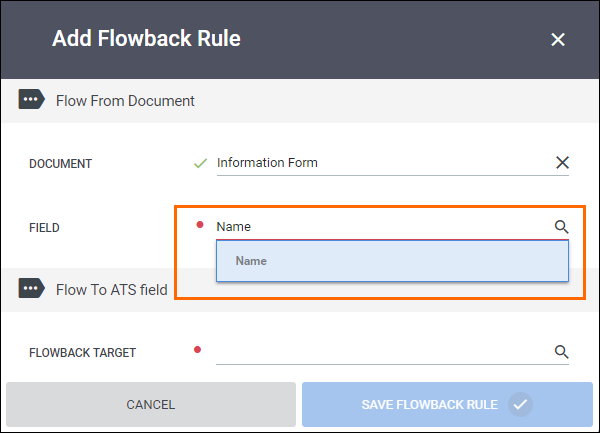
- In the Flowback Target field, select the target entity in the ATS where you want the data to flow back.
- Search for and select the desired field where the data will appear in the ATS.
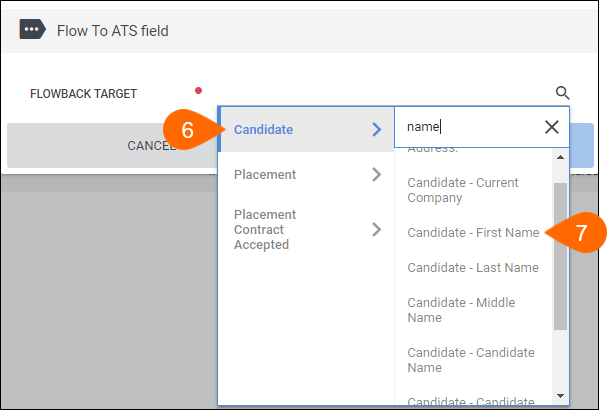
- Select Save Flowback Rule to confirm your changes.

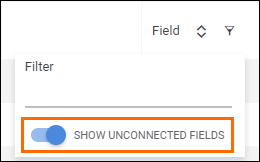
By default, the Flowback list will display all of the rules currently connecting fields to the ATS. You have the option to show all of the fields in documents that are not connected to flowback rules to help determine what additional data you may want to pull.
- While on the Flowback list, locate the Field column header and select
 to display the filter.
 - Enable Show Connected Fields.
- The Flowback list will now display all of the unconnected fields available in each document.
- Select the
 next to the field you want to edit.
- In the Add Flowback Rule popup, the Flow From Document section will populate with the document and field information of the field you selected.
- In the Flowback Target field, select the target Entity and Field.
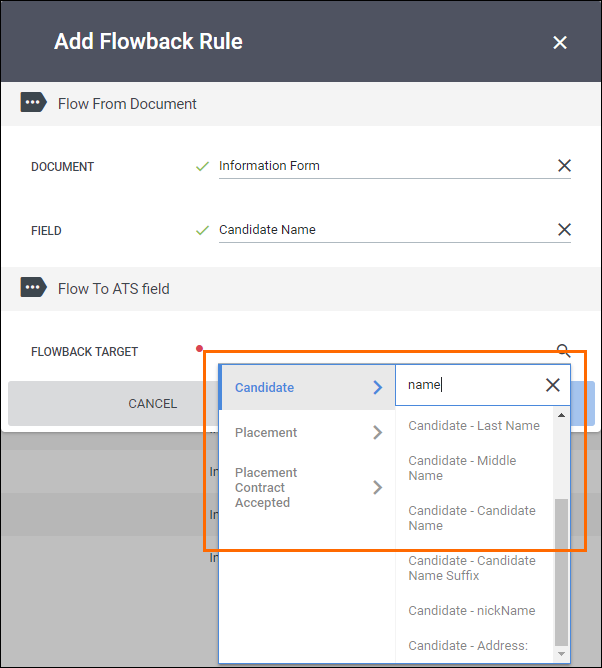
- Select Save Flowback Rule to confirm your changes.

- To once again show the connected fields, toggle off Show Unconnected Fields or select the Clear button.
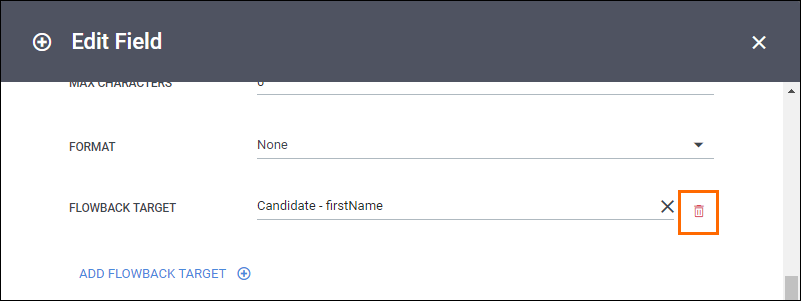
If you ever need to change or remove an existing flowback rule, you can do so from the document editor.
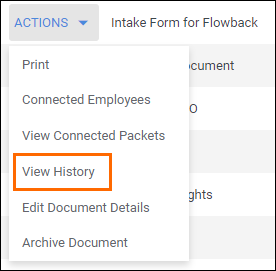
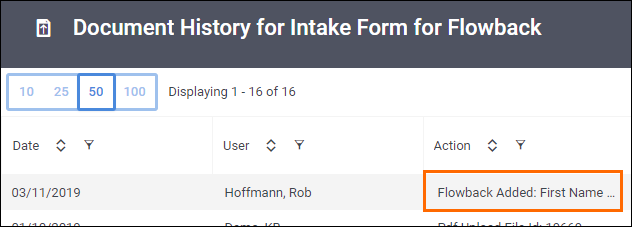
You can look at the history of a document to see if a flowback rule has been added, updated, or removed on a document.
Flowback in the ATS
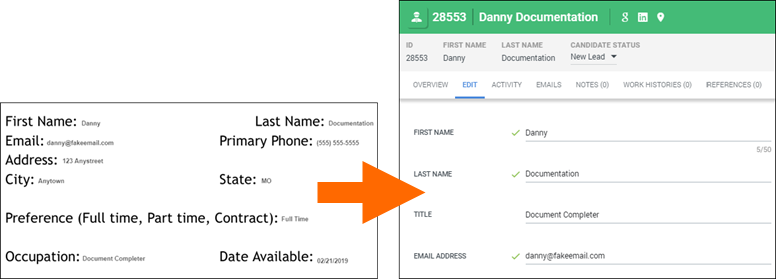
When a document is approved, the fields that have been enabled for flowback will push the entered data to the designated fields in the ATS.

 to edit field configured for flowback.
 to delete flowback rule.