Adding, Adjusting, and Removing Onboarding Fields
Overview
This article contains information on how to add, remove, and adjust the size of fields on an Onboarding document.
Before You Begin
To assist with adding and adjusting fields, you can use the Guides tool to make sure fields are properly aligned with each other.
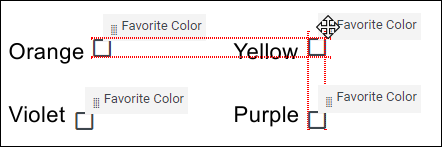
- As you move a field on a document, you will see red guidelines to ensure proper placement.
- The Guides tool is turned on by default. You can turn it off by selecting the Hide Guides button toward the top of the screen.

Adding Fields
- While logged into BBO/Onboarding, navigate to the Onboarding tab.

- Select the Documents tab.
-
Select the document you will be editing.

- If you need to upload a new document, see Uploading a New Onboarding Document.
- If you need to upload a new document, see Uploading a New Onboarding Document.
- From the field bank on the left, select Add New.

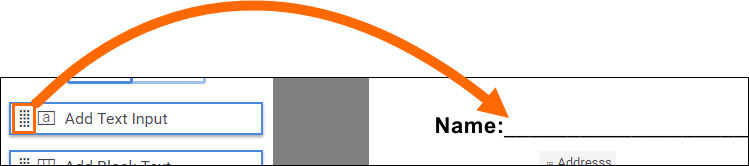
- Select a field type you would like to add by holding
 and drag the field to the desired location on the document.
- See Onboarding Fields Overview for more information on field types.
- See Onboarding Fields Overview for more information on field types.
- Configure and Save the field settings.
- See Onboarding Field Options for more information on the available settings.
- See Onboarding Field Options for more information on the available settings.
- Select
 in the upper right to save your changes.
- While logged into BBO/Onboarding, navigate to the Onboarding tab.
- Select the Documents tab.
- From the field bank on the left, select Fields.

-
Locate the document and select
 to open the document the document builder..
- If you need to upload a new document, see Uploading a New Onboarding Document.
- If you need to upload a new document, see Uploading a New Onboarding Document.
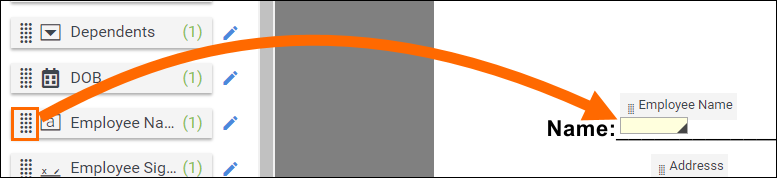
- Add a new field by holding and dragging the field from the bank to the desired location on the document.
- Select in the upper right to save your changes.
Adjusting Fields
- You can move fields already placed on a document by holding in the field name and dragging the field to a new location.
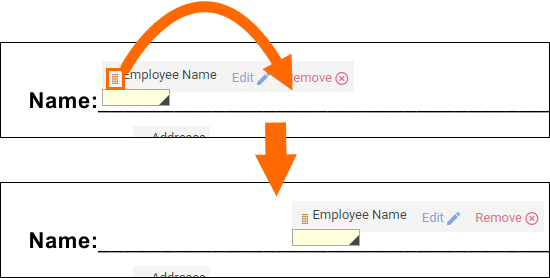
- Select in the upper right to save your changes.
- To resize a field, select the black triangle in the bottom right corner of the field and expand the field to the desired width.
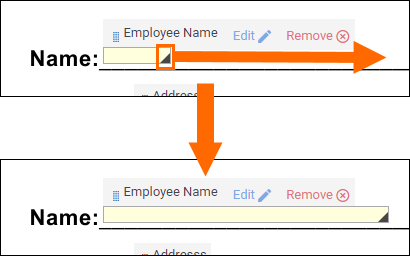
- Select in the upper right to save your changes.
To remove a field, hover your cursor over the field name and select Remove.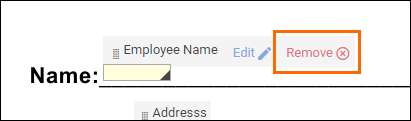
Was this helpful?