Adding a New Admin
Overview
This article contains information on how to manually add a new admin into BBO.
Steps
Adding the New Admin
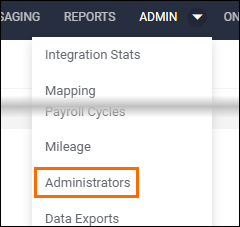
- Click on the Admin dropdown and select Administrators.
- Press the Add button in the upper right.
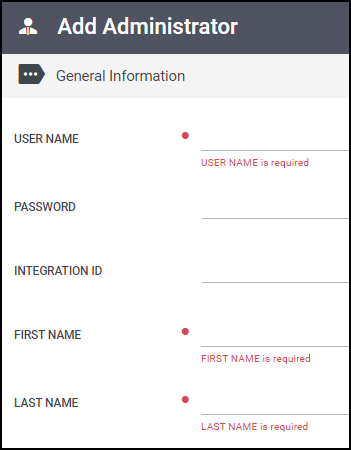
- On the General tab, at the minimum, complete the following fields:
- Username
- First Name
- Last Name
- On the Permissions tab, select the entities and features the admin should access.
- The Tabs settings can be turned on or off to permit or restrict admin access to various parts of the system.
- The Restrictions section controls admin access to employee SSNs and GDPR functionality.
- The Onboarding settings, if enabled for your system, gives admin access to the Onboarding tab and related functions.
- See Granting Admin Access to Onboarding for more information on Onboarding specific settings.
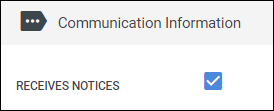
- Go to the Communications tab and select what emails and notifications the admin should receive:
- Receive Notices - Must be turned on for the admin to receive any emails from the system.
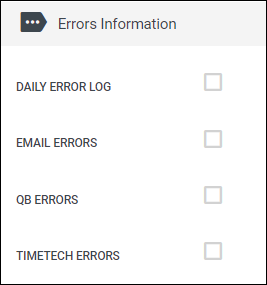
- Errors Information - Determines if the admin is able to view error logs from the system.
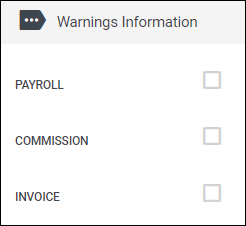
- Warnings Information - You may choose which warnings you want the admin to see.
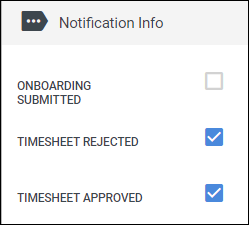
- Notifications - These settings let the admin know when the status of timesheets have changed or when onboarding documents have been submitted.
- Receive Notices - Must be turned on for the admin to receive any emails from the system.
- Once you are done adjusting the settings for the admin, select Save to confirm your changes.
Was this helpful?