Notification when Candidates / Clients are Added to a Programme
is an optional premium product. Please contact your account manager if you would like to learn more about how automations can transform your processes and your client and candidate engagement.
Overview
This article explains how to create a simple automation to send email notifications to selected users when new clients or candidates are added to a named Programme record.
Steps to Create Notifications when Candidates / Clients are Added to a Programme
To create this automation, follow the steps below in .
Create the Automation and List
This example will be based on the Candidate entity. To focus on Clients only, simply start the automation using a Sales Contact list rather than a Candidate list.
- Create a new Candidate-Based Automation (Candidate = People records with Candidate ticked).
- Create a New List using the filter criteria "Programmes Is" and select the Programme record(s) you wish to send notifications for, as shown below:
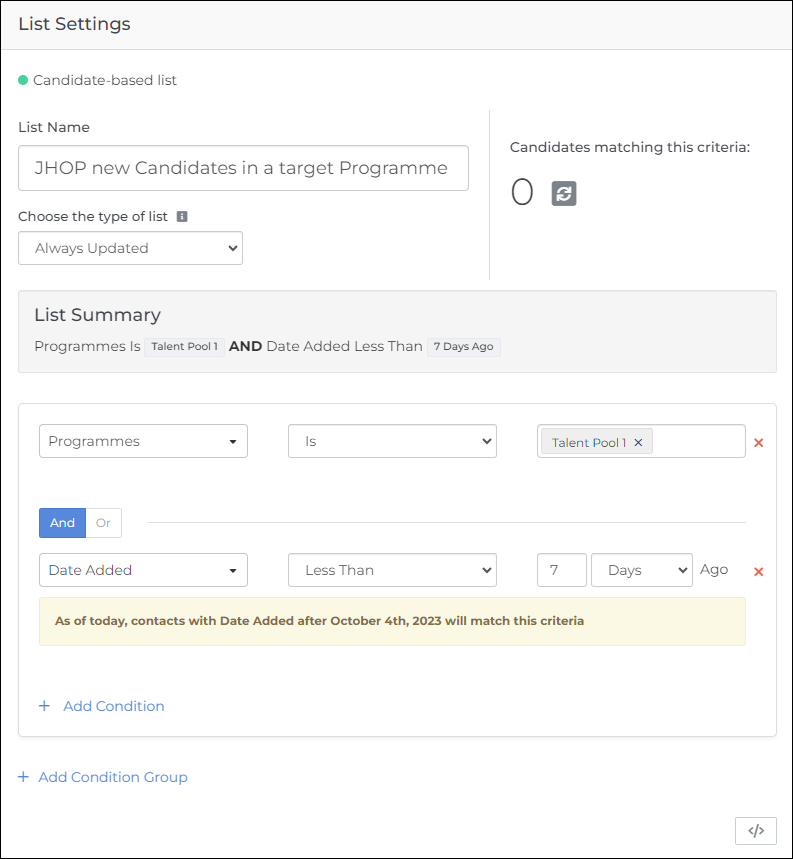
- In this example, we’re adding optional extra criteria to ensure only newly created candidate records are included, with filter criteria for "Date Added Less Than 7 Days Ago".
- If you wish, you can add more conditions to this list to restrict which candidates will enter the automation, using fields such as Categories, Programmes, or Groups (Record Management groups).
- Click Save to return to the workflow screen.
- Click Save again in the List Criteria box to save this list to the workflow.
Create and Test the Notification Email
- Add a Send Notification step to your automation.
- If you already have a suitable template, select it here to save time building the content and layout. Otherwise, select From Scratch - Drag and Drop.
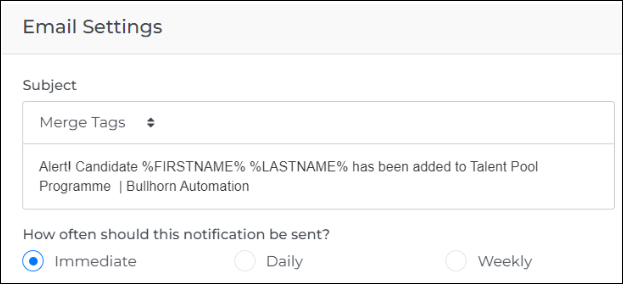
- Select whether the email will be sent Immediately, or as a Daily or Weekly roll-up email.
- In this example, we're going to select Immediately, as there are more customisation options available.
- The Email Editor will open. Under Email Settings, customize the Subject line to your preference, adding in any mail merge fields of your choice.
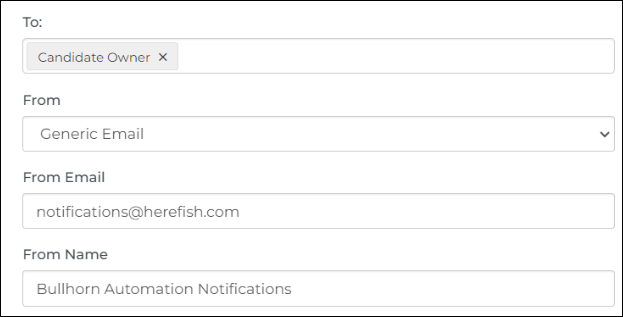
- Fill in the To and From fields to select which address the email should be sent from, and who will receive it.
- In this example, we’re sending the email from a Generic Email address and to the Candidate Owner. You can send the email from the Candidate Owner instead if you prefer, and you can add any specific email addresses for Invenias users into the To field.
- In the body of the email, add Buttons using the drag and drop feature:
- Open Candidate in Web: Use the URL format: "https://yourinveniasdomain.invenias.com/web/people/%CANDIDATE_PERSONID%/dashboard" (for example: "https://ams.invenias.com/web/people/%CANDIDATE_PERSONID%/dashboard")

- Open Candidate in Desktop: Use the URL format: "invenias://People/%CANDIDATE_PERSONID%"
- Open Candidate in Web: Use the URL format: "https://yourinveniasdomain.invenias.com/web/people/%CANDIDATE_PERSONID%/dashboard" (for example: "https://ams.invenias.com/web/people/%CANDIDATE_PERSONID%/dashboard")
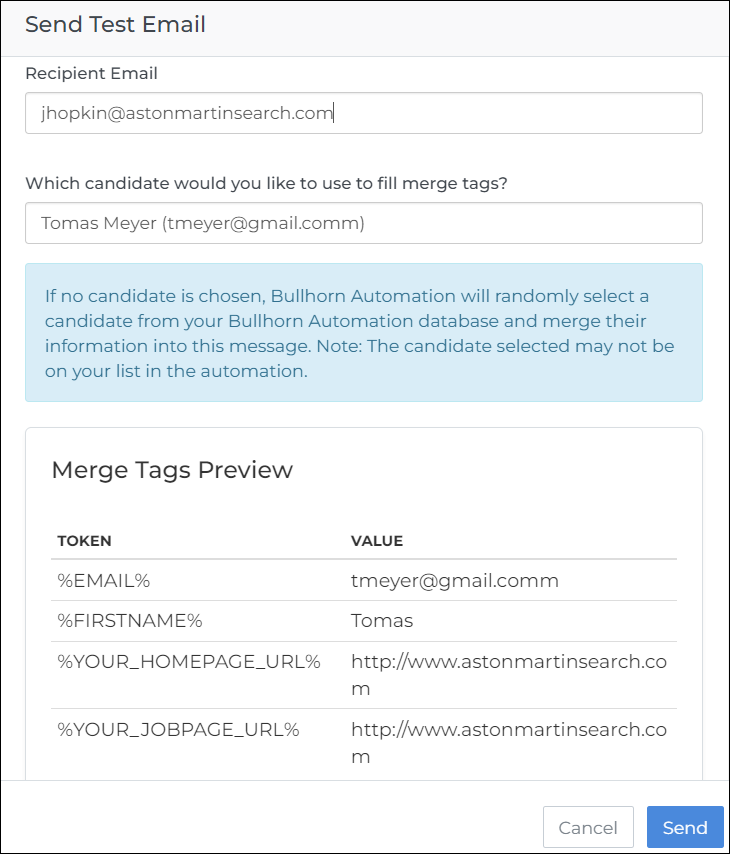
- When finished with the layout and content, click Send Test.
- Here, you can enter your email address and receive a test email to check the mail merge fields are populating correctly. You can select a real record from your database, or will randomly select a record for the test.
- Here, you can enter your email address and receive a test email to check the mail merge fields are populating correctly. You can select a real record from your database, or will randomly select a record for the test.
- Once you're happy with your email, click Save and return to the automation workflow screen using the back arrow.
Configure Automation Settings
- Click into Automation Settings.
- Select the days and times you would like these notification emails to be sent. You may prefer to send them on the same day each week, or only during your principal working hours.
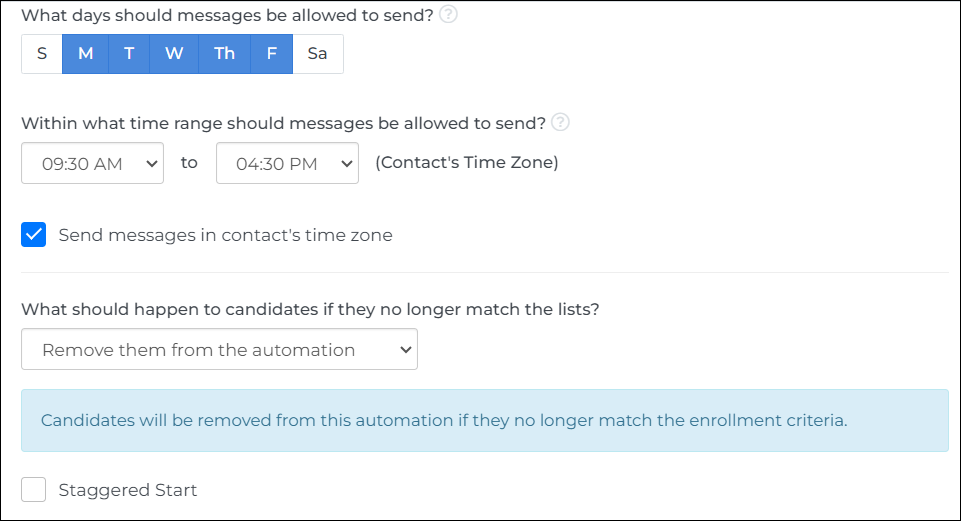
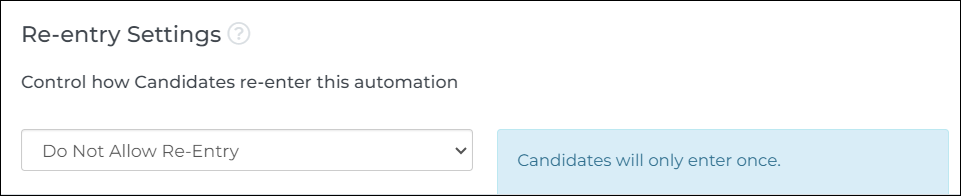
- Under Re-entry settings, we recommend selecting Do Not Allow Re-Entry to prevent multiple notifications from being sent for the same candidate.
- Click the green tick to switch on your automation!
Was this helpful?