Quick Training
Want to sharpen your Bullhorn Messaging skills? Visit the Bullhorn Messaging Training Center for step-by-step video courses.
Getting Started
When you first log in to you can find your username and phone number in the top right corner.

You will also see a puzzle piece with a red dot. Click it to navigate to the web page where you can install the TextUs Next Chrome Extension.
To enable desktop notifications, click your profile in the top right corner. In the dropdown menu, find the switch with a bell icon and slide it to the right. A pop-up will appear asking you to confirm. Click Allow to enable notifications. When the toggle turns blue, notifications are on. To turn them off, slide the toggle back to the left until it turns grey.
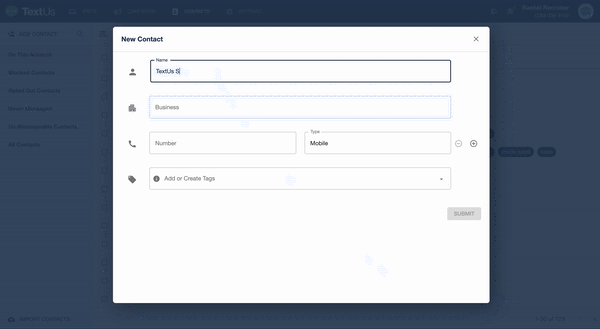
Adding a Single Contact
To create an individual contact in , follow the steps below.
-
go to the Contacts tab.
-
In the top left corner, click + Add Contact.
-
Enter the contact’s name, business if desired, and phone number.
-
Click Submit to create the contact.
The contact is created.
Importing a List of the Contacts
To import contacts from a spreadsheet, follow the steps below.
-
Navigate to the Contacts tab.
-
In the bottom left hand corner, click + Import Contacts.
-
Select a spreadsheet file to import.
At a minimum, the file must contain columns titled “Name” and “Phone Number.”
-
Once the file is selected, click Import Contacts.
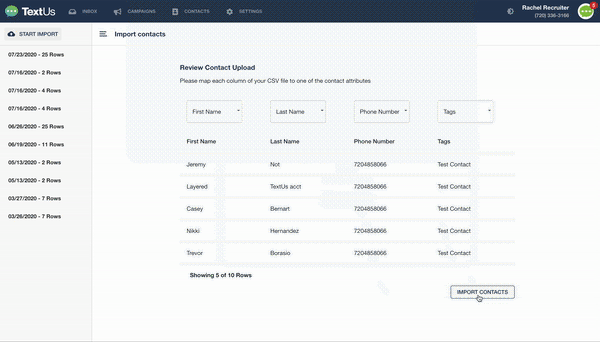
A confirmation screen appears confirming that the contacts have been imported successfully.
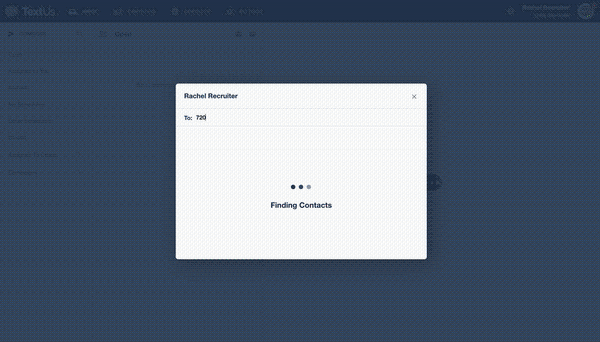
Sending a Message
After you have imported a contact, you can send a message.
-
Click Inbox, then click Compose.
-
You can type the name or phone number of the contact to which you wish to send a message.
-
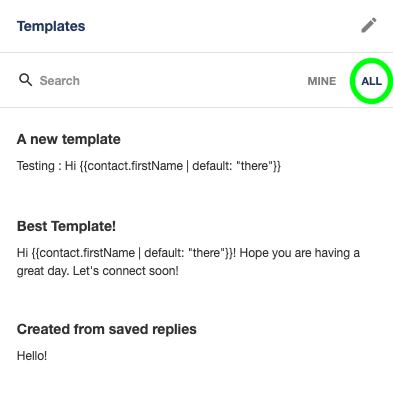
Type your message, add emoji, a signature, personalization, or saved reply if desired.
-
Click Send.
-
To add a signature to your message, ensure that your signature is enabled. A blue signature icon indicates that it is enabled. You automatically see a preview of your signature content when it is enabled. If you would like to create edit or delete your signature click here.

Your signature will automatically appear in the first message you send someone in a conversation. If you would like to turn it on again in an individual message, click on the signature icon.
-
You can also add an emojis to your message by clicking on the emoji icon.
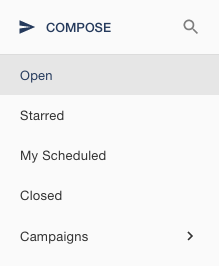
Understanding Your Inbox
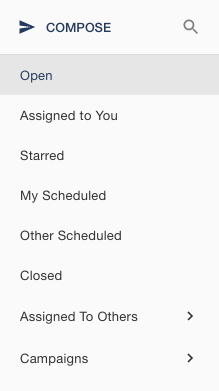
Your Inbox allows you to effectively sort and manage your conversations, allowing you to keep better track of the contacts you need to reach out to, follow up with, or wrap up and closeout.
If you are a single user of and do not share your account with other users your Inbox will look like so:
-
Open: Any Conversation that is active or that has been sent to your number will display in Open
-
Starred: Any Conversation you Star will appear here. Even if you Close a Starred conversation, it will appear here.
-
My Scheduled: Any Conversation with a Scheduled Message will appear here.
-
Closed: Any Conversation manually or automatically closed will appear here.
-
Campaigns: Your recent campaign messages will appear here sorted under the campaign.
If you share your account with others you will have a few additional options.
-
Other Scheduled: Any Conversations that have a Scheduled Message that other users scheduled, that is yet to be sent
-
Assigned To Others: This will show you a list of your teammates. If you click on one of their names, you will being viewing what is in their 'Assigned to You' filter and you can see which conversations they are engaged with.
-
Campaigns: Any Campaign that anyone on your account has sent will display responses here. It's a good way to focus your attention.
To open a conversation click on a folder then on the contact and the conversation will open on the right side. Once the conversation is open, you will see additional options for that conversation in the upper right-hand corner. You can learn more about conversation options here.
Using and Creating Templates
Templates are pre-made text responses that you send to quickly reply to a contact. You can view your Templates by clicking on the “Templates” button beneath where you would type your text to a candidate.
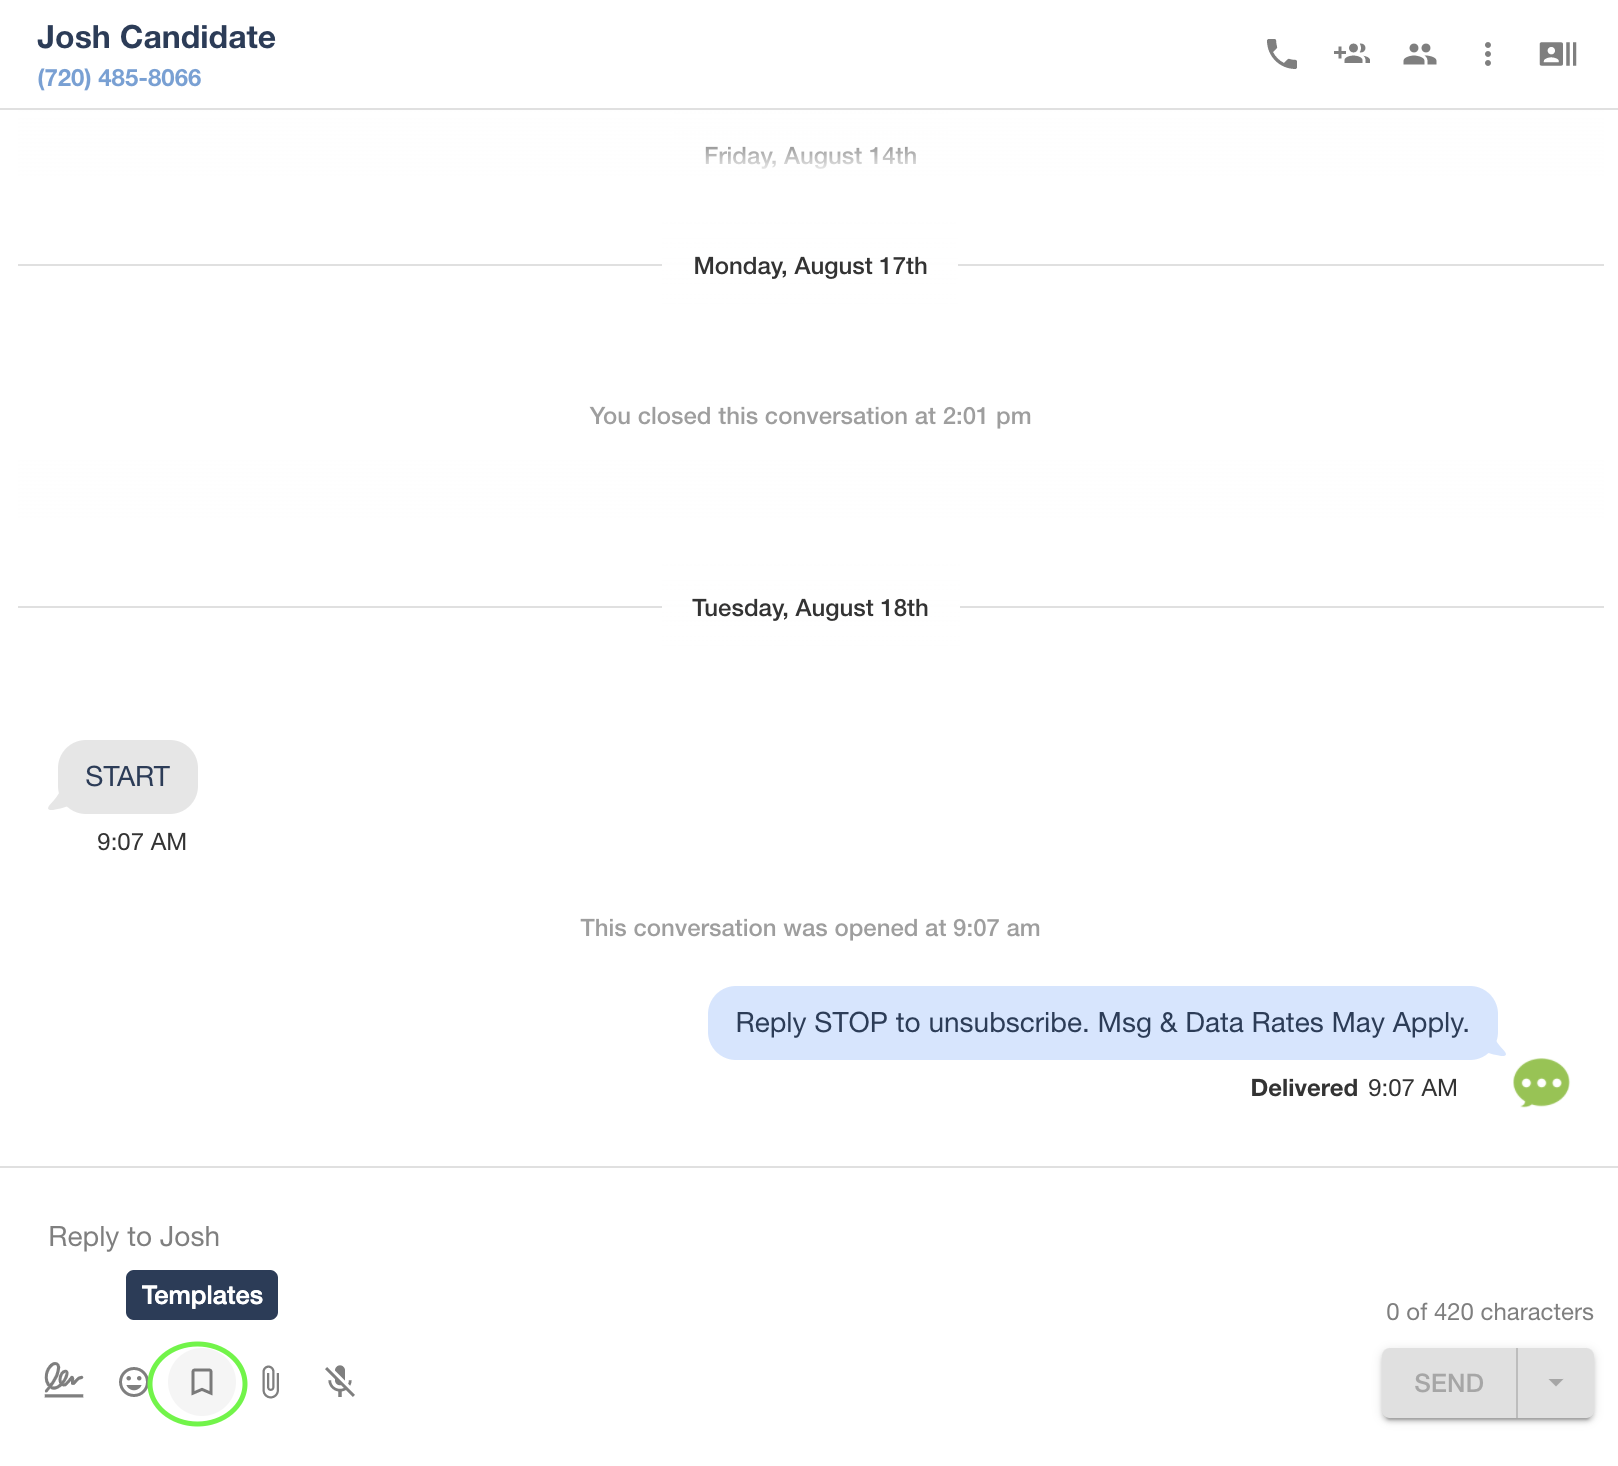
This will show you a list of the Templates that you have already created. It will default to show your own Templates, under MINE. To find a Template, either scroll down or search for it.
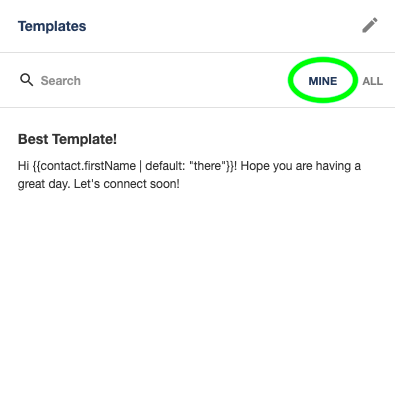
To see all Templates for your account, click the ALL button instead.
Clicking on a Template will automatically add it into your messaging field with this contact. Click the blue SEND button to send out this Template.
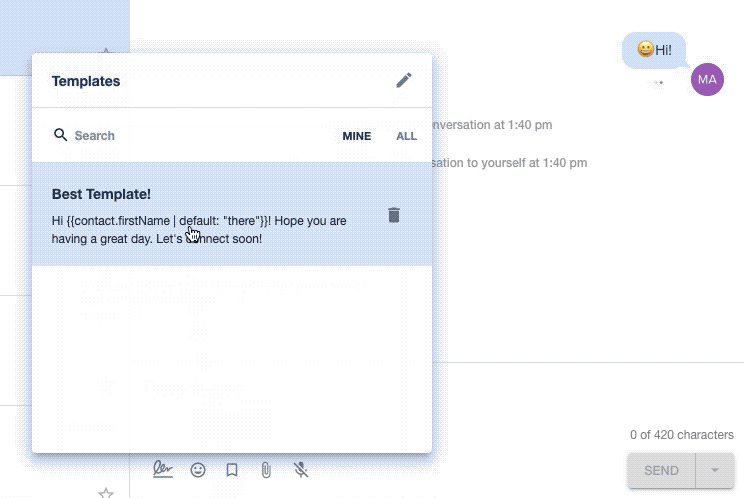
To create a new Template, click the pencil icon.
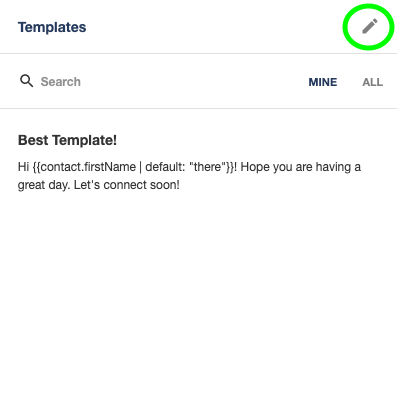
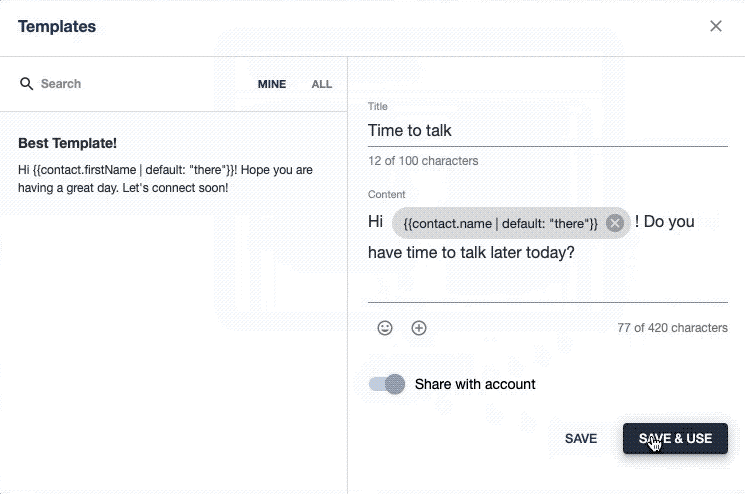
This will open a new menu in which you can type your Template title and message content. Clicking on the emoji icon beneath the template content allows you to add emojis! Clicking on the “+” will allow you to add personalization to the message, such as the contact’s first or last name.
Clicking on the toggle next to “Share with Account” will allow all users on your account to view the Template in the ALL tab. Otherwise, this Template will remain in the MINE tab.
When you have finished, click the SAVE to just save the template, or click SAVE & USE to save the template, and insert it into your message content.
Scheduling an Individual Message
-
To schedule an individual message, go to the bottom of the conversation in an individual message.
You will see a blue Send button at the bottom and a blue arrow next to it.
-
Click the blue arrow and select the Send Later option.
-
This allows you to select a date and time to send the message.
-
Once both of those options are selected, you can click Schedule to schedule the message.

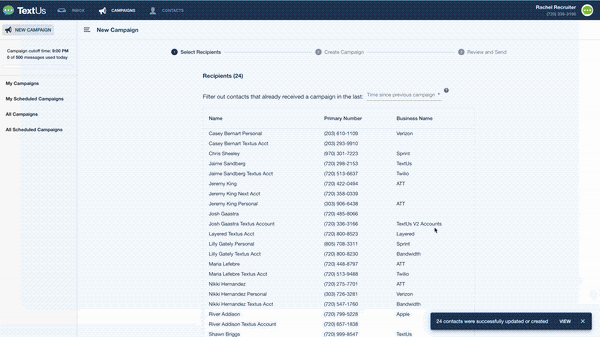
Creating a Campaign
To schedule and send a Campaign from a spreadsheet of new contacts, follow these steps:
- Navigate to the Campaigns tab.
- Select New Campaign in the upper left hand corner.
- Click Select File or drag and drop your spreadsheet into the box, and then select Import. The results of your spreadsheet upload, and the Contacts will be added to your account.
- Click Next.
- Enter the title of the campaign, type your message, and click Next.
- Review the content of your message, and select a time to send the message. In a multi user account this is also where you can select Campaign Assignments.
- When everything looks good, click Send.
If you already have contacts in read how to do that at the bottom of this article
If want to use the Next Chrome Extension to import contacts and start a Campaign, see this article.
Campaigns are a powerful tool to engage your contacts. Always turn to Best Practices for sending a Campaign to avoid getting blocked by carriers.
Additional Questions
For additional questions, issues, or to learn more about . or reach out to support by emailing nextsupport@textus.com, or clicking on your user icon in the top right-hand corner of and clicking on “Support.”