Shift Scheduler Enablement
This article covers how to enable the Shift Scheduler and configure your View Layout to display Candidate Shift Preference / Availability fields. For more information, see Shift Scheduling FAQ.
The Shift Scheduler is available in North America only.
Enabling the Shift Scheduler
To enable the Shift Scheduler, contact your Account or Relationship Manager. Once Support has enabled the feature, configure your View Layout as described below.
Configuring your View Layout
To display Candidate Shift Preference / Availability fields on the candidate record, add them in View Layout.
- Go to Menu > Admin > View Layout.
- Select Candidate from the Field Map Entity drop-down.
- Select the card where you want the fields to display, such as Profile Details (Profile Record card) or a custom card (Overview Tab).
- In the left-hand column, select Shift Preferences and Availability, then click the arrow to move them to Include in View.
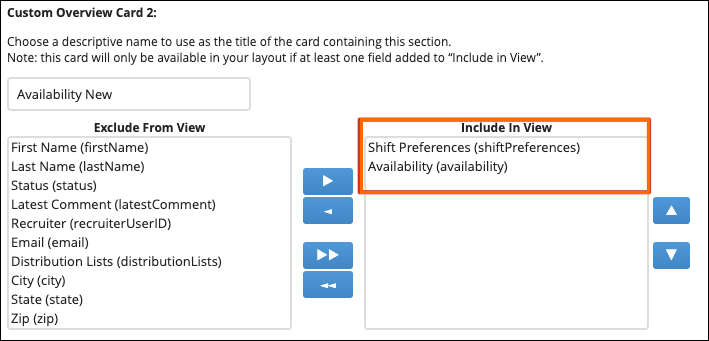
- Click Save.
Was this helpful?