Adding or Removing Timesheets on Invoices
Overview
Bullhorn Back Office provides the option to automatically attach timesheets to your clients' invoices. This option can be toggled on or off at the Department / Contact level. Alternatively, you can manually attach timesheets to invoices via the Receivables tab.
Steps
Department / Contact Setup
- Navigate to the Companies tab.

- Search for and open the company record you would like to edit by selecting the
 next to the company name.
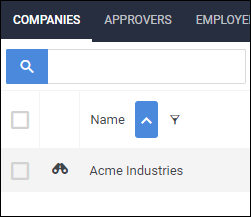
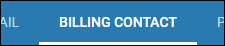
- Choose the Contacts tab.
- This tab may be labeled differently depending on your setup.
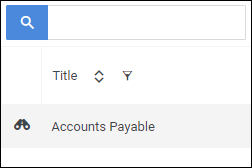
- Open the contact you would like to edit by selecting the next to the department name.
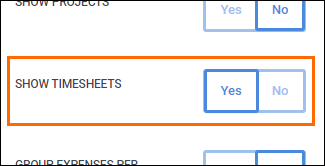
- On the Edit tab, locate the Invoice Information section and toggle the Show Timesheets setting.
- Yes - timesheets will automatically be attached to the invoice.
- No - timesheets will not be attached to the invoice.
- Select
 when you are finished.
Once complete, all Invoices in the Receivables tab for this Contact / Department with the status of "In Progress" will update based on your selection. Any Invoices that are already approved or processed will not reflect the change.
Manually Attaching or Removing Timesheets from Invoices
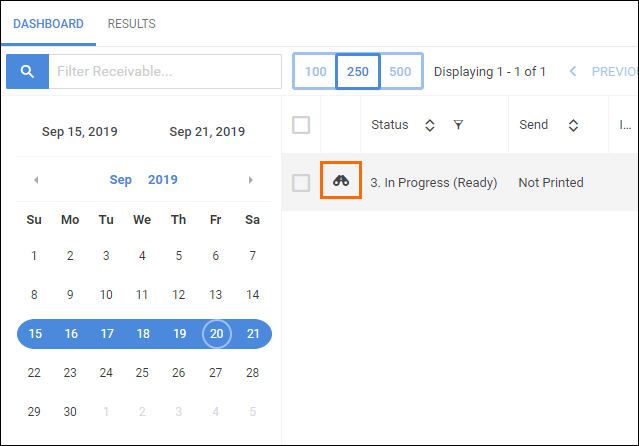
- Navigate to the Receivables tab.

- Search for the invoice you would like to attach timesheets.
- Select to open the invoice.
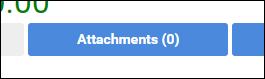
- With the invoice open, choose the Attachments button to open the Attachments manager.
- To attach a timesheet, drag and drop the timesheet file into the manager window.
- To remove a timesheet or file, select the trashcan icon next to the file name.
- Select Close when you are finished.
Was this helpful?