Creating a Timesheet
Overview
Steps
- Navigate to the Timesheets tab.

- Select the week from the calendar.
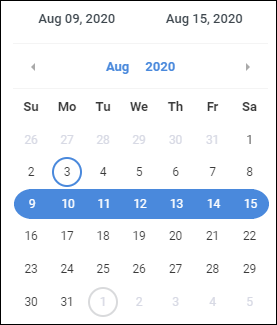
- For timesheets other than weekly, select the last week of the timesheet period.
- On the Timesheet dashboard, select the employee for whom to create the timesheet.
- The timesheet must be in the "Not Created" status.
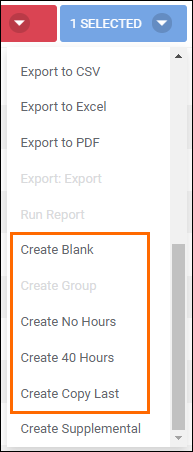
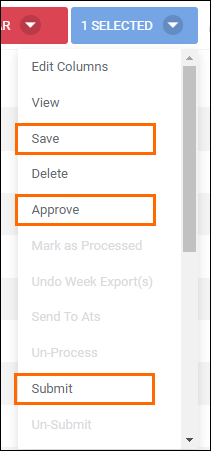
- From the Actions / # Selected menu, choose one of the following options:
You may need to scroll down in the menu to see the options.- Create Blank - creates a blank timesheet so you can enter the time in manually.
- Create No Hours - creates a zero hour timesheet.
- Since there are no hours, the timesheet will automatically be set to the approved status.
- Since there are no hours, the timesheet will automatically be set to the approved status.
- Create 40 Hours - creates a timesheet with 40 hours for the week.
- For Weekly timesheets, 8 hours will be entered each weekday (Monday - Friday) and 0 hours on Saturday and Sunday.
- Bi-Weekly timesheets will have 40 hours per week for a total of 80 hours
- Bi-Monthly timesheets will at 8 hours each weekday for the 1st to the 15th and 8 hours each weekday for the 16 to the end of the month.
- Monthly will have 8 hours each weekday for the entirety of the month.
- Create Copy Last - copies hours entered from the previous week or period.
- Note: Do no use Copy Last if the prior period contains a holiday as it may miscalculate the time.
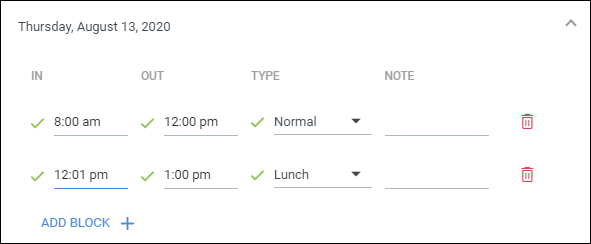
- Enter time for each day or block.
- If applicable, select Add Block + to add additional blocks for that day.
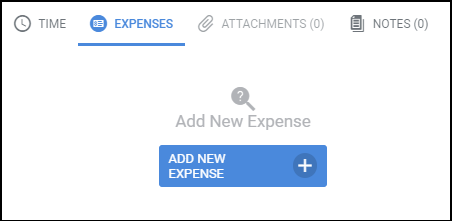
- If expenses and mileage are enabled, you can enter them in the Expenses portion of the timesheet .
- See How to Enter Expenses and Mileage for more information.
- When you are satisfied with the time entered, choose either Save, Submit, or Approve from the Actions menu.
Was this helpful?