Creating and Managing Contacts
Overview
This article covers how to create and manage Contacts. uses the Standard Contact Object to store details about your contacts. Contacts are typically associated with an Account but can also be associated with other records such as Opportunities. Contact records and Related Lists can track Client and Candidate data as well as interactions such as emails, calls, interviews and jobs-related documents.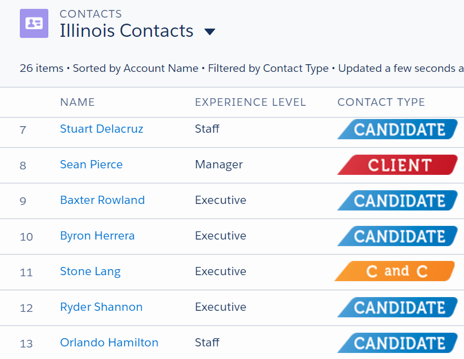
and Contact Relationship
All Contact records should be associated with an Account. Use either an existing Account or create a new Account first, then add the contact.
If your has set up a Default Account, when you parse a resume and create a Contact record your new contact will automatically be associated with that Default Account.
Creating a Contact without an Account means the contact will be private. Private contacts are visible only to the person that created them and the . Private contacts will not be displayed in reports.
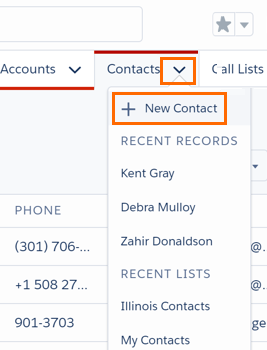
Creating a Contact - Contact Tab
- Select the dropdown arrow on the Contacts Tab.
- Click New Contact.
- Enter the Contact name.
- Enter all relevant information about the Contact.
- Save your changes.
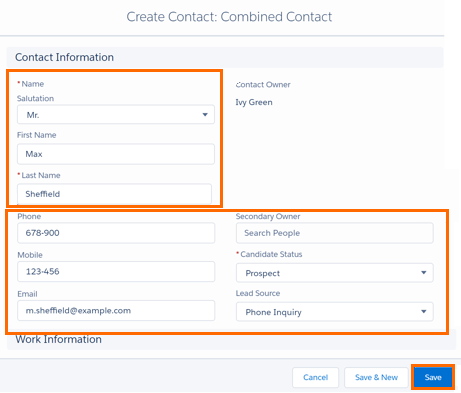
Required fields are indicated by an asterisk *. A Contact cannot be saved if these fields are left blank.
Creating a Contact - Account Tab
An alternate way to create a new Contact is through the Account . Navigate to the Account record and select New.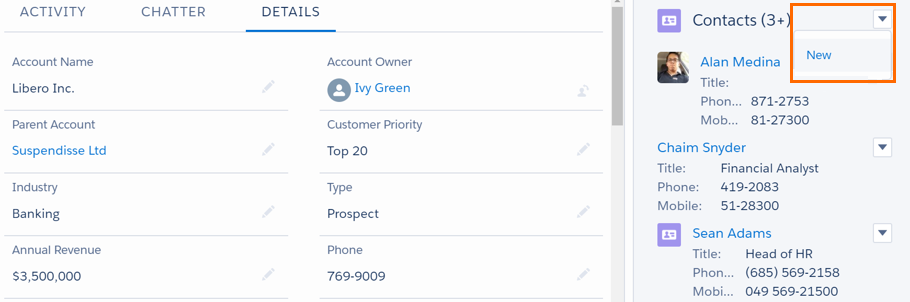
Creating a Contact - Resume Parser
Another way to create a Contact is through the resume parser. Navigate to Global Actions and select Resume Parser to upload a new contact's resume.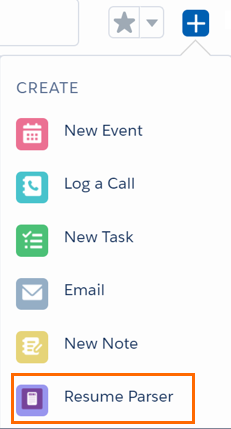
Additional Resources
Our Essentials training series can provide you with even more details. For more Candidate Management information, see Bullhorn Recruitment Cloud Candidate Management.