Customer Agreements
Overview
is a custom object. The main function is to help you track and store contracts or agreements that you have with your clients (Accounts).
, out of the package, has basic functionality and contains a limited number of fields. The basic flow is to enter details about the agreement and attach a copy of the (or Contract) to the . It can be customized based on your business processes. This article covers how to use Customer Agreements.
View s
- Navigate to the s tab and pick an Name.
The shows in the section. - Select the .
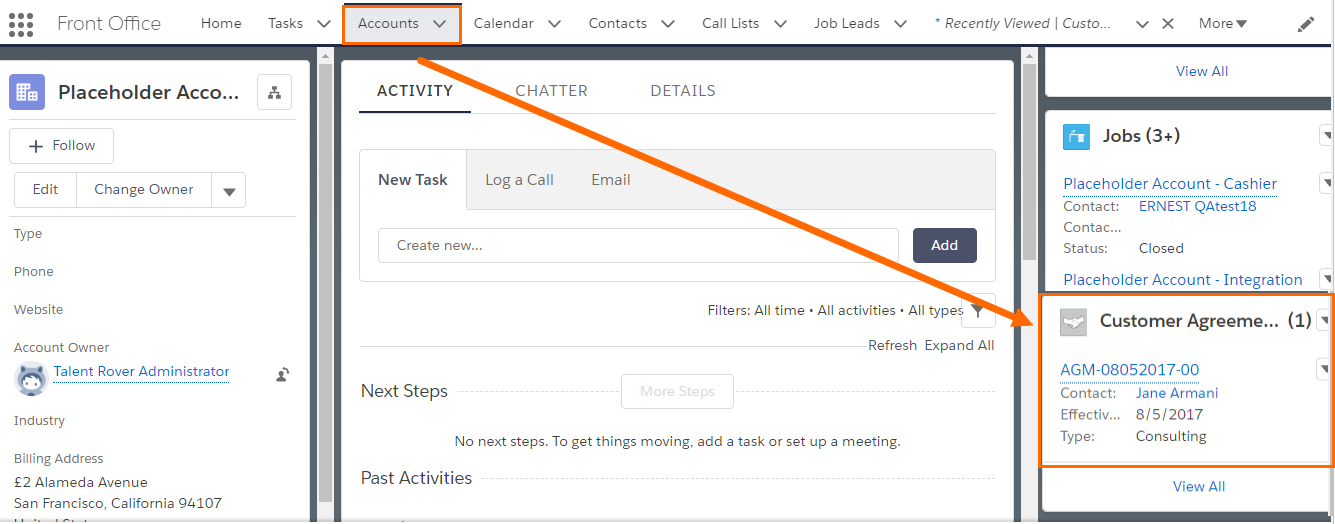
The Record page shows some details of the agreement.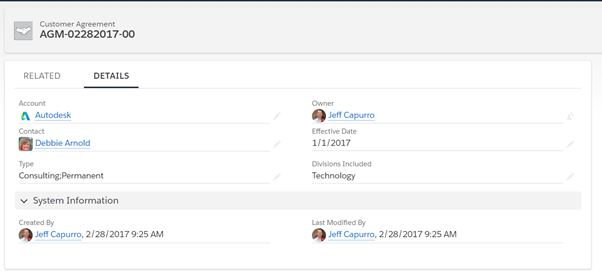
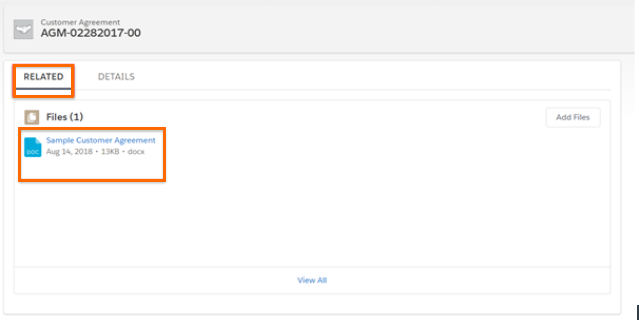
- Navigate to the Related tab. The Files section contains the full connected to the Record.
- You can choose the File to view and download the complete .
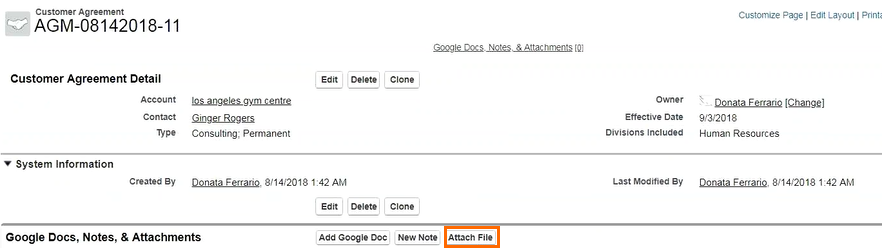
Add - Classic View
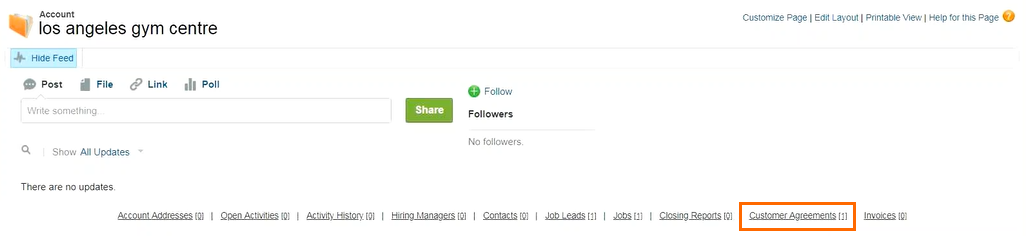
- Navigate to Classic and go to the s tab.
- Select the Name.

- Click on near the top of the page or scroll down to the section.
- Click the New button.

- Use the lookup field to search s.
- Use the Contact lookup field to search Contacts.
- Choose the Type: Consultant, Permanent, or Retained.
- Pick the Divisions Included (functional area).
- Click Save & New.
- Scroll down to the section.
- Select the Name
 .
. - Attach File and upload the Contract or agreement document.
Add Customer Agreement - Lightning
- Navigate to Lightning and go to s.
- Choose the Name.
- From the dropdown on the select New.
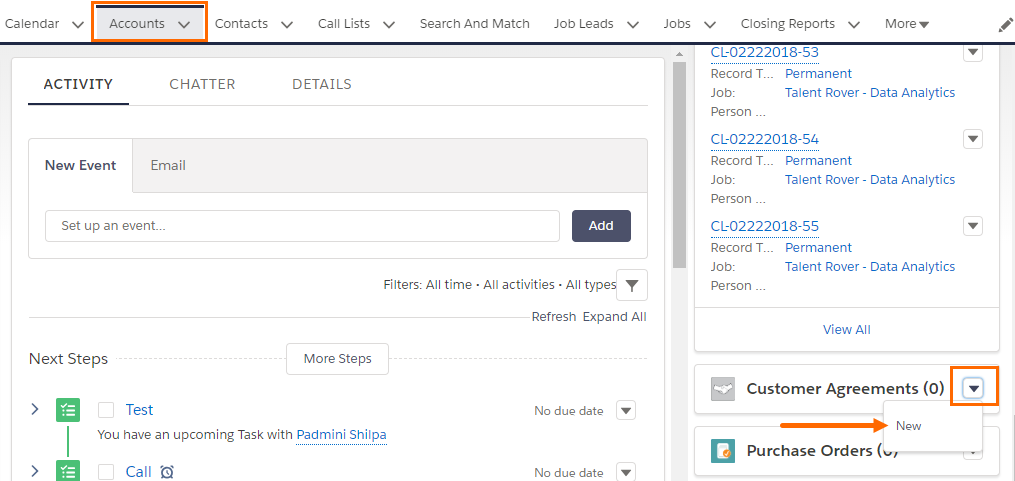
The New popup window displays.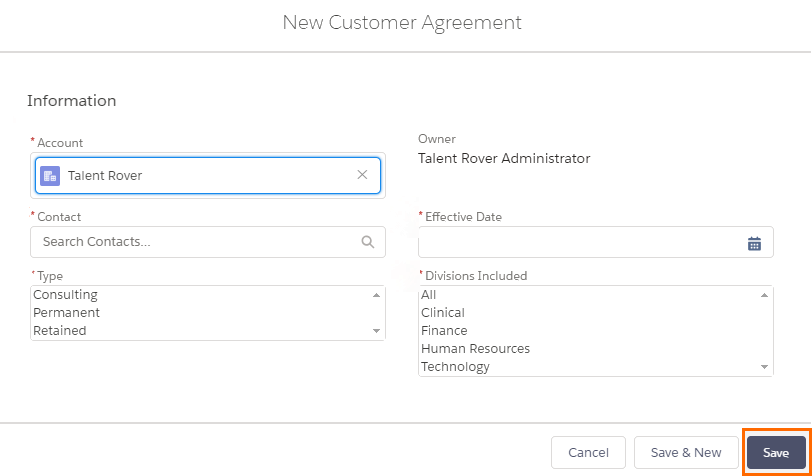
- Use the lookup field to search s.
- Use the Contact lookup field to search Contacts.
- Pick the Type: Consultant, Permanent, or Retained.
- Click the Calendar icon and select an Effective Date.
- Choose the Divisions Included (functional area).
- Save your changes.
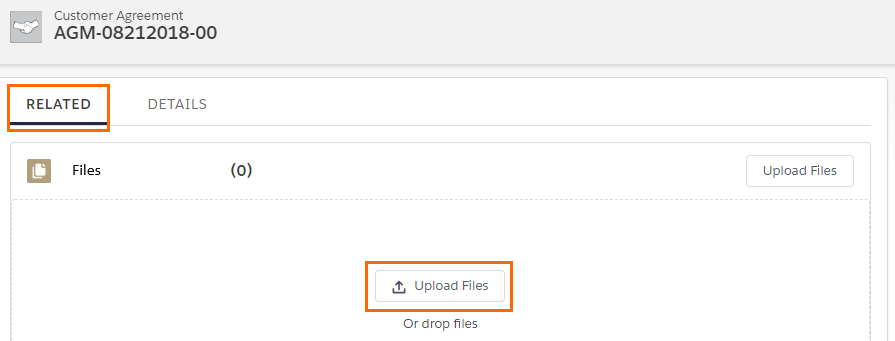
- Navigate to the Related tab.
- Proceed to Upload Files and attach your file.
Was this helpful?