Using Amplify Transcribe
Learn how to set up Amplify Transcribe, prepare for meetings, and use the in-call and post-call features.
Access Amplify Transcribe
All Transcribe setup and activity takes place in the Meetings tab in Amplify.
-
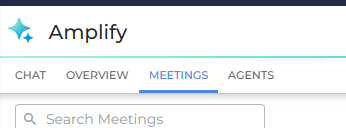
Go to Menu > Amplify, or click the Amplify button at the top of your Bullhorn ATS screen.
-
Click the Meetings tab.
Connect your Calendar
The first time you open the Meetings tab, you'll be prompted to connect your Google or Microsoft calendar using single sign-on (SSO). Once connected, your upcoming calendar events will appear under Upcoming Meetings.
You only need to do this once — after that, your calendar stays connected automatically.
Early Access: When connecting your calendar, you may see a warning indicating that Bullhorn is not yet a verified developer. This is expected behavior, and you can safely proceed through the prompt to complete the connection.
If you're prompted for admin approval when connecting your calendar, see Amplify Transcribe Troubleshooting.
User Settings
Click the Settings  icon in the top right of the Meetings tab to set your personal bot preferences. These override the defaults set by your administrator and apply to your bot only.
-
Transcribe Display Name: The name displayed to other attendees when the bot joins your meeting.
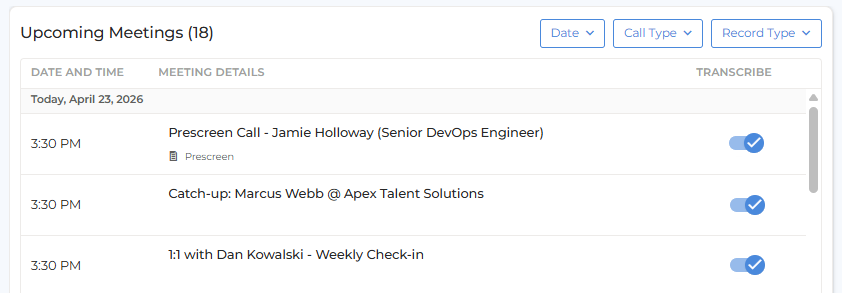
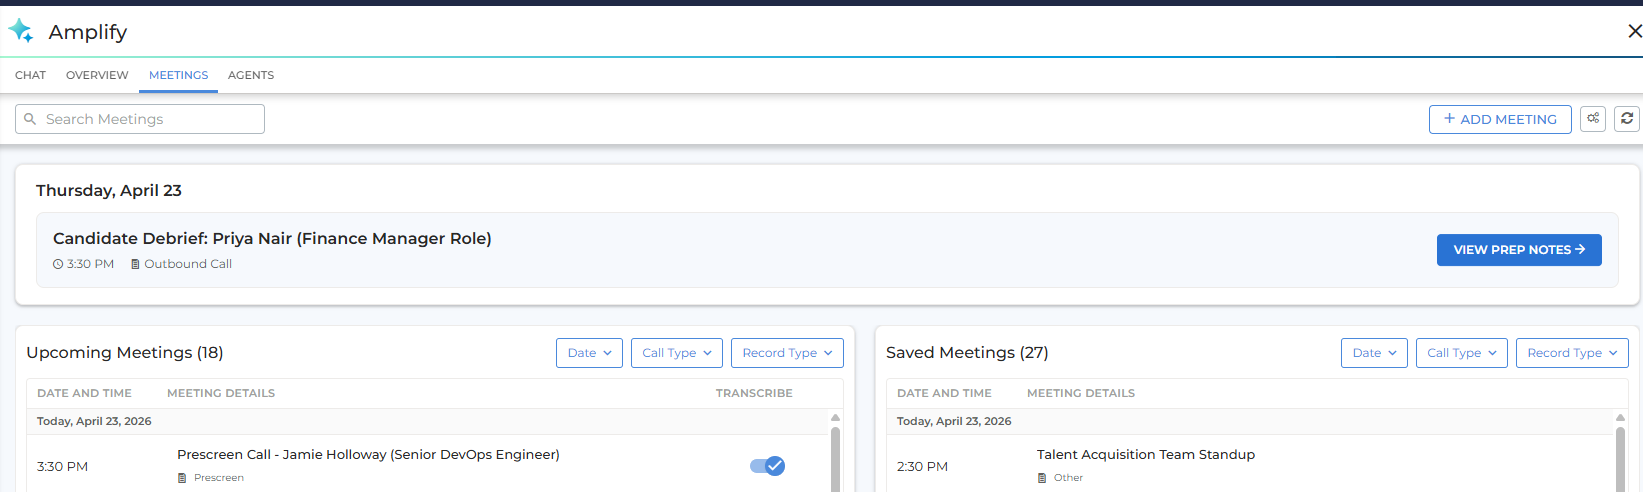
View and Prepare for Upcoming Meetings
Your upcoming meetings are listed under Upcoming Meetings. You can search and filter by name, date, call type, or record type.
When you open a meeting, Transcribe will attempt to:
-
Identify the call type (for example, "Prescreen") based on the meeting title and description.
-
Link attendees to Bullhorn records (candidates, contacts, or leads) based on the email addresses in the calendar invite.
If needed, you can review and adjust the Call Type and Associated Record before the meeting starts. The Call Type determines which prep sheet you're shown and how the call is summarized afterward.
Record Summary
If the meeting has an associated candidate, contact, or lead, Amplify generates a brief summary of their record before and during the call. This includes their current role and status, along with any recent notes, emails, or other activity, so you have relevant context going into the conversation.
Click View Details to open their full record in Bullhorn.
Prep Sheet
Once the call type is set, your prep sheet appears. This is a checklist of items to cover during the call, configured by your admin. Review it before you join and add any notes or comments ahead of time. You can also take manual notes on this screen during the call.
Add an Unscheduled Meeting
If you need Transcribe to join a meeting that isn't in your calendar (for example, an ad-hoc call that's already started) click Add Meeting in the top right of the Meetings tab and fill in the following:

-
Meeting Name: A name to identify the meeting.
-
Meeting URL: The link to the meeting.
-
Link to a Candidate or Contact (optional): Associates the meeting with a Bullhorn record.
Click Start Meeting and the Transcribe bot will join immediately and begin recording.
The In-Call experience
When your meeting starts, the Transcribe bot joins automatically based on your organization's recording settings. A Current Meeting tile appears at the top of the Meetings tab to show the call is active.
During the call, you have access to:
-
Prep Sheet: Stays visible throughout the call so you can refer to it as the conversation progresses.
-
Comments: Add your own notes at any point during the call using this field.
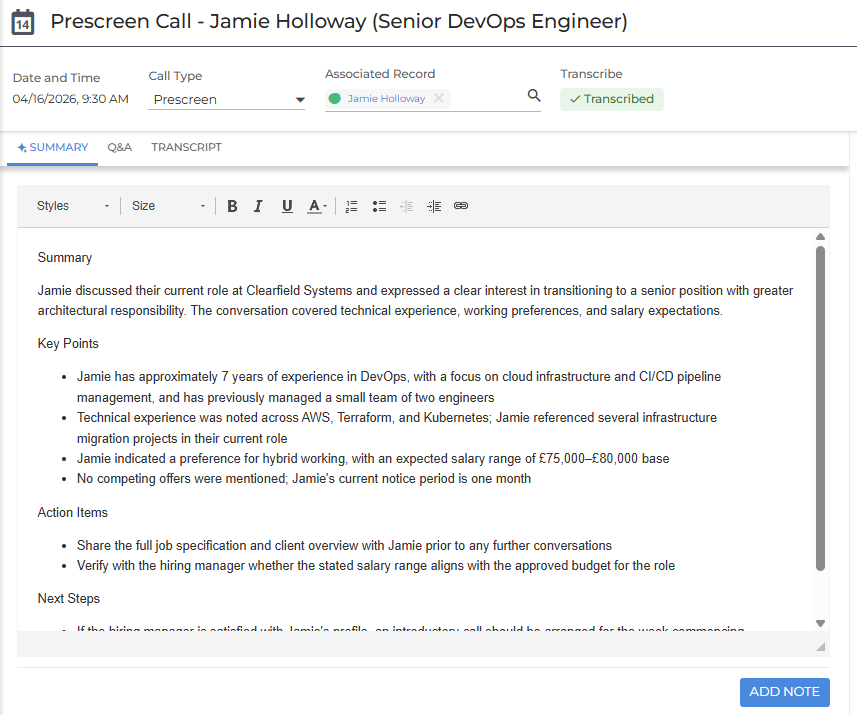
Post-Call Summary
After the call ends, Transcribe generates a summary for you to review. Once you're happy with it, you can save it as a note on the linked Bullhorn record. The summary view includes:
-
Summary: A structured summary generated based on the processing prompt for the selected call type. You can change the call type after the call to reprocess the transcript with a different prompt. This is what gets saved as a note on the Bullhorn record when you click Add Note.
-
Q&A: The questions asked during the call, with summarized answers and AI commentary.
-
Transcript: A full transcript of the call.
-
Ask Amplify: Ask questions about the meeting to get quick answers from the transcript.
-
Record Updates: Highlights details mentioned during the call that can be used to update fields on the associated Bullhorn record. This works the same way as Bullhorn's Note Enrichment feature, using the fields configured in Amplify Admin.
Once you've reviewed the summary:
-
Click Add Note to save the summary as a note on the associated Bullhorn record.
-
Click Save Meeting to save your changes within Amplify without creating a note. Any fields you've selected in the Record Updates section will also be updated on the associated record when you click Save Meeting.
You can return to a past call at any time from the Saved Meetings list to review the transcript, Q&A, and summary.
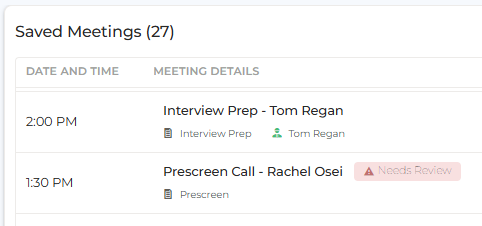
Recent Calls
Your completed calls are listed under Saved Meetings on the main Meetings tab. You can filter by date, call type, and record type.
Any call you haven't yet reviewed will show a Needs Review notice, so it's easy to see what still needs your attention.