Export/Import Automations Between Instances
Easily transfer automations between Bullhorn instances using the import/export feature. This guide walks you through exporting existing automations and importing them into another instance, streamlining setup and reducing manual configuration. Learn how to ensure compatibility, manage dependencies, and successfully migrate your workflows to save time and maintain consistency across instances. Perfect for organizations managing multiple environments or implementing shared processes across teams.
Considerations Before Beginning
Here are some limitations to the feature that should be considered before proceeding:
- This feature is not supported in the Firefox browser.
- Multiple automations can be copied/imported at once.
- Export/import cannot be used with engagements.
- This feature allows users to export/import automation steps and settings only. It will not copy the following components associated with the automation; if the automation includes these steps there will be a blank step where the template should be:
- Surveys
- Emails
- Notifications
- The copy/import feature cannot be used to copy the email settings or templates of notification steps.
- This feature is not intended to support migration across multiple instances.
- Data migrated from one instance to a second, and then again from the second to a third can result in errors. This happens because the automation refers to information that was created during its initial creation, which could be different in each instance.
-
If an automation is associated to a list that was imported, it can not be imported into an instance on a new data center.
- When an automation contains a send email step that is configured for A/B testing it will result in the automation failing to copy.
- Copying will still work when the A/B step is added, but not configured.
Steps to Export/Import an Automation
The following steps can be used to Export an Automation to be Imported into a different instance.
- Log into the Bullhorn Automation instance that has the automation to copy.
- Navigate to the Automations in the menu
- Find the Automation(s) to export and check the box(es) next to it.
- From the Actions drop-down at the top of the list select Export.
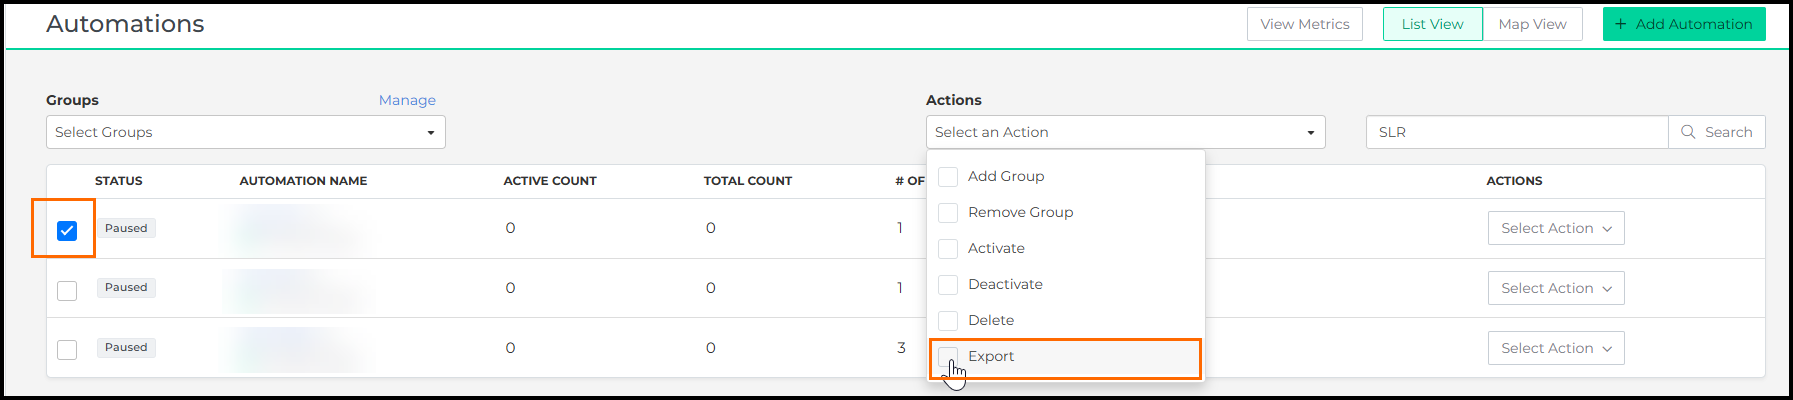
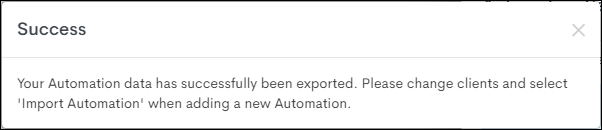
- A prompt will appear asking to confirm exporting the automations.
- After confirming to copy the automation, switch to the Bullhorn Automation instance to import it to.
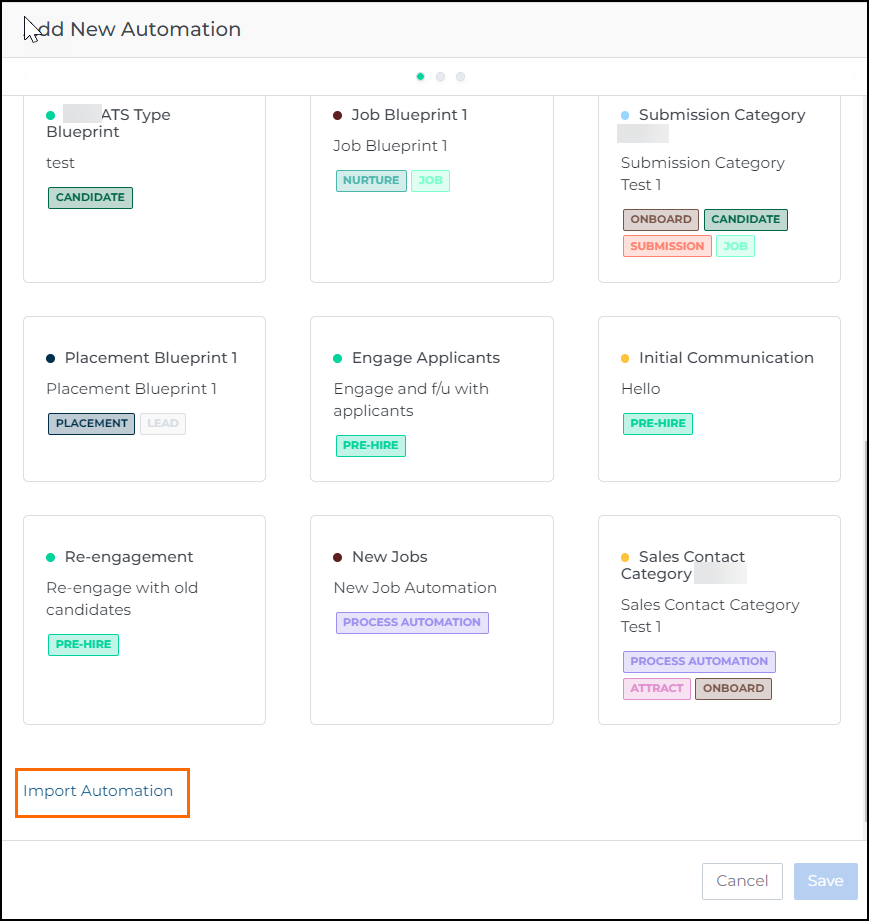
- Open the Automation menu and click the + Add Automation button in the top right hand corner.
- Select the Import Automation option at the bottom of the Add New Automation window.
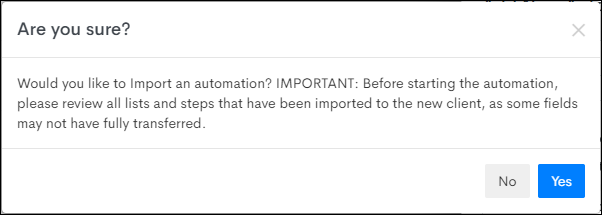
- A prompt will appear advising to check all imported steps and list criteria to ensure there are no blank elements from the data that couldn’t be transferred over. Select Yes to confirm.
- The new automation will generate after a period of time, and will allow modifications and edits as normal. Do not re-click import while the automation generates.
- If there is a prompt for Bullhorn Automation requesting access to the clipboard, select Allow. If the web browser denies access to the clipboard, the import will not work.
- Once the import is complete, it is recommended checking over the settings and associated lists once more to verify that they are configured correctly. Imported automations are paused, so once the settings and lists are verified, enable the automation.