Create Notifications
This article explains how to create notifications for members of your internal team using .
There are universal notification settings that allow you to enable or disable common notifications such as job views, job applications, clicks, and opt outs. Those settings are "all or nothing" as they can only be switched on or off.
Many clients prefer to control which notifications go out, or to set up notifications for specific activities. This article will guide you through those steps and give you a few ideas on what you can create notifications for.
Steps
- Identify which activity or behavior you'd like to base a notification on. For a starting point, see Notification Use Cases.
-
Build a dynamic list for that behavior.
An easy way to build a dynamic list is by going to (upper right-hand corner) and build your search with the activity or behavior in mind. You'll be able to see who matches the search, and if everything is as desired, you can save your dynamic list right by clicking Save as List, entering a name for your list, and pressing Save.
-
Build an automation. The dynamic list you just created will be added to the automation.
You'll most likely want people to enter more than once into the automation so that the notification happens each time the activity occurs. If so, either include wait steps, or within the automation settings, set a number of days before someone can re-enter the automation. This will prevent your emails getting flooded with the same notifications.
- Add a notification step to your automation and select how often the notification should be sent. See Notification Types for more information.
-
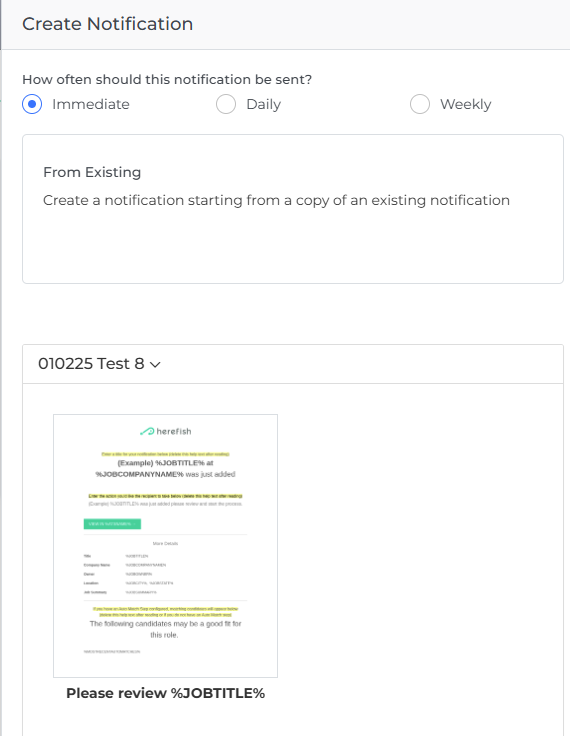
Create your notification from one of the two options below:
- From Existing: Select this option to attach a preexisting notification. You'll see a list of other automations you've created before alongside notification previews. This is a good option for quickly setting up notifications without having to rebuild them each time.

- From Template: Upon selecting this option, the Email Builder will open. You can now create a notification by editing the template provided. See Email Builder to learn more.
Merge tags aren't available if you selected the Daily or Weekly option in the previous step. By default, only the Name, Email, Phone Number and ATS Link fields are included and can't currently be customized.
- From Existing: Select this option to attach a preexisting notification. You'll see a list of other automations you've created before alongside notification previews. This is a good option for quickly setting up notifications without having to rebuild them each time.
- Add an End Step, and your custom notification is ready to go live.