Creating New User Roles
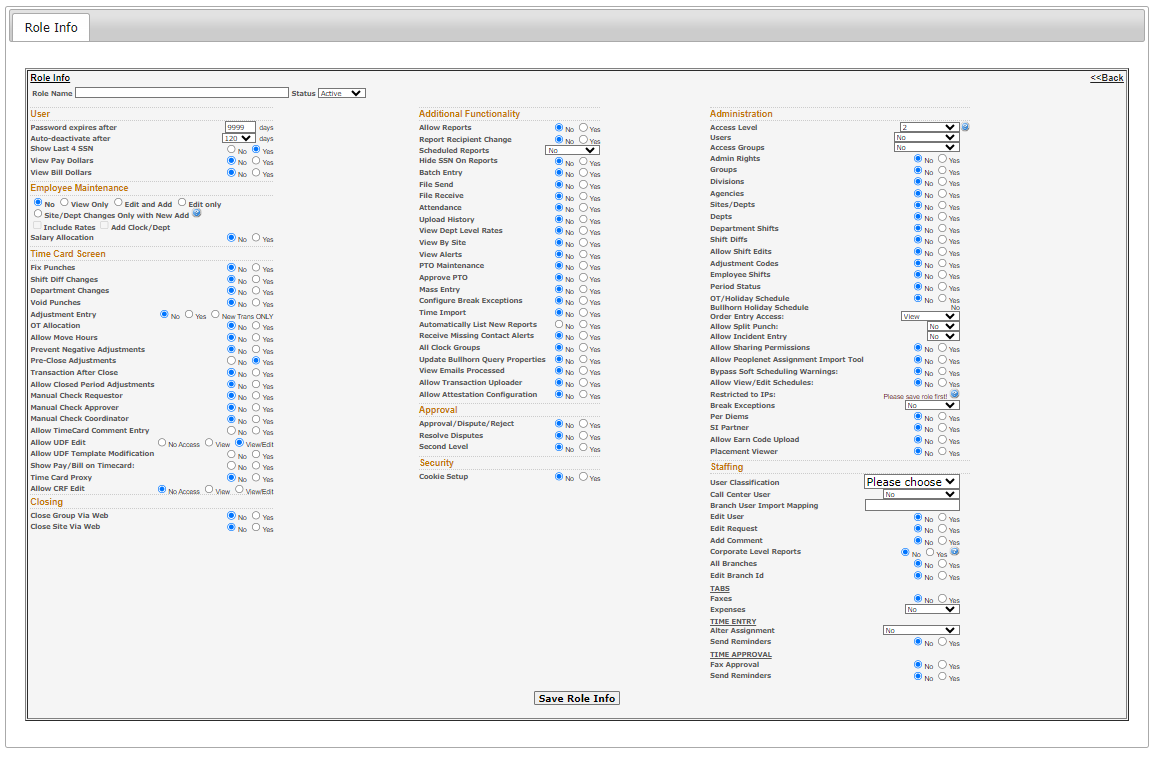
User Roles are assigned to Admin Users to determine what a User has access to in the Time Management Console (TMC). You can assign multiple users to a role to give them identical access and create new roles for different access levels.
- In the TMC, navigate .
- Click Roles.
- From the Roles screen, you'll see a list of all existing Roles. Here you can create a new role two ways:
- Click into the role that is the most similar to the one you want to create. Then click Copy Role at the top of the page. This will copy over all of the original role's settings to edit.
- Click the New Role button at the bottom or the page to create a new blank role.
- On the new Roles Info screen, fill out the Role Name field.
- Choose the appropriate settings to define access for users with this role.

- For a full list of settings and their descriptions see User Role Options.
- For common Role setting combinations see Common User Roles.
- When you are done, click Save Role Info at the bottom of the screen.
To learn more about assigning users to your new role, see Adding New Admin Users.
Was this helpful?