Custom Mapping Tool: General Settings
Overview
In the General tab of the Custom Mapping Tool, you may configure several options.
Steps
- Select a template from the list in the Configurations menu.
- You may choose a newly created template or one already in use.

- Click the Report Settings tab for the template to make changes.

- Enter the required report details as needed.
- For more information on configuring other Report Settings, see Report Settings.
- From the Mapping Code dropdown, select Custom Mapping.
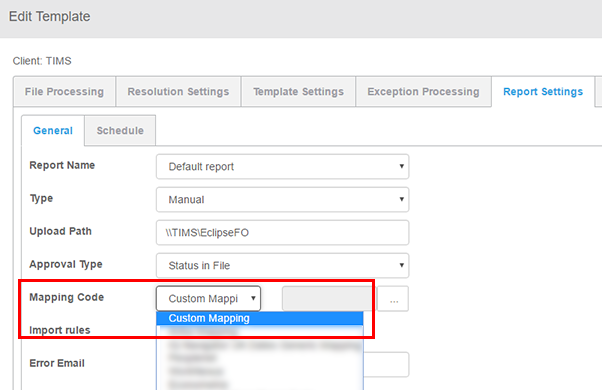
- Click the More button
 to the right of Mapping Code to open the mapping tool.
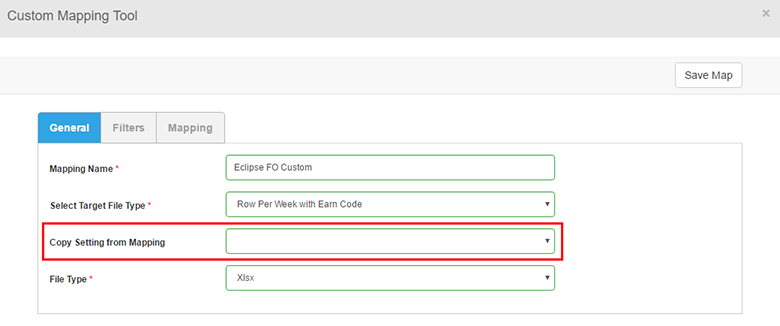
- Select the General tab.
- Complete the following fields as needed:
Mapping Name
- The Mapping Name is the name of the mapping you will create.
- Name this however you like. This mapping name may be referenced if you use the same custom mapping for another template in the future.
Select Target File Type
File Type indicates the format of details on the file. You should choose the option here that best matches the orientation of data on your file:
- Row Per Day - files of this type will include individual rows for each day in the week. If an employee worked 8.5 hours on Tuesday and 9.4 on Wednesday, each day would be shown separately on the file.
- Row Per Transaction - this file type will include separate rows for each transaction. For example, if an employee worked 9 a.m. through 5 p.m. and clocked OUT for a break from 12-1 p.m., you would see separate rows for the two 4 hour work segments on your file.
- Row Per Week - this file type will the total hours details for each employee per week on a separate row. All hours are worked earn code hours.
- Row Per Week with Earn Code - similar to the file type above, but capable of breaking down hours by adjustment codes. For example, an employee that worked some hours and took PTO time may be represented with 24 hours as WORKED and 16 PTO hours.

- Copy Setting from Mapping
- Use this menu if you want to reuse the mappings you've already created from a previous session. If you want to copy a mapping already used, you can click the menu and choose a Mapping Name from the list.
- Use this menu if you want to reuse the mappings you've already created from a previous session. If you want to copy a mapping already used, you can click the menu and choose a Mapping Name from the list.
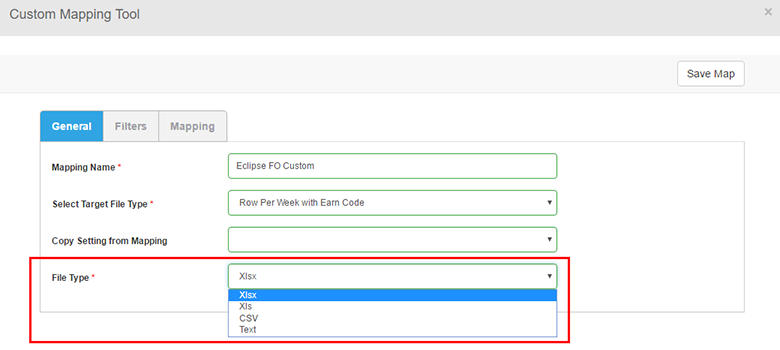
- File Type
- Choose the format of the target file from the menu shown.
- Choose the format of the target file from the menu shown.
-
When you're done making changes on this tab, click Save Map to save your changes.
- Alternatively, select another Custom Mapping Tool tab to configure more options.
Related Articles
Was this helpful?