Custom Mapping Tool: Mapping
Overview
The Mapping tab allows users to perform the most critical part of custom mapping. This is where users indicate the format of the report so Exchange can process files correctly.
Steps
- Select a template from the list in the Configurations menu.
- You may choose a newly created template or one already in use.

- Click the Report Settings tab for the template to make changes.

- Enter the required report details as needed.
- For more information on configuring other Report Settings, see Report Settings.
- From the Mapping Code drop-down, select Custom Mapping.
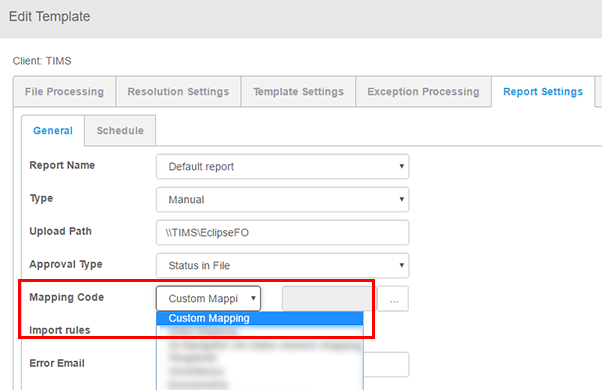
- Click the More button
 to the right of Mapping Code to open the mapping tool.
- Select the Mapping tab.
- Complete the following fields as needed:
- First and Last Name
- The left drop-downs in this section to indicate the mapping options for the first and last names found on your target file:
- Single Column - Select this option if your file includes a dedicated column for either first or last name.
- Comma Separated - This option is suitable for comma separated file types only.
- Full Name without Comma - If all first and last name details are found within a single field on the file.
- The right drop-downs indicate where the specific details are found on your target file.

- The left drop-downs in this section to indicate the mapping options for the first and last names found on your target file:
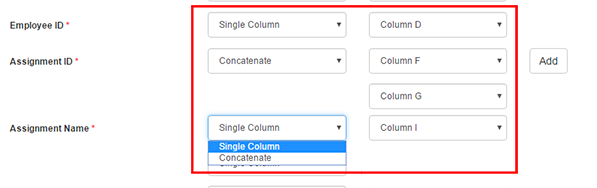
- Employee ID, Assignment ID, and Assignment Name
- Indicate how details are found for these items using the menus that appear.
- Options for the left menus include:
- Single Column - Use this option if your file has a single column that houses any of these three fields.
- Concatenate - Select this if your target file combines two or more columns together to create one of these three qualities.
- For example, if data in Column F and Column G comprises the Assignment ID, choose Concatenate and then select those columns.
- If needed, you may add additional columns in the correct order of concatenation after clicking Add.
- Approval Status and Earn Code
- These file details are mapped in the next section. Use the menus on the left to indicate how to map these qualities.
- Options can include:
- Single Column - Use this option if your file has a single column that houses either of these fields.
- Single Cell - If there is a single cell in the file that indicates the earn code, select this option. If you choose this option, you'll need to indicate the row number in addition to the column details.
- Static - Choose this option if the Approval Status on your file is always the same. Choose between Approved and Pending Approved.
- Lookup Table - Use this option to Download and fill out a template that includes the details for your file in the first column and the matching details in the second. After you save the details in the file, you can then Upload and import these details to the mapping.

- Week Date
- Use Week Date options to indicate date options on your target file.
- Use the left drop-down to choose:
- Single Column - If the date is housed in a single column on your file.
- Single Cell - Choose this if there is a single cell in the file that indicates the week date detail on a regular basis. If you select this, you'll need to show which exact row and column shows these details.
- The center drop-down indicates where the specific details are found on your target file.
- Use the right drop-down to indicate the format of the dates included on your file.
- Choose from an option listed to match the format from your file.
- In addition, you will need to choose whether the date included in your file is a Week Starting Date or Week Ending Date.

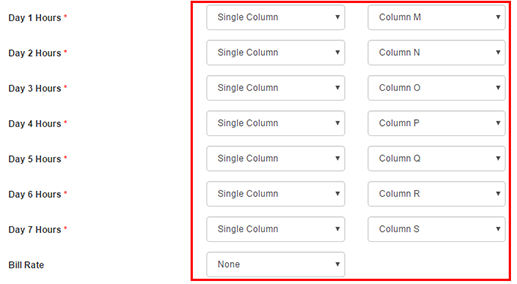
- Hours Per Day and Bill Rate
- You must indicate the column for each day's data using the menus on the right.
- The only option you have for sorting these details is Single Column.
- The only optional field here is the Bill Rate field. If this data is included in your file, you can open the menu on the left and choose Single Column.
- You will need to indicate which column hosts this information.
- You must indicate the column for each day's data using the menus on the right.
- First and Last Name
- Click Save Map at the top to save your mapping configuration.
- If you've already set all other options, you can close the Custom Mapping Tool.
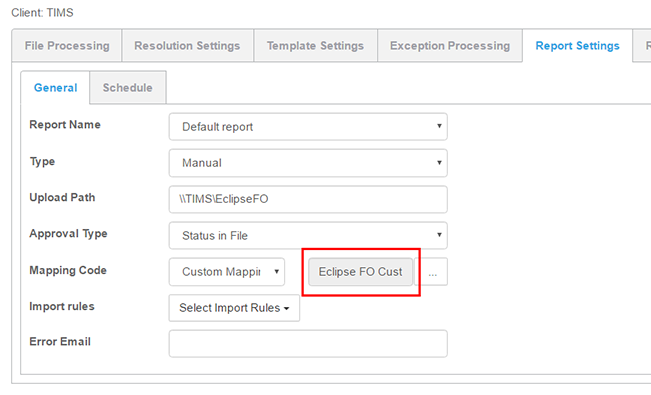
After saving your custom mapping, you'll notice the name of that mapping appear next to the Mapping Code selection.
Related Articles
Was this helpful?