Pendo Network Troubleshooting
Overview
This article contains steps for troubleshooting network issues when using the Pendo clock.
Jump To Section
- Check Cabling and Connections
- Reboot the Device
- Network Test
- Confirm Network Connection
- Review Network Settings
- Set a Proxy Server
Troubleshooting
Check Cabling and Connections
- If the clock is not communicating, first make sure that the Ethernet cabling is secure on both ends.
- Unplug the cable from the bottom of clock and reconnect it.
- Find the other end of the cable (where it plugs into an Ethernet port in a wall or router) and unplug and then reconnect the cable.
- You will see lights flashing when a connection is solid and active.
If possible, try replacing the current Ethernet cable with a different Ethernet cable as that can resolve some issues.
Reboot the Device
Unplug the clock from its power supply for 10 seconds and then plug it back in.
Network Test
Perform a Pendo Clock Network Test .
- If the test passes, next select the Force Check In option from the Manager Mode menu to manually send all punches from the clock. Any missing punches should typicall show up in within 10 minutes.
- If the clock fails the Network Test, proceed with troubleshooting and confirm network details.
Confirm Network Connection
To confirm network traffic is flowing between your network and the Pendo clock:
- PING the clock’s IP address from a PC that is on the same local network.
- If the clock can be PING’ed on the network this indicates that the clock is setup correctly on the network but is failing to connect externally.
- Generally this would mean that the DNS settings need to be looked at or the firewall is blocking access to the host on port 443 (HTTPS).
- If the clock cannot be PING’ed on the network this indicates the clock is NOT setup correctly on the network. This is usually a STATIC IP setup problem or a cabling problem.
- In some cases the network configuration will not allow PING to occur – which is rare.
- If the clock can be PING’ed on the network this indicates that the clock is setup correctly on the network but is failing to connect externally.
If your network doesn't allow PING command, use the steps below:
- If the clock cannot be PING’ed, try accessing the clock via a web browser from a machine that is connected to the same network. In the web browser’s address bar enter the IP address of the clock.
- This should bring up a clock configuration page.
- If the configuration page does not load then the clock may not be setup on the network correctly. Insure the settings on the clock are correct and check the cabling to the clock.
- If the clock passes PING tests and Time Servers but fails on HOST test, it usually indicates the clock’s terminal ID is incorrect or is not setup on the HOST.
Review Network Settings
- Have there been any network changes/outages? The clock will not be able to send punch details if there is a network outage. If there is a known outage, the clock is capable of both storing an ample amount of punch details while offline, then transferring those punches to when a connection is available again.
Review Firewall Settings
- Is a firewall present? If so, are Ports 80, and 443 open? Both ports must be open in order for the clock to communicate.
- Is the clock supposed to communicate with DHCP settings or Static settings? Have there been any changes with how this is configured? Review the DHCP and Static Settings sections below.
Review DHCP Settings
- If the clock should use DHCP settings, press the blue enter key at network setup, and press the blue enter key again at DHCP. Confirm that DHCP is turned on. If DHCP is turned off, turn this on and wait for the device to reboot. If the clock should use Static settings, please skip the rest of this step and review that section below.
- If the device does not reboot, manually reboot the clock by selecting the Reboot option from the Manager Mode menu.
- After the clock reboots, try running the Network Test again.
- If the test passes, next select the Force Check In option from the Manager Mode menu to manually send all punches from the clock. Any missing punches should typically show if in within 10 minutes.
- If the test fails, there may be a problem with the DHCP configuration on the network. The onsite admin should contact the local IT team for further assistance with configuring DHCP to work properly with the clock.
Review Static Settings
- If the clock should use Static settings, those details must be provided to so that they may be programmed into the clock.
- does not provide IP information.
- The 5 parts of the IP address are outlined below.
- If IP details are unknown, please speak directly with your local IT team.
- To review the current Static IP settings, enter Manager Mode and press the blue enter key at View Network. Scroll down and confirm that each of the 5 components are set correctly.
Change Static Settings
- To make changes to the current values, enter Manager Mode.
- Press the blue Enter key at Network Setup.
- Scroll down and press the blue Enter again at Static.
- Correct the following values as needed:
- IP address - If this value is incorrect, you must re-enter it.
- If the IP address should be “67.94.225.8”, you must enter leading zeros for each part of the address.
- Example: The address should be re-entered as “067.094.225.008”.
- Subnet Mask - If this value is incorrect, you must re-enter it. The same rules for leading zeros apply to the Subnet Mask.
- Gateway Address - If this value is incorrect, you must re-enter it. The same rules for leading zeros apply to the Gateway Address.
- IP address - If this value is incorrect, you must re-enter it.
- After re-entering the IP Address, Subnet Mask, and Gateway Address, the clock will prompt you to save the values entered.
- If you are ready to save everything present, press the green YES key to save or the red NO key to review and re-enter. Once you save the details, the clock will reboot.
- Go back in to Manager Mode, scroll down and press the blue Enter key at Network Setup.
- Scroll down and press the blue Enter key at DNS Server:
- Primary DNS/DNS 1 - Re-enter DNS 1 if needed.
- The same rules for leading zeros apply to DNS 1.
- Press the blue Enter key if the value is correct after review, or if you had to re-enter the IP address.
- Secondary DNS/ DNS 2 - Re-enter DNS 2 if needed.
- The same rules for leading zeros apply to DNS 2.
- Press the blue Enter key if the value is correct after review, or if you had to re-enter the IP address.
- Primary DNS/DNS 1 - Re-enter DNS 1 if needed.
- After re-entering the DNS Values, the clock will prompt you to save the values entered.
- If you are ready to save everything present, press the green YES key to save or the red NO key to review and re-enter.
- After you save the details, manually reboot the clock by selecting the Reboot option from the Manager Mode menu.
-
Perform a Pendo Clock Network Test .
Set a Proxy Server
You many require a proxy server to connect outside of your network. If this is the case, you the steps below for setting up a proxy server.
- Ensure the Pendo clock is connected to your local network using DHCP or Static IP address.
- To access the Pendo Web server, enter Manager Mode on the clock
- Scroll down to Set WebServer and press YES.
- The clock will reboot and you will now be able to login via the web portal.
- Every time the clock reboots, the access to the web server will be disabled.
- Get the IP Address of the clock as it boots up.
- Open up a browser session from a local PC that is connected to the same network as the Pendo clock.
- Enter the IP Address of the clock in the browser address field.
The browser will load the Pendo clock administration web page.
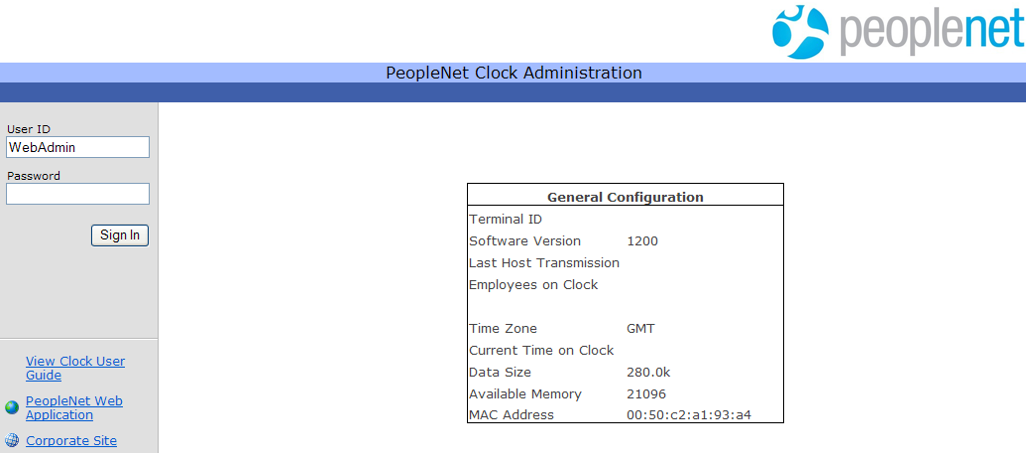
- Enter the admin password “1793-web” (without the double quotes) and select Sign In.
- The web page will change to allow entry of clock settings.
- Enter the proxy server information in the appropriate fields and click SUBMIT.
- Perform a Network Test on the physical clock.
- If the upload test passed, then the proxy server was setup correctly.
Related Articles
Was this helpful?