Add Contact Forms with Zapier to Connect your ATS
This article explains how to add a contact form to your website and connect it with Zapier, so new contacts added from your website will go directly into Bullhorn.
In the example below, the following tools are in use, but the same concepts apply for others:
- ATS: Bullhorn
- Website platform: Wordpress
- Form builder: Gravity Forms or Contact Form 7.
- Middleware: Zapier
Choose a Form Builder
If you have all the forms you need on your website and it already integrates with other systems, you can skip this step.
If you already have a form that sends an email when it has been completed, you can still skip this step. However, you might find the "parse email," step more challenging than if you use one of these form builders:
- Gravity Forms: This is a very powerful form builder that allows you to easily integrate with other systems. It has additional customization options that the free option does not.
- Contact Form 7: This is the most popular Wordpress form builder with over 5 million installs. You can integrate it, but to do it you'll 'parse' the notification email, which can be challenging.
Add Form Builder to your Wordpress Website
Once you've decided which option you want to use, add it to Wordpress with these methods:
Gravity Forms
- When purchasing your license, select the Pro option or above, which includes the Zapier plugin.
- After you've purchased a license, follow these instructions to add the form to your site.
- Follow these instructions to add the Zapier plugin.
Contact Form 7
- Log into Wordpress.
- Go to Plugins.
- Select Add New.
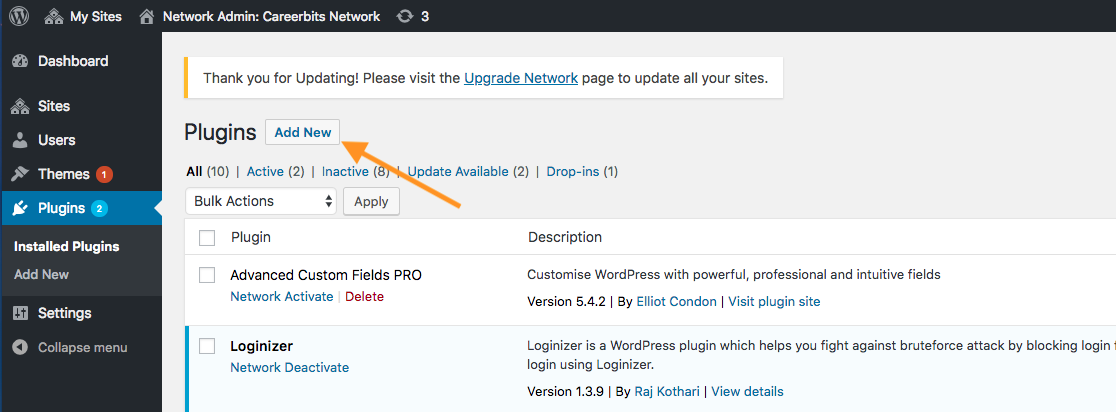
- Search for "Contact Form 7".
- Click Install Now.
- Click Activate.
Create Your Form
Follow the instructions for creating a form with Gravity Forms or Contact Form 7.
Integrate Your Form with Zapier - Trigger Step
- If you don't have a Zapier account, go to zapier.com to create a free account.
- Click Make a Zap and follow the steps below for your form builder.
Gravity Forms
- Search for and select Gravity Forms.
- Select New Form Submission.
- Copy the displayed URL.
- Go back into Wordpress and navigate to your Gravity Forms settings. Detailed instructions are available here.
- Pull in a sample and confirm it looks as expected.
Contact Form 7
- Go to Zapier's Parsing Robot and log in with your Zapier account. We've listed the steps, but you can always view the parsing robot's support documentation here.
- Select Create Mailbox.
- You will now get a temporary email address that looks something like this: zzg1tzo2ue@robot.zapier.com.
- Go to the form you created in Contact Form 7 and add the email address to the list to receive new submissions, then save.
- Send a test form submission so the information is sent to the email address you just added.
- Go back to the Parsing Robot page in Zapier and create your template. Here you will be marking fields such as First Name, Email Address, etc, to get your form submissions into a format that Zapier can support.
- At this point you can also change your email address to something more friendly if you like. If you do, make sure you update your form as well!
- Log into Zapier, then search for and select Email Parser by Zapier.
- Select New Email, then select your account and mailbox.
- Pull in a sample and confirm it looks as expected.
Integrate with Zapier - Action Step
You now have the form on your website and the responses are being collected. Next you will automate the process of adding them to your ATS.
- Choose your app. In our example, we're using Bullhorn CRM.
- Select Create a Contact or Create a Candidate.
- Enter your Bullhorn login information.
- Set up your template. This is where you'll map each field from your form into a Bullhorn field.
- If you also want to denote which form was completed, or include other information to make it easier for Bullhorn Automation to find, you can do that here as well. Type the information into the field and it will be the same for everyone who completes the form.
- If you want to use multiple forms without setting up a new Zap each time, you can add information about each form into the confirmation email or Gravity Form. When you push the data into Bullhorn, you can include that value too.
Push the Contacts into Bullhorn Automation
This is the easy part! Set up a search with whatever information you've chosen to use to identify these people in your ATS. From there, syncing these contacts to Bullhorn Automation will work the same way it does in every other scenario. For help setting up a search, see Create a List.
Overview of creating the forms in Zapier: