Setting up Contacts for Emailing Invoices
Overview
The First step in Emailing Invoices is to configure Email settings on the Department level.
Steps
- Navigate to the Companies tab.

- Open the company record by selecting the Binoculars
 next to the company name.
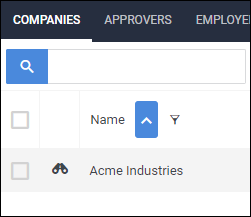
- Choose the Contacts tab.
- This tab may be labeled differently depending on your setup.
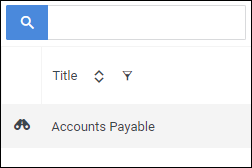
- In the Contact list, select the contact you would like to edit by selecting the Binoculars next to the contact's name.
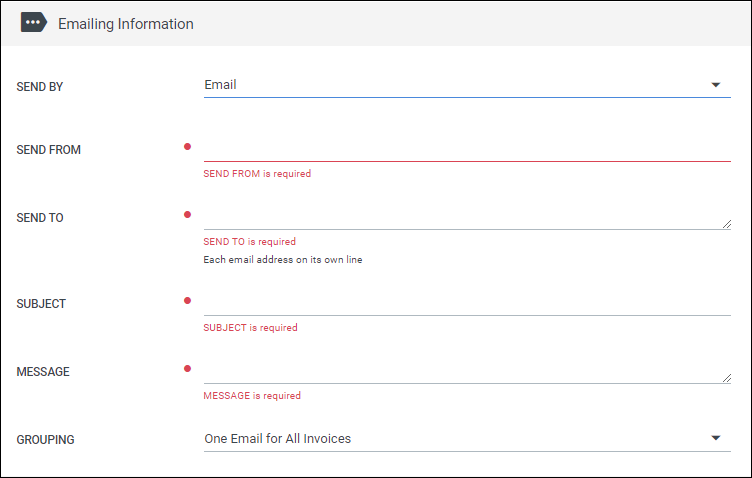
- On the Contact's Edit tab, scroll down to the Emailing Information section.
- Make sure the Send By field is set to Email.
- This will enable the rest of the Emailing fields.
- Complete the following fields:
- Send From: This is your Accounts Receivable email address.
- This will populate from the Control Panel defaults, if set.
- Send To: This is the email address for the contact that receives/processes the invoices.
- Subject: The subject line of the email.
- This will populate from the Control Panel defaults, if set.
- Message: The body of the email message.
- This will populate from the Control Panel defaults, if set.
- Grouping: Determines how invoices for this contact are emailed to the contact:
- One Email for All Invoices - If multiple invoices are being emailed to the contact at one time, BBO will attach all of the invoices to one email.
- One Email for Each Invoice - When there are multiple invoices for the contact, BBO will email each invoice separately.

Note: You can use variables in the email subject and message to auto-populate data in your emails. Select
 to see a list of available variable or see Using Variables in Email Messages for more information.
- When using variables, be sure to include the entire variable with the brackets [].
- Send From: This is your Accounts Receivable email address.
- Once you are satisfied with your changes, select Save.
Was this helpful?