Creating a New Packet
Overview
Packets can be used as a way to quickly distribute Document Groups to employees or Assignments. This article contains information on how to create a new packet.
Steps
Creating a New Packet
- Navigate to the Onboarding tab.

- Go to the Packets sub-tab.
- Select Create New Packet.
- On the Create Packet screen, enter in a name for the packet.

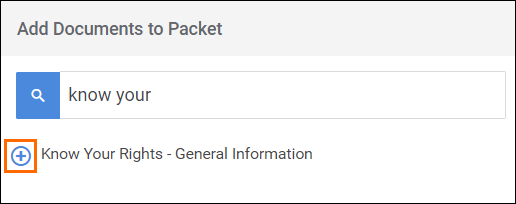
- To add a document to the packet, locate the documents you wish to add and select
 next to the document name.
- You can also use the Filter Documents... search to quickly locate documents to add.
- Once you are done adding documents, select
 to finish building the packet.
 - Your new packet will display in the Packet list.
Organize the Contents of a Packet
When you are building a packet, you may want the documents to be listed in a specific order you want the candidate to complete them.
- After selecting a packet from the Packets list, you can change the order of the documents by holding
 and dragging the document to the desired spot on the list.
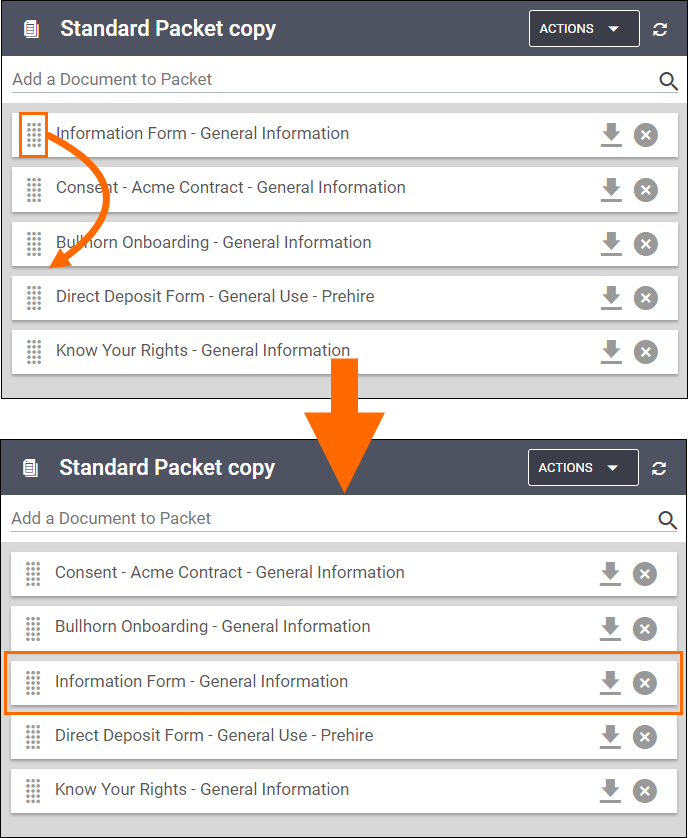
- Select
 to save the changes to the new packet.
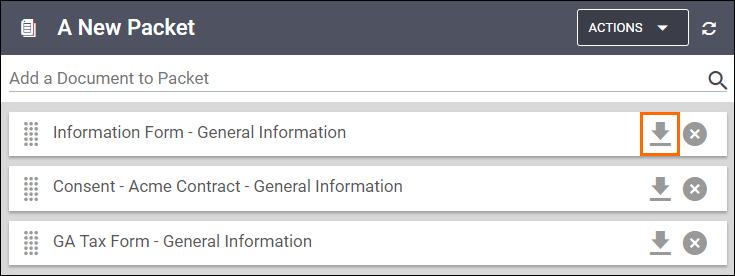
Viewing Document PDFs
If you want to look at a PDF copy of a document contained in the packet to verify it is the document you want to include, you can do so by selecting [ ].
].
Rename Packet
After building a packet, you may find that the name you gave your packet doesn't fit its contents as well as it could. If that is the case, you can rename the packet.
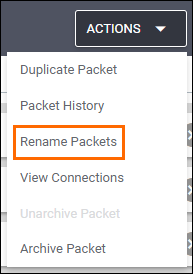
- After selecting a packet from the Packets list, select Actions > Rename Packet.
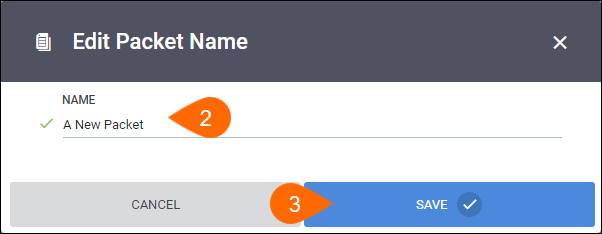
- In the Edit Packet Name window, enter in a new name for the packet.
- Select Save to confirmation your changes.
Was this helpful?