Creating an Expense Report (V2)
The following functionality is for Expenses V2. If you are unable to complete the steps below you may be set up with Expense V1. See Expenses (V1) for V1 documentation.
To enable Expenses V2 contact your Account Manager.
Your agency may require you to submit on the job expenses through a Web Time Entry (WTE) Expense Report. Expense Reports can be created, edited, and tracked through the WTE Expense Dashboard.
Follow the steps below to create and submit an Expense Report. To see an interactive demo of these steps, see Interactive Demo: Creating & Submitting an Expense Report (V2).
-
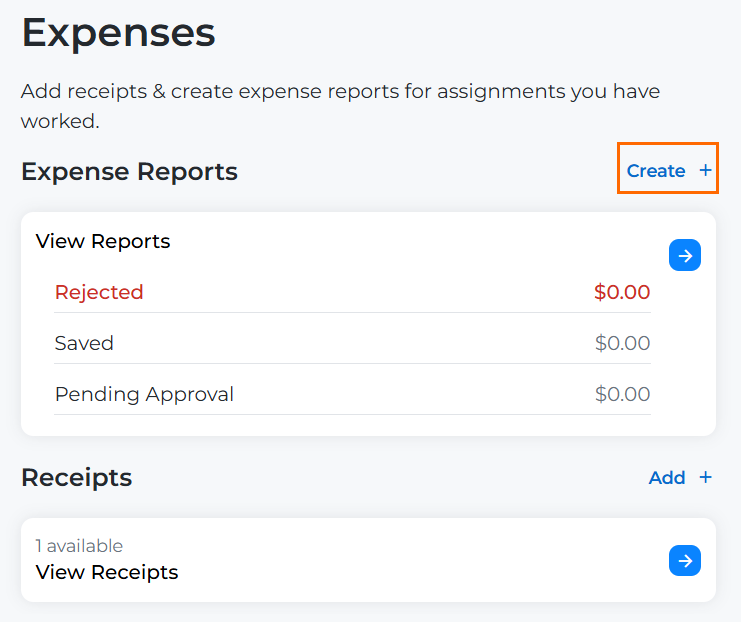
From your Web Time Entry Dashboard, select the Expenses tab.
-
Next to the Expense Reports heading, select Create.
-
Fill out the following fields:
-
Report Name: Enter a unique name for your report.
-
Client Assignment: Choose the client assignment your report should be logged under from the drown down.
-
Select Week Ending: Select the Week Ending date your report should fall under.
-
 Configuration-dependent fields
-
Business Reason: Your agency may require you to fill out a business reason for your Expense Report. Choose from the drop down list provided on the field.
-
Billable: You will only see this field if your agency allows you to create Pay Only Expense Reports.
A separate workflow is available for non-billable (pay only expense reports) where if an employee has a combination of available Expense Earn Codes that are pay only as well as billable. The employee can select whether the report is billable. If non-billable, it can go to a separate non-bill expense approver (typically someone internal).
This option can only be enabled by reaching out to Bullhorn Support.
-
-
-
Click Create.
-
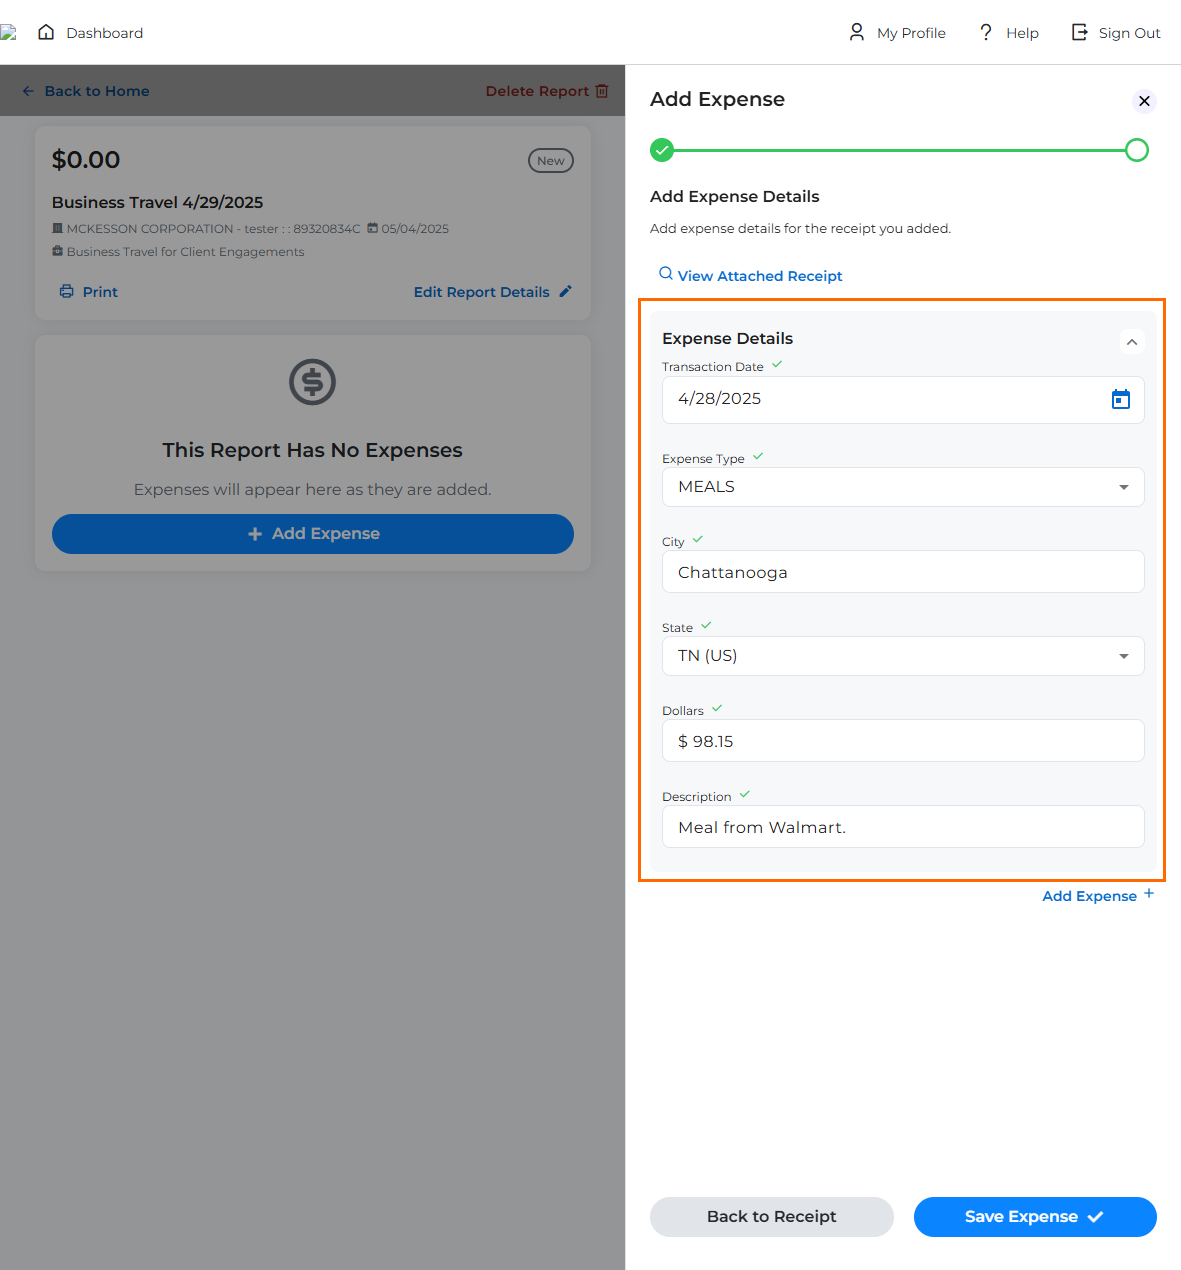
Click Add Expense.
-
Select Add Receipt if you haven't uploaded your receipt yet. Select Browse Available Receipts if you already uploaded your receipt using the instructions in Uploading Receipts to your Expense Dashboard (V2).
All receipt files must adhere to the following guidelines:
- Acceptable file types: .jpg, .jpeg, .png, .gif, .tif, .pdf
- Maximum Image size: 4MB
If you choose not to attach a receipt to your expense report, a Missing Receipt Declaration may be automatically attached to your report. A Missing Receipt Declaration ensures expenses can still be submitted when documentation is unavailable while maintaining accountability and compliance. Whether or not a declaration is attached to your report depends on your agency's configuration.
-
Enter the Transaction Date.
-
Select the Expense Type from the drown down.
-
Fill out any additional fields. The available fields depend on the Expense Type selected.
-
If you need to add another Expense to this receipt, select Add Expense. If you are done, click Save Expense.
-
Click Submit Report.
-
A confirmation pop up will appear. Click Confirm and Submit to submit the report.
You have successfully submitted your report. You can edit any reports until they are approved using the instructions in Editing Expense Reports (V2).