Managing Expense Receipts (V2)
The following functionality is for Expenses V2. If you are unable to complete the steps below you may be set up with Expense V1. See Expenses (V1) for V1 documentation.
To enable Expenses V2 contact your Account Manager.
Your agency may require you to submit on the job expenses through a Web Time Entry (WTE) Expense Report. Expense Reports can be created, edited, and tracked through the WTE Expense Dashboard.
Receipts are uploaded to your Expense Dashboard to be attached to individual Expense Reports. You can manage your receipts using the steps below.
-
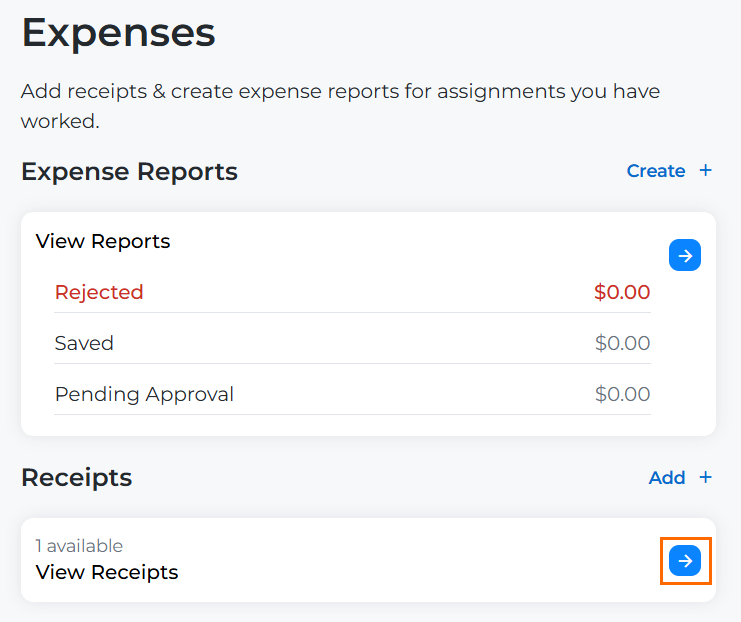
From your Web Time Entry Dashboard, select the Expenses tab.
-
Select the blue arrow next to View Receipts.
-
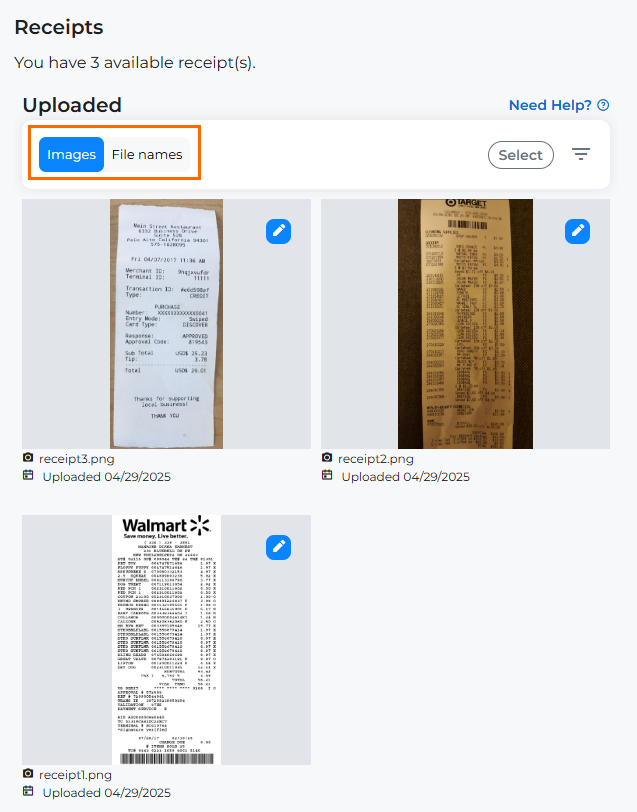
Under Uploaded Receipts you can see the full list of receipts you have uploaded. From here you can take the following actions:
-
Change the Receipt List View: Use the Images / File Name toggle to change the view of your receipt list.
-
Change the Sort Order of the Receipts: Select the filter button to change the sort order of your receipt list. You can choose between Upload Date (New to Old or Old to New) or Alphabetical Order (A - Z or Z - A).

-
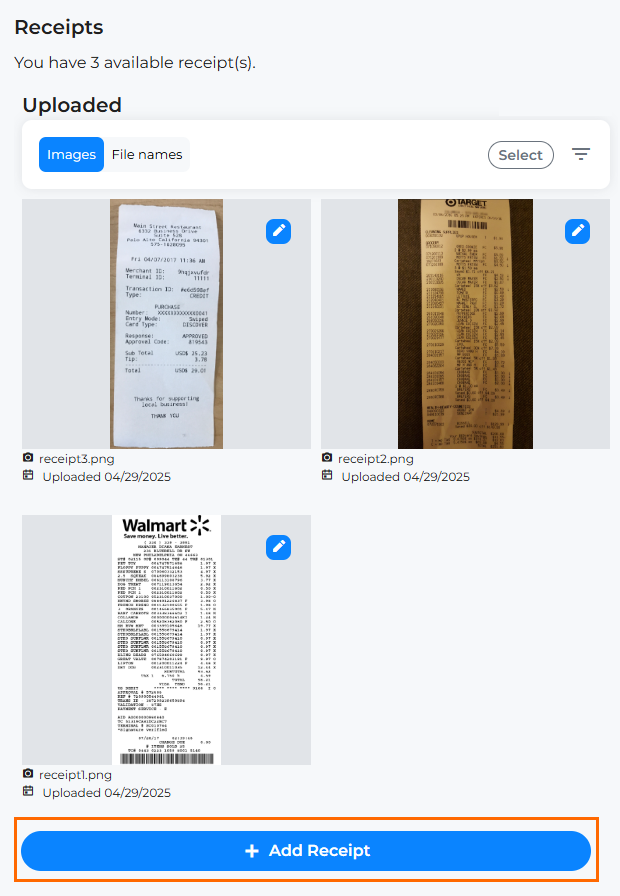
Add Receipts: Click Add Receipt to upload a new receipt file. For full instructions, see Uploading Receipts to your Expense Dashboard (V2).
-
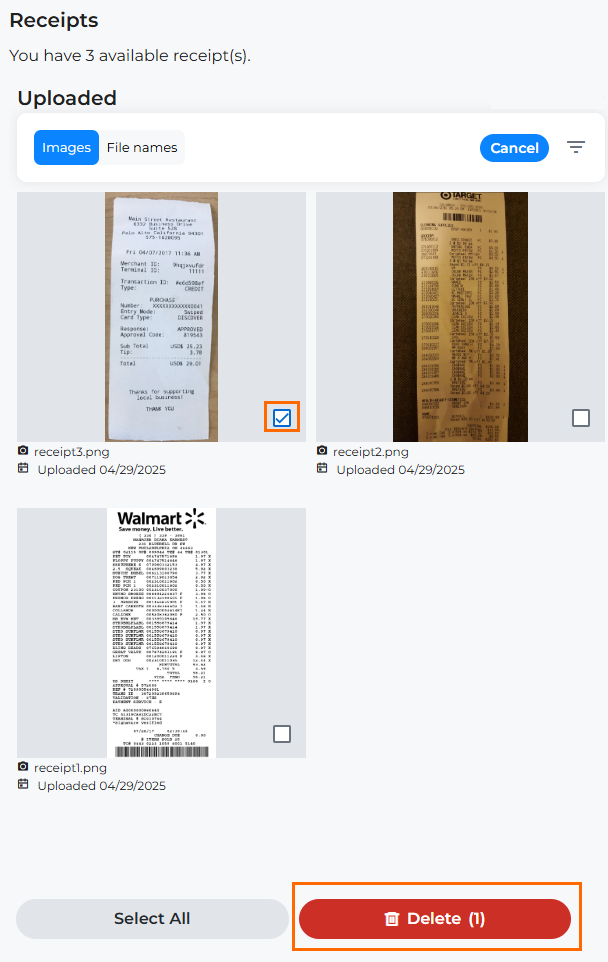
Delete Receipt: Click Select to select receipts to delete. You can mass delete receipts by selecting more than one and then clicking Delete. You can also delete a receipt by clicking the edit pencil icon > Delete Receipt.
-