| Edition: Enterprise | Audience: OneView Page Admin |
Creating a OneView Page
This article explains how to create a OneView page in OneView Pages Admin. You can create a OneView page from scratch, or by cloning an existing page and editing it.
Add or Clone a OneView Page
- Go to Admin > OneView Pages.
- A Default page will always be available in the account. This page holds pre-built sections which can be edited and removed if needed. Any existing sections that have been created will not be affected.
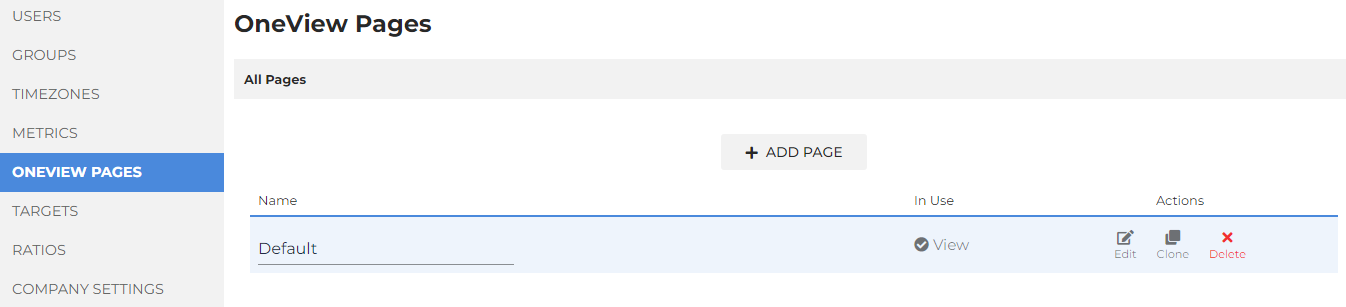
- A Default page will always be available in the account. This page holds pre-built sections which can be edited and removed if needed. Any existing sections that have been created will not be affected.
- You can either add a brand new page by clicking the Add Page button, or clone an existing page by clicking the Clone icon.

- Click the In Use - View icon against an existing OneView Page to see a list of all groups and users using or inheriting that page.
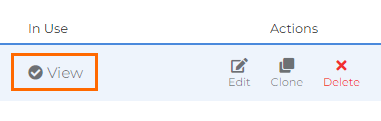
- Click the In Use - View icon against an existing OneView Page to see a list of all groups and users using or inheriting that page.
- After adding or cloning a OneView page, your new page will appear in the list. Click the Edit icon to start editing.
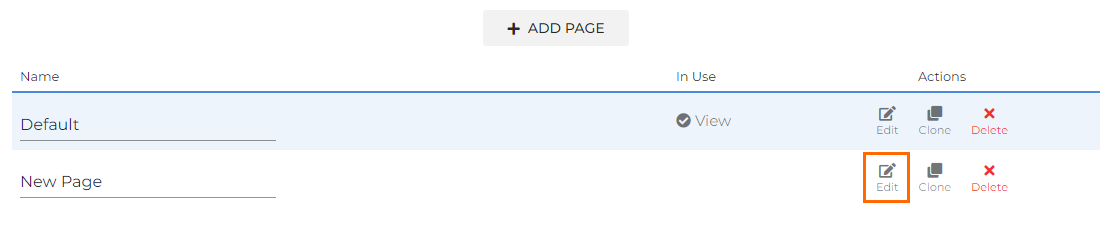
See Customizing a OneView Page for help with adding sections, metrics, and ratios to a OneView page.
Some ideas to consider when building OneView pages:
- Do you divide business by Contract and Perm? If so, you could create separate OneView profiles so only the relevant metrics are visible, e.g. removing all metrics relating to contract/temp for your dedicated perm/direct hire users.
- Create a high-level view for Directors and Owners which focuses on sales rather than activity, e.g. remove all non-essential activity metrics and move the sales/revenue metric section to the most prominent position at the top of the page.
- Design a page based on candidate generation metrics to help your most junior staff members, e.g. remove all non-essential revenue and activity metrics, create a refined section of candidate and call-focused metrics, and move this section to the most prominent position at the top of the page.
Was this helpful?