| Edition: Growth, Corporate, Enterprise | Audience: Timeframe Admin |
Creating and Managing Timeframes
This article explains how to create and manage timeframes in Bullhorn Analytics.
Adding a New Timeframe
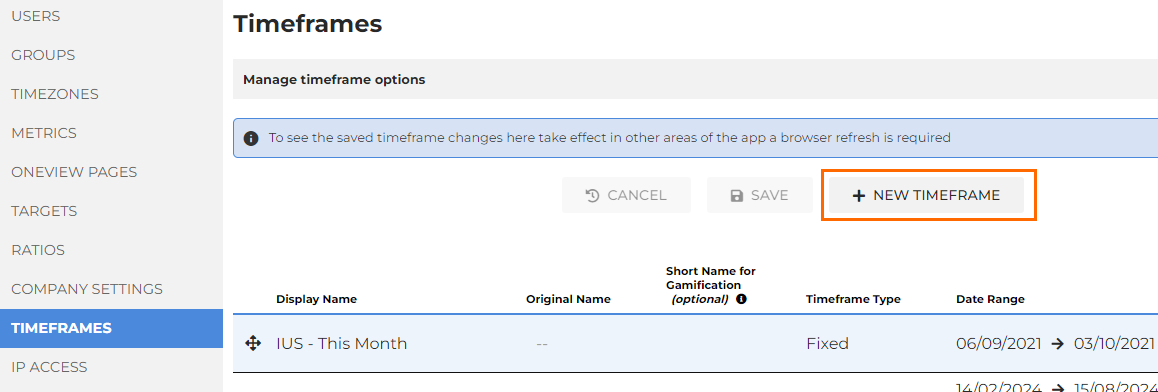
- Go to Admin > Timeframes.
- Click New Timeframe.
- Alternatively, you can copy an existing timeframe to edit by clicking the Copy icon (
 ).
).
- Alternatively, you can copy an existing timeframe to edit by clicking the Copy icon (
- Give the new timeframe a name and a short name. The short name is optional but is useful for the Gamification display.
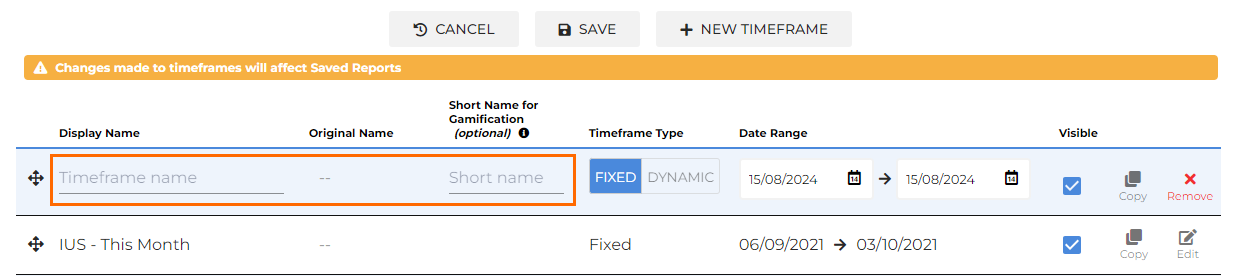
- Choose whether the timeframe should be Fixed or Dynamic:

- Fixed timeframes are used to set a specific period of time from a single start date to a single end date, e.g. 01/01/2022 – 30/06/2022.
- Dynamic timeframes are for time periods that move dynamically, e.g. Tomorrow, Next Week, etc. These timeframes can be set with a start and end date if needed.
An example of how to use a dynamic timeframe is to create the option for "Next Week". This timeframe can be set to start 1 day after the end of this week and end 7 days after the end of this week. This will set the time period length to 7 days and it will always start immediately after the end of the current week.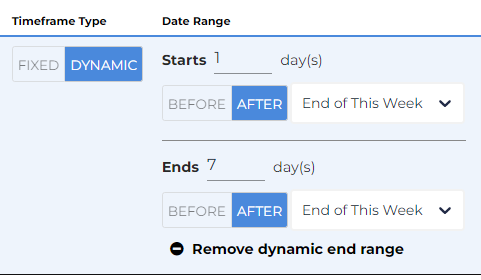
- Click Save and reload your web browser to see the new changes.
Editing Timeframes
To rearrange your list of timeframes, click and drag the crossroads icon. This will change the order in which they display in all timeframe dropdowns in Bullhorn Analytics.
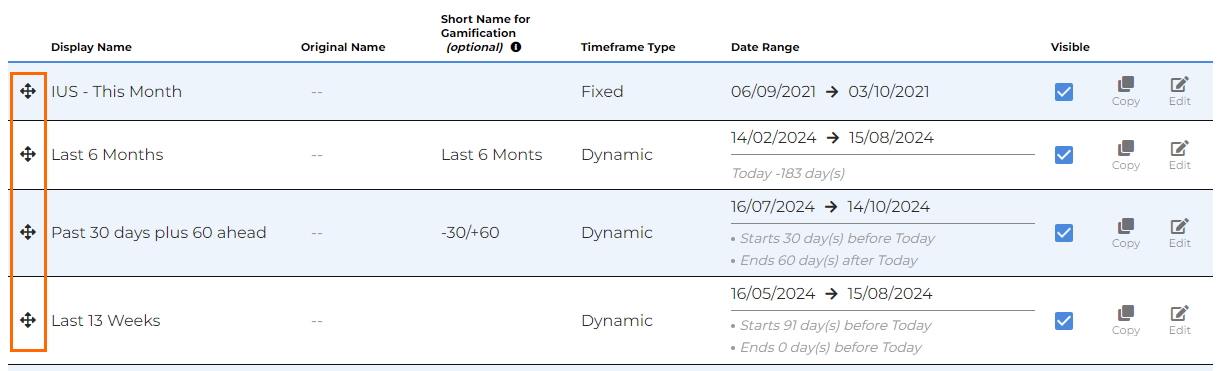
To disable the timeframe from being selected in any timeframe dropdowns, uncheck the checkbox in the Visible column.
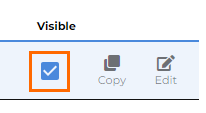
Click the Copy icon () to make a copy of an existing timeframe to use as a template for a new timeframe.
Click the Edit icon ( ) to edit a timeframe.
Editing an existing timeframe can impact your saved reports.
Once all changes have been made, click Save and reload the web browser to see the new changes.