Templates
How to Add, Create, Edit and Delete Templates
Adding a Template to your Message
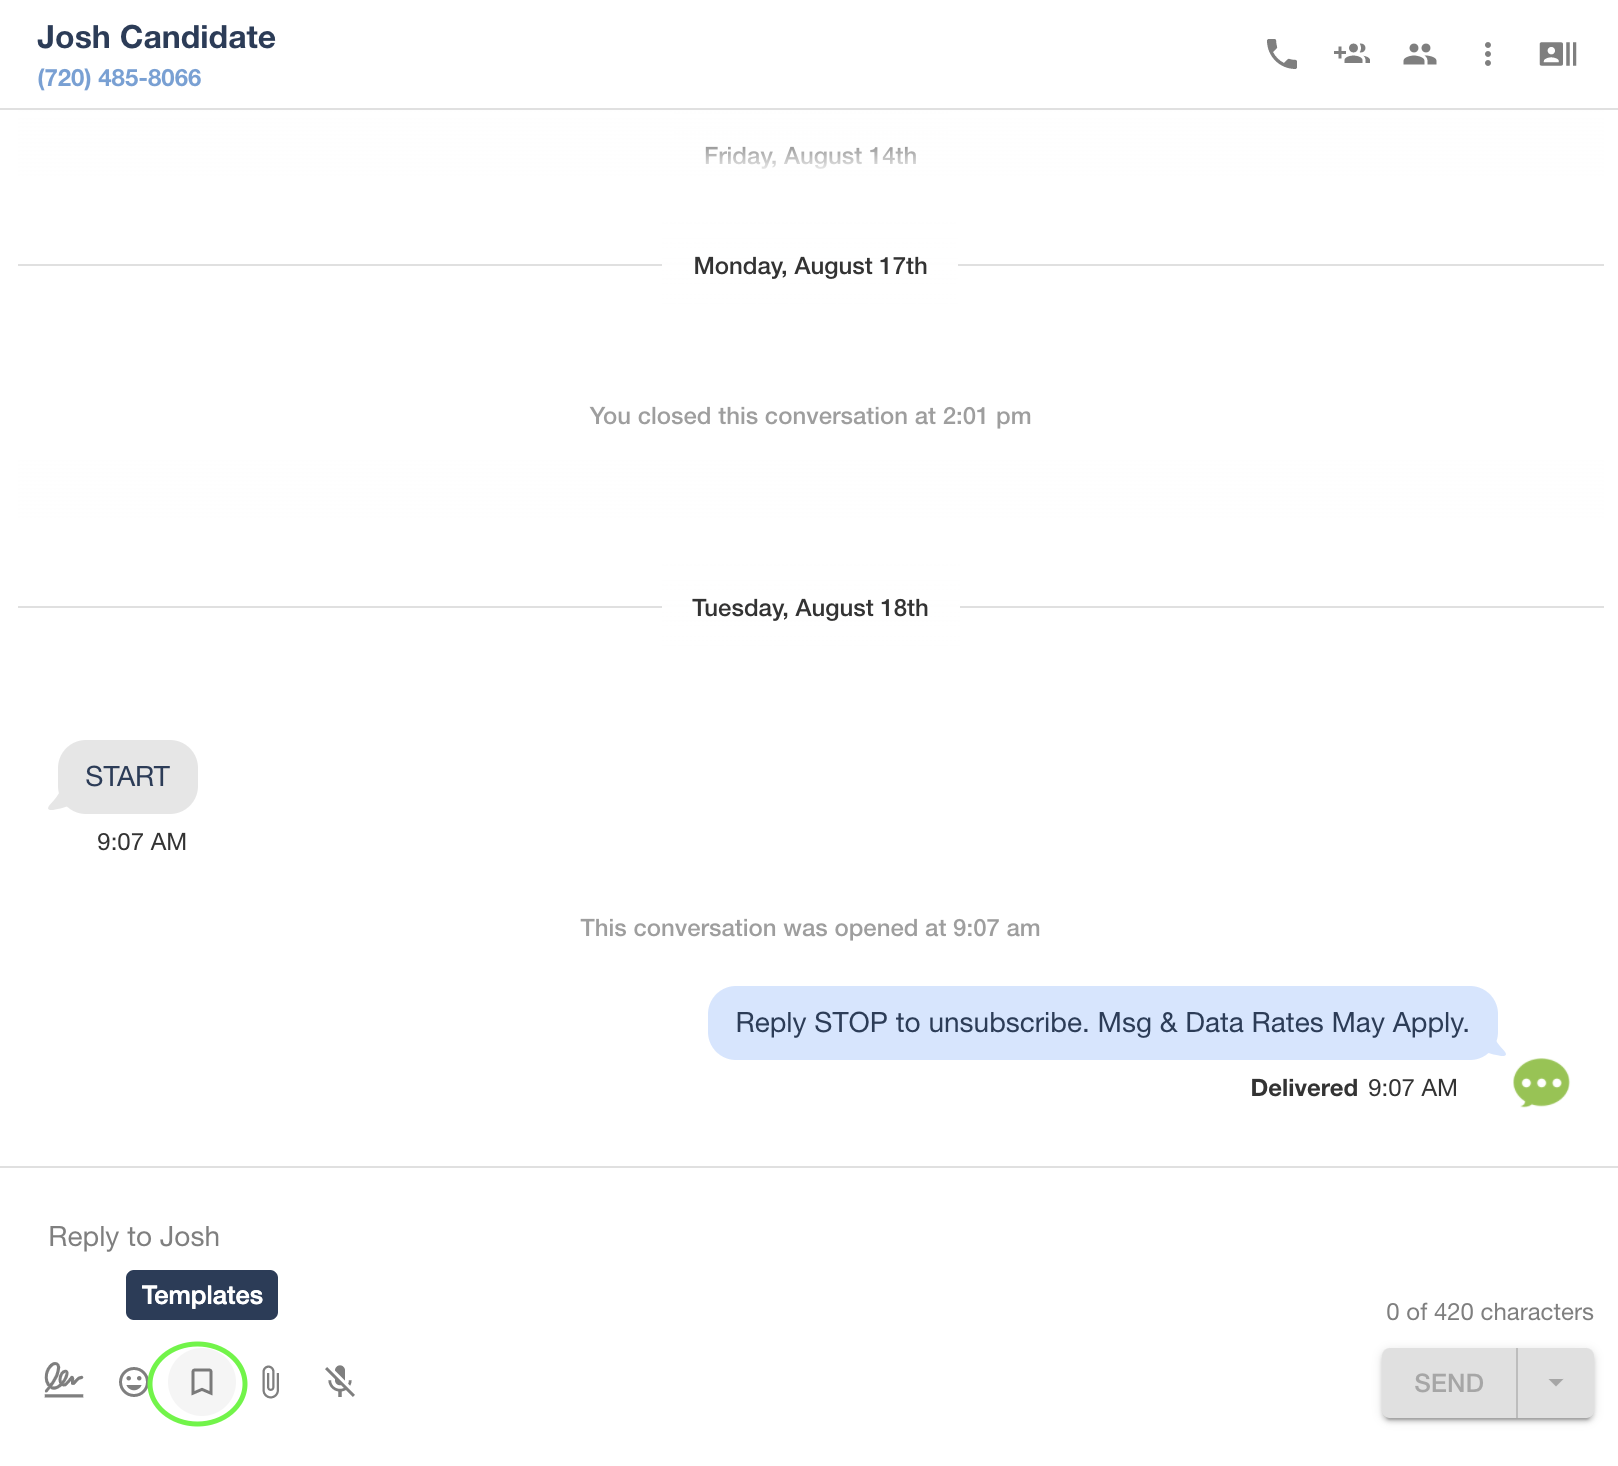
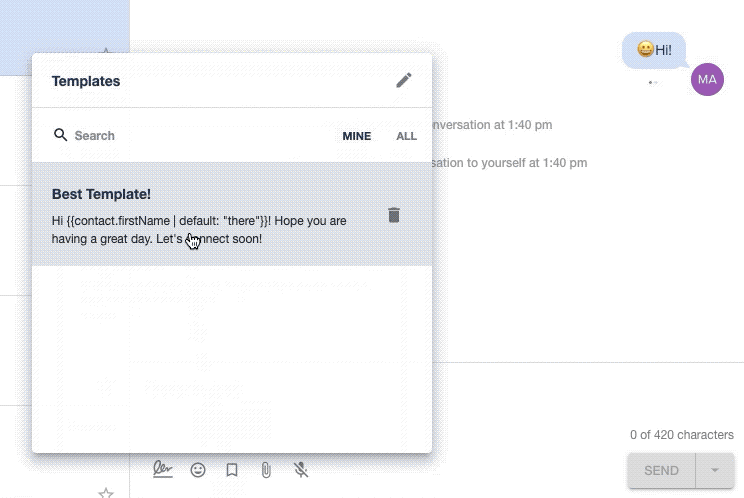
Templates are pre-made text responses that you send to quickly reply to a contact. You can view your Templates by clicking on the “Templates” button beneath where you would type your text to a candidate.
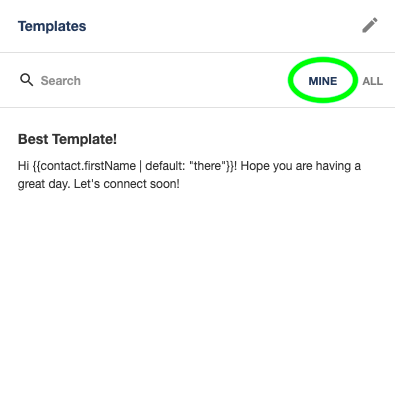
This will show you a list of the Templates that you have already created. It will default to show your own Templates, under MINE. To find a Template, either scroll down or search for it!
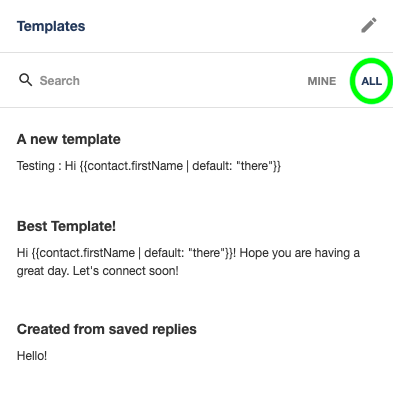
To see all Templates for your account, click on the ALL button instead.
Clicking on a Template will automatically add it into your messaging field with this contact. Click on the blue “SEND” button to send out this Template!
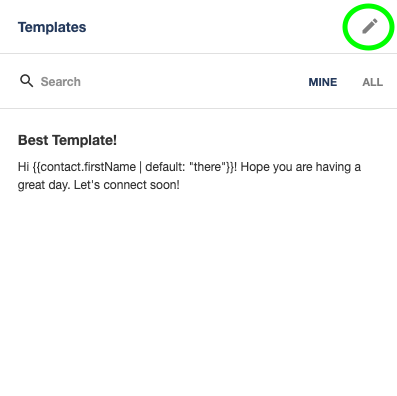
Creating a Template
To create a new Template, click on the pencil icon.
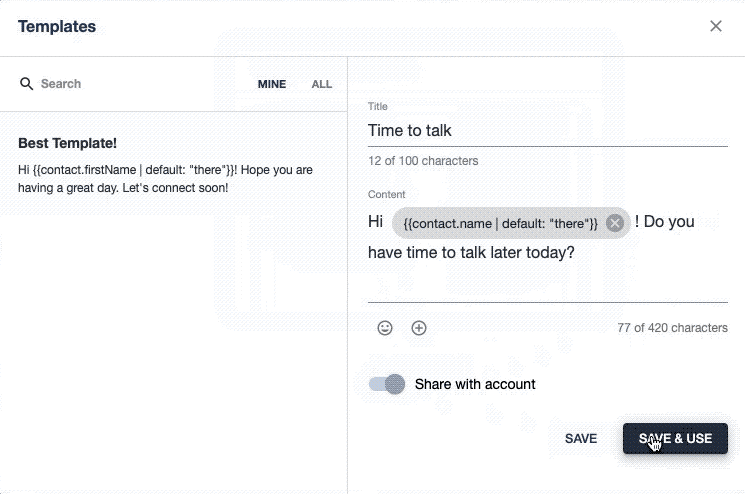
This will open a new menu in which you can type your Template title and message content. Clicking on the emoji icon beneath the template content allows you to add emojis! Clicking on the “+” will allow you to add personalization to the message, such as the contact’s first or last name.
Clicking on the toggle next to “Share with Account” will allow all users on your account to view the Template in the ALL tab. Otherwise, this Template will remain in the MINE tab. Please note, you can only “Share with Account” if your user role is Admin on the account.
When you have finished, click the SAVE to just save the template, or click SAVE & USE to save the template, and insert it into your message content.
Editing a Template
To edit a Template, click on the pencil icon again.
This time, either click the template you would like to edit, or search for it in the search bar. This will open the Template for you to edit. Once you are finished, click SAVE or SAVE & USE.
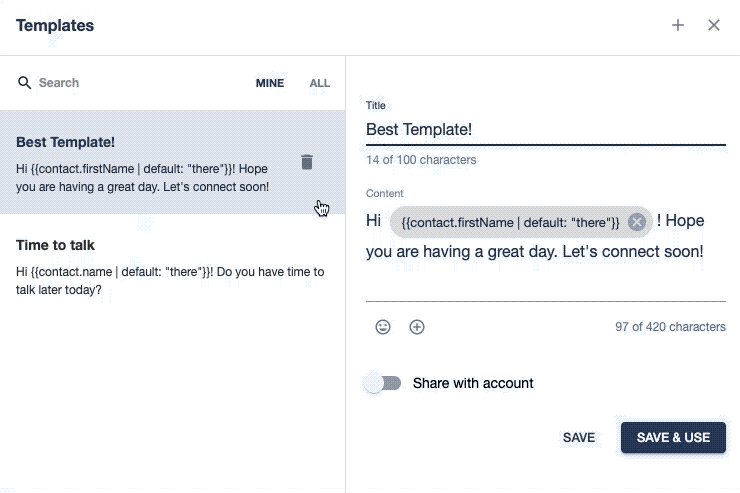
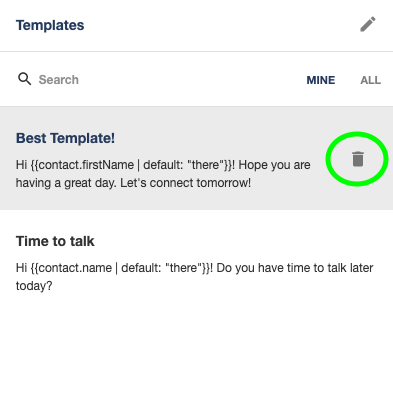
Deleting a Template
To delete a Template, simply click the trash can icon next to the Template!