Advanced Installation Troubleshooting
Overview
This article lists steps to troubleshoot installation errors with the Invenias Desktop Application. Invenias support is always available to assist, however this guide is intended for advanced users or IT professionals.
This article covers:
- Repair Invenias Installation
- Repair Office Installation
- Repair Microsoft Components
- Scan and Repair Errors in your Outlook PST/OST Files
Repair Invenias Installation
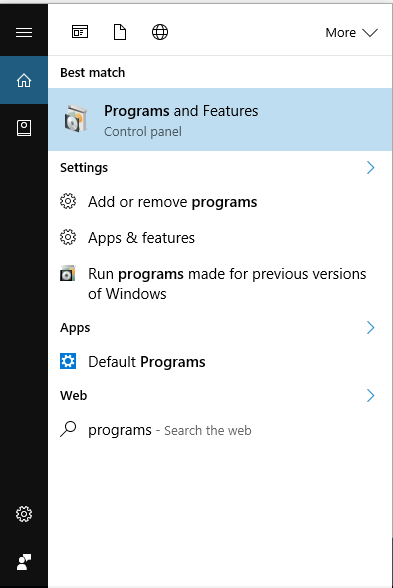
Run a repair of your Invenias installation by opening Windows Programs and Features:
Locate Invenias in the list of programs, right-click on Invenias, and select Change:

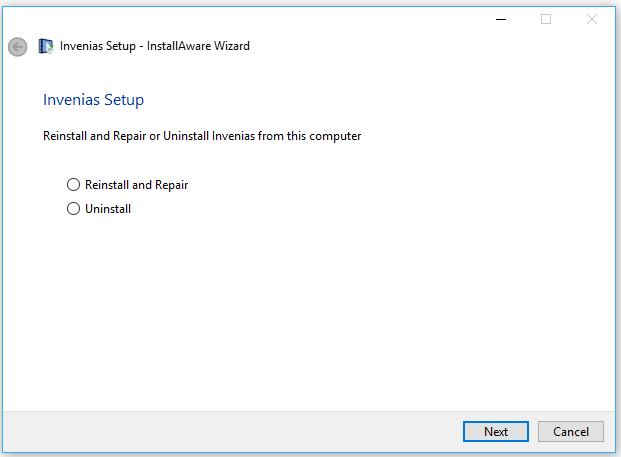
Select Reinstall & Repair and follow the prompts:
Repair Office Installation
Run a repair on your Office installation by opening Programs and Features:
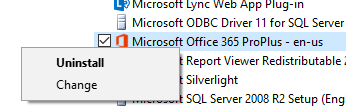
Locate Office in the list of programs, right-click on Office, and select Change:
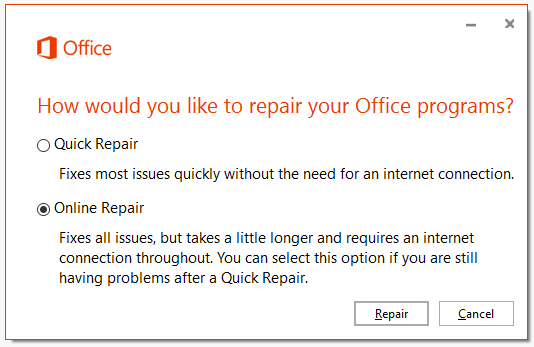
Select Repair, then Online Repair:
If this does not resolve your issue, Microsoft also provides the Office Configuration Analyzer Tool (OffCAT) to help identify further issues.
In some cases, repairing Microsoft Office may prompt the user to re-enter their Office license key. This is more common with standalone versions of Office than with Office 365 installations.
Repair Microsoft Components
Invenias requires .NET Framework and Visual Studio Tools to function. If an error occurs with the integration between Invenias and Office applications such as Outlook or Word, we recommend repairing these components.
Repair .NET Framework
Open Programs and Features, locate the latest .NET Framework in the list, right-click, and select Repair:

Follow the on-screen prompts to complete the repair.
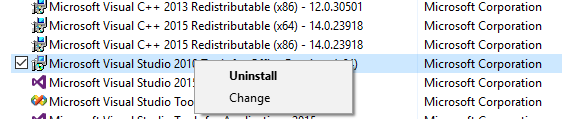
Repair Visual Studio Tools
Open Programs and Features, locate the latest Visual Studio Tools installation in the list, right-click, select Change, then Repair:
Follow the on-screen prompts to complete the repair.
Scan and Repair Errors in your Outlook PST/OST Files
Corruption or errors in your PST or OST file is one of the most common causes of instability in Outlook. Microsoft Office includes a Scan and Repair utility to resolve these errors.
What are OST and PST files?
OST is the storage file used by Outlook when you have a Microsoft Exchange Server. PST is the storage file used by Outlook when you do not have a Microsoft Exchange Server (POP3).
Run ScanOST.exe (Exchange) or ScanPST.exe (non-Exchange). For Office 365, Office 2021, Office 2019, and Office 2016, the application is located at:
- Click-to-Run (Office 365): C:\Program Files\Microsoft Office\root\office16\
- MSI install, 64-bit Windows: C:\Program Files\Microsoft Office\Office16\
- MSI install, 32-bit Windows: C:\Program Files (x86)\Microsoft Office\Office16\
Scan all folders, select Repair Errors, and click Begin Scan. Repeat until the application reports no errors. Make sure Outlook is closed before running the scan.