Categories
Overview
Categories allow you to classify records according to shared qualities and characteristics. Categories can be applied to Advertisement, Assignment, Company, People and Programme records and these Categories can either be unique to each of the different record types or shared across them too.
Categories are grouped into Category Lists, for example, you could create a Category List called Language which could contain Categories called English, Spanish, Chinese, etc. Within each Category List, the Categories can be broken down into a hierarchical structure if required, for example, a Category List called Region may contain a Category called EMEA which may have sub-categories of Europe, Middle East and Africa. An unlimited number of Category Lists can be created in System Preferences, however, each record is limited to having 8 Category Lists.
This article covers:
- Adding Categories to a Record
- Date & Time Elapsed
- Category Filter
- Category Search
- Bulk Updating Records
- Configure Category Lists and Categories
Adding Categories to a Record
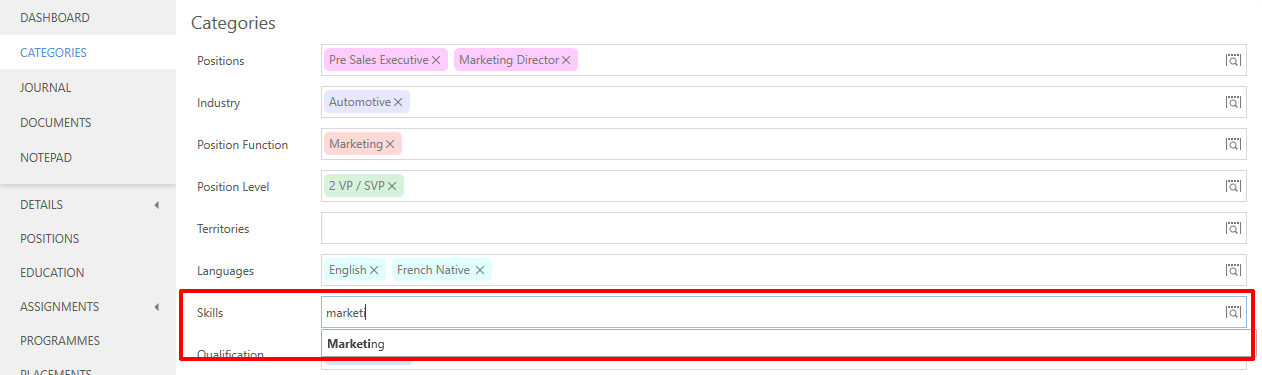
Each Category List assigned to a record will show as a field on the form. To assign a Category to a Person, you can simply type in the field to search for Categories. This will reveal a list of suggested matches based on the text you have entered and if the Category you were looking for appears in the list, simply click on it to apply it to the record.
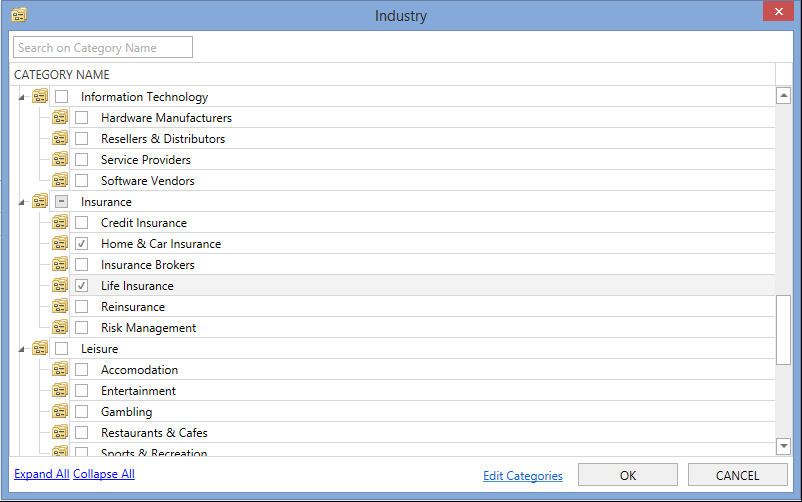
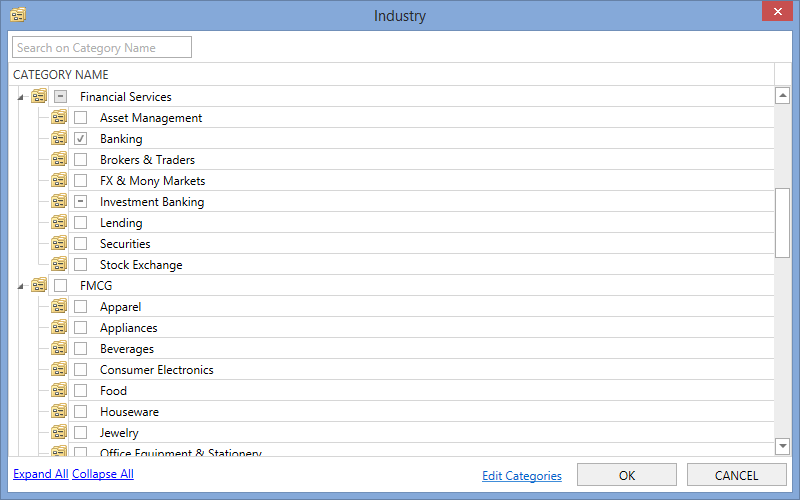
If the Category you were looking for does not appear in this list, or you want to browse all the Categories, you can use the lookup icon to open the Category List window, where you can see all the Categories within their hierarchical structure. Within this window, multiple Categories can be selected, via their checkboxes and applied by using the OK button.
Date & Time Elapsed
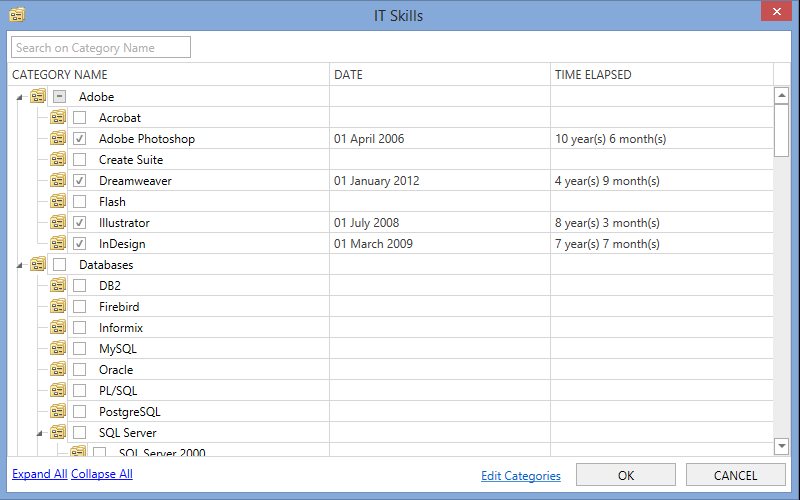
When editing a Category List, there is the option to Enable Date & Time Elapsed, which allows you to specify the date a Category applies from, and then the time that has elapsed from each date to today is automatically calculated and displayed. For example, you may want to record when a person started working in the Legal Sector, or how long they've held a senior role - such as a VP.
The Enable Date & Time Elapsed feature can be enabled when editing a Category List, and this will add two new columns to the grid. These columns will appear empty whilst editing the Category List and cannot be modified, however, when a User opens the Category List within a record, they can specify dates for all Categories they have selected, to indicate when the Category applies from. The Time Elapsed column will then automatically calculate the length of time from the date selected to the current date.
Category Filter
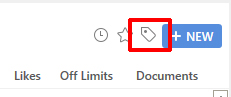
The Category Filter is a pane which can be opened from the lists for Assignments, Companies, People, and Programmes, using the Category Filter icon (located top right of the grid).
All Category Lists for the chosen record type will be displayed as a section within the pane. All Categories within each Category List will be displayed with a total next to each one to indicate the count of records that have that Category applied.
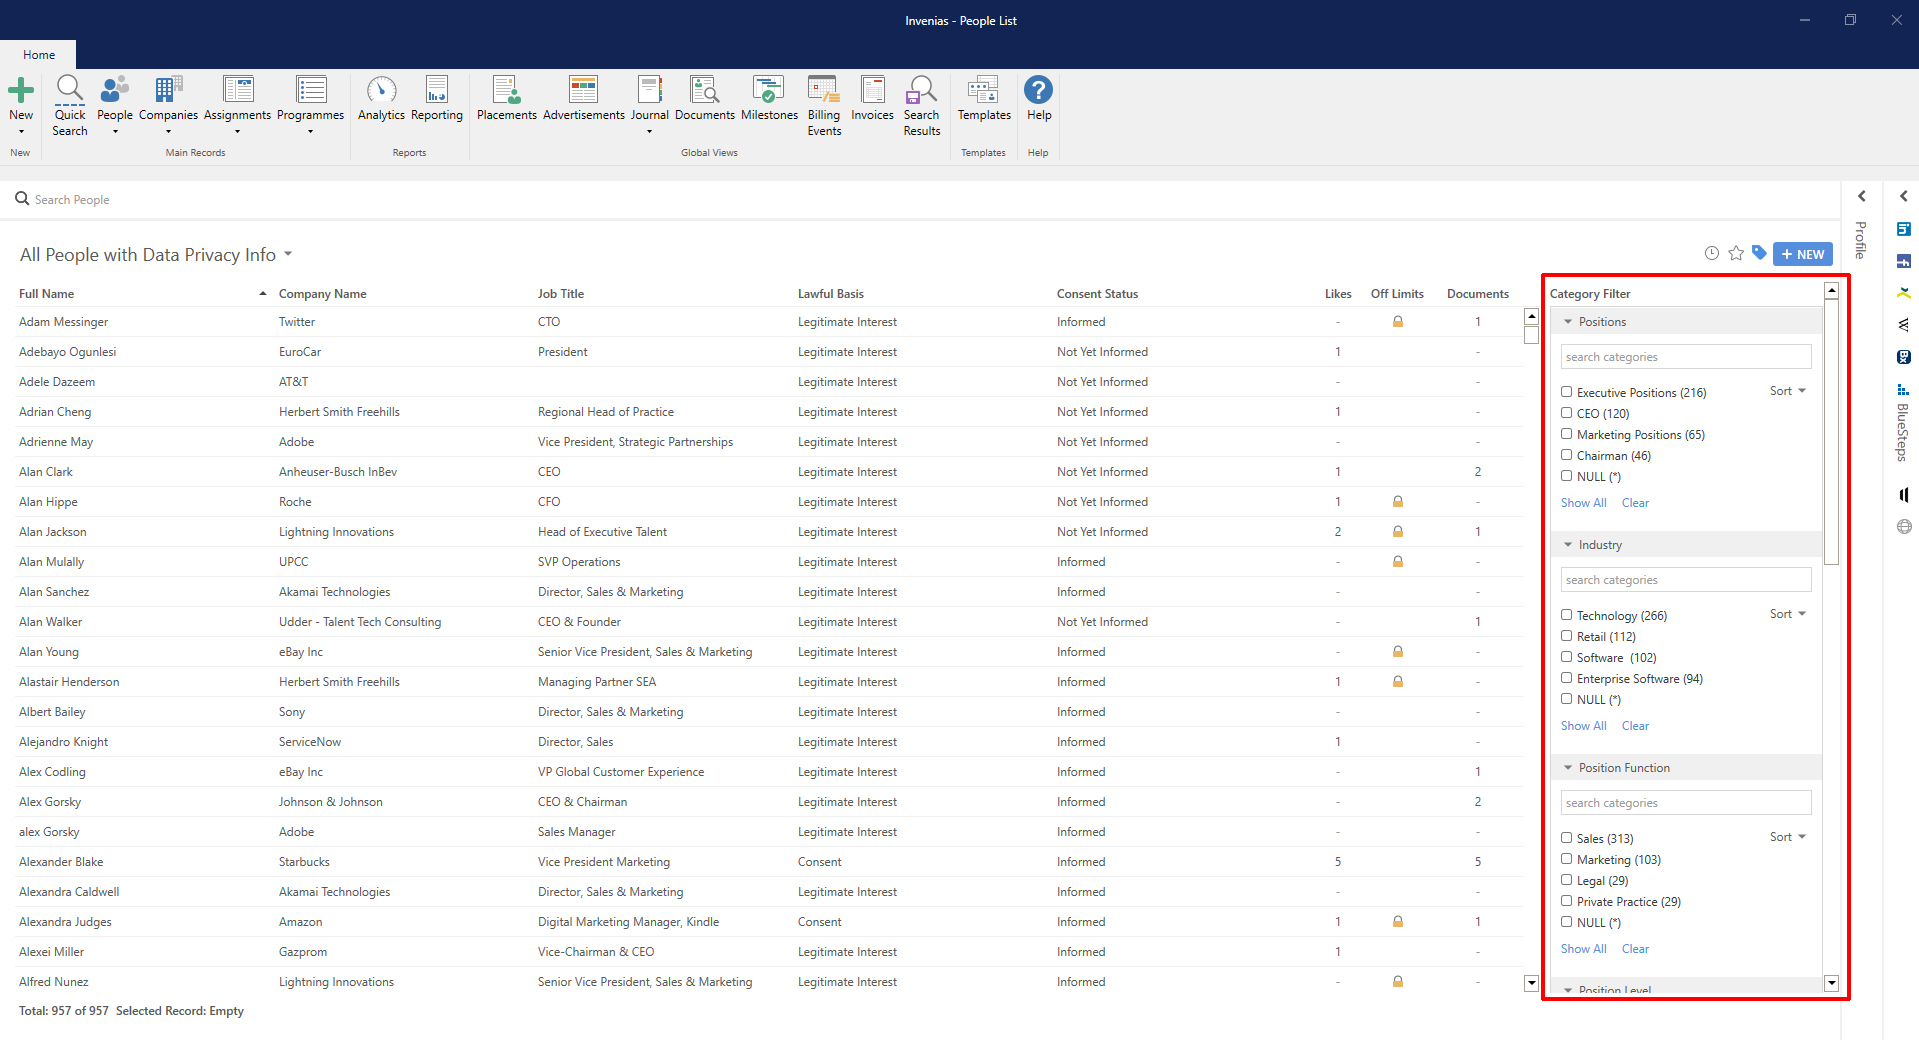
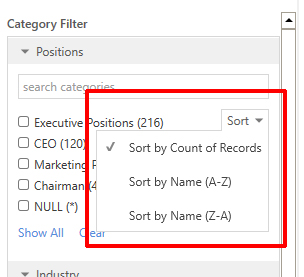
The Categories are sorted by the total counts by default, however, this can be modified using the Sort dropdown.
To apply a filter to the list, simply check a Category. You'll notice the counts next to the other categories will reduce because the total counts are updated for every filter applied. Checking another Category will apply an AND filter, which means checking multiple Categories will filter the list of records to only return those who have all of the selected Categories applied.
Category Search
In addition to the Category Filter in the List Views, there is a "Category Search" section within Advanced Search, where you can choose between the AND & OR search operators across all Categories and search based on Date & Time Elapsed if you're applying dates to your Categories.
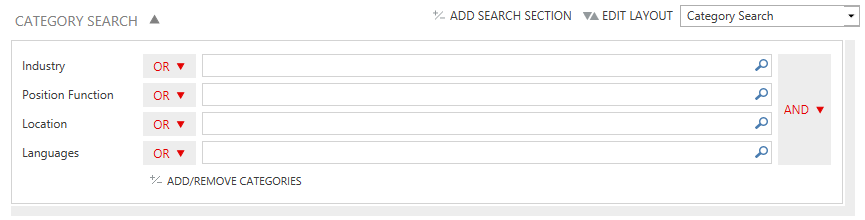
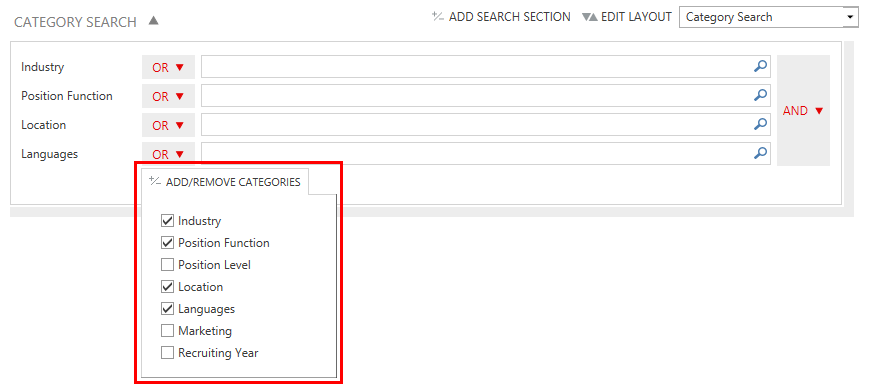
Each Category List enabled will appear separately within the Category Search section but you can chose which ones should be visible if you're not searching on them all using the Add/Remove Categories menu
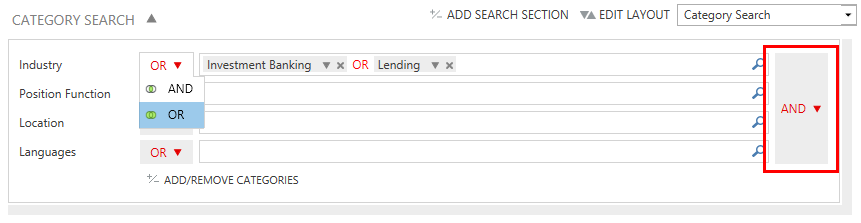
The image below shows the operator selector for searching on Categories within one Category List.

You can also choose how you search between different Category Lists using the operator selector in the image below.
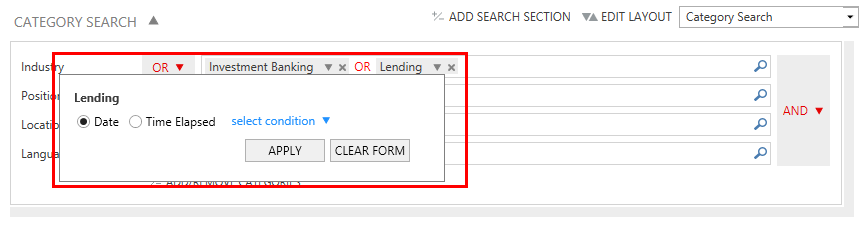
To search on the Date or Time Elapsed for each Category, you can click on the dropdown icon within the Category tag to reveal the additional search menu. From here you can choose if your searching on either the date or time elapsed and enter the criteria you wish to search on.
Bulk Updating Records
Records can be updated in bulk from their list views using the Change Categories option from the Context Menu and selecting the Category List you wish to update.
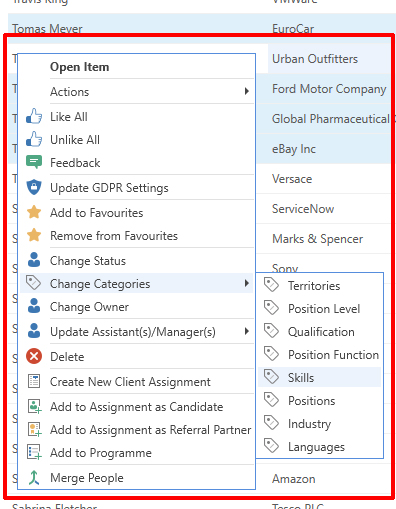
Selecting a Category List will open the same window you can launch from within a record, listing all Categories and indicating the ones that have been applied to the selected records. If a Category has been applied to all the selected records, a tick symbol will be displayed, otherwise, if the Category has been applied to some, but not all Categories, a dash symbol will be displayed.
Configure Category Lists and Categories
Permission Required: Please note, to access System Preferences you need the "Access System Preferences" permission
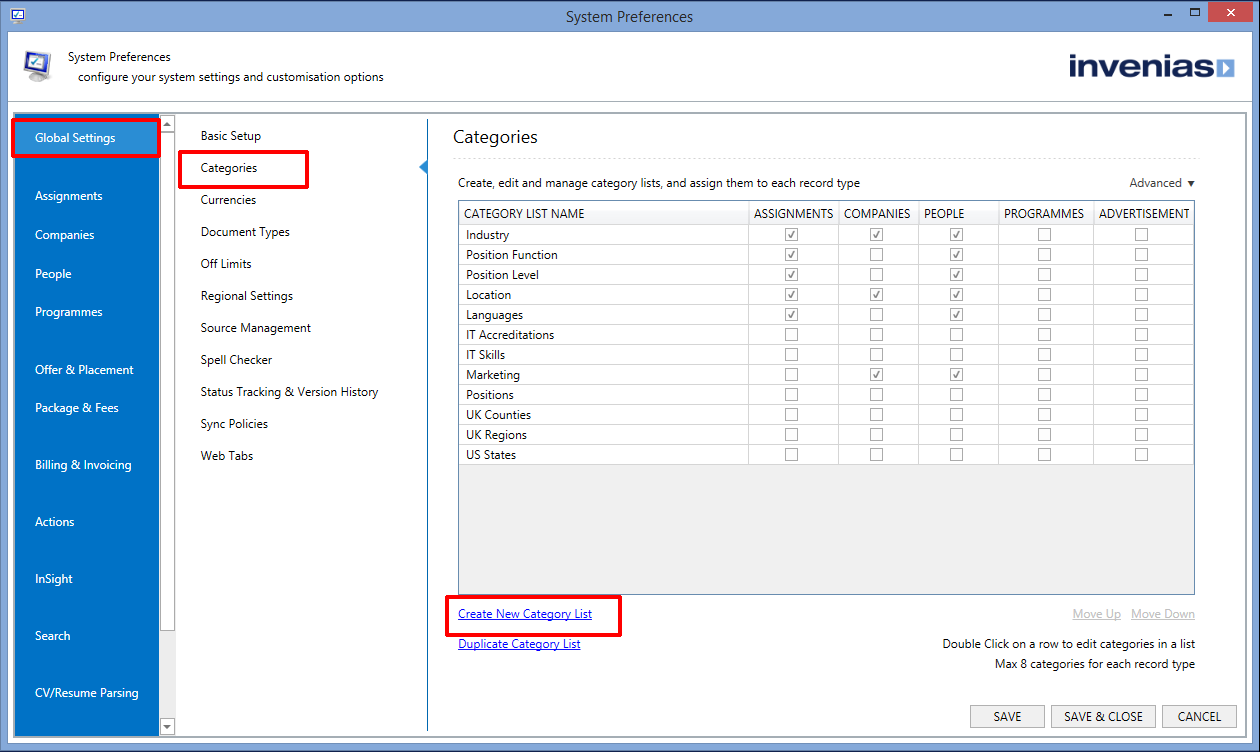
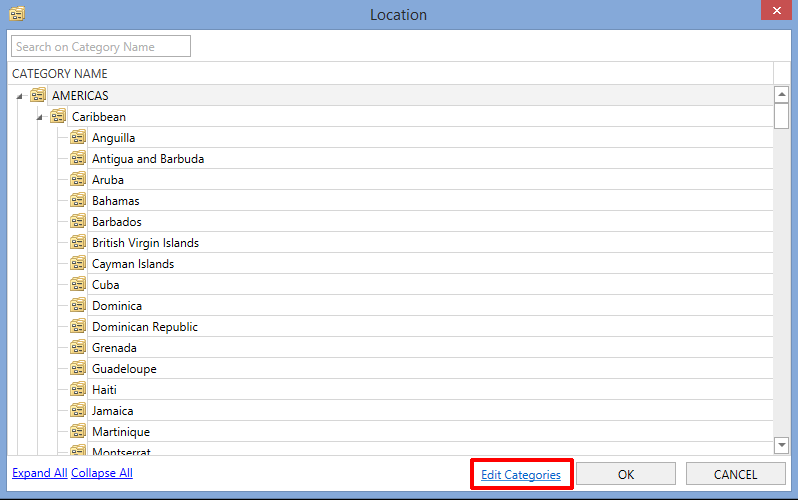
Additional Categories can be added to existing Category Lists simply by clicking the "Edit Categories" option inside the List when you click on the lookup. New Categories can be configured within System Preferences by navigating to Global Settings > Categories, which will show all Category Lists and the records they are assigned to.
To create a new Category List, simply click the Create New Category List link. This will create a new Category List and add it to the bottom of the list. Highlight the text label of that List, change the name and check the boxes to indicate which records you wish this new Category to appear in.
Double clicking on a Category List will open a new dialogue, allowing you to see all Categories configured within it. To make any changes, simply click on the Edit Categories link.
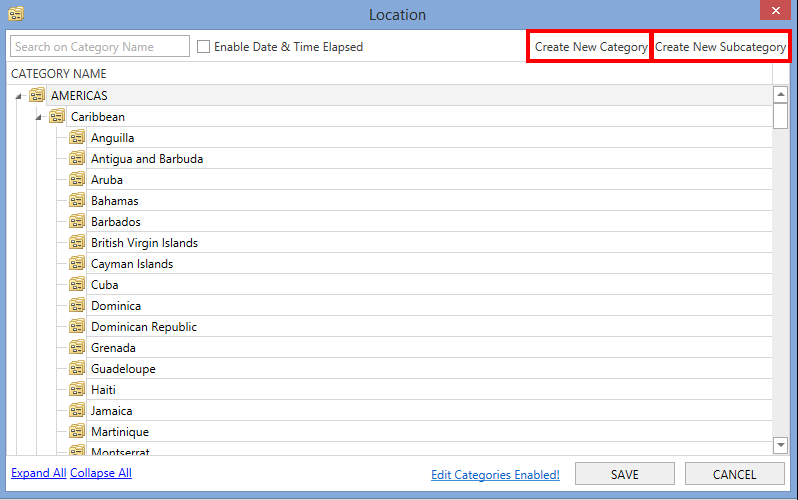
Editing a Category List reveals two buttons called Create New Category and Create New Subcategory.
Tip. When creating a new Category, it will be added to the bottom of the list, which you can then re-order later by dragging and dropping into the correct position. You may need to scroll down to view the category you have created. Creating a new subcategory will do the same, however, it will be added to the bottom of the list based upon the parent Category you have selected.