| Edition: Growth, Corporate, Enterprise | Audience: Jobs Pipeline Admin |
Configuring Jobs Pipeline Stages
This article explains how to add and configure stages in a Jobs Pipeline. For help creating a Jobs Pipeline, see Creating a New Jobs Pipeline.
Add a Stage to a Pipeline
- Go to Admin > Jobs Pipeline.
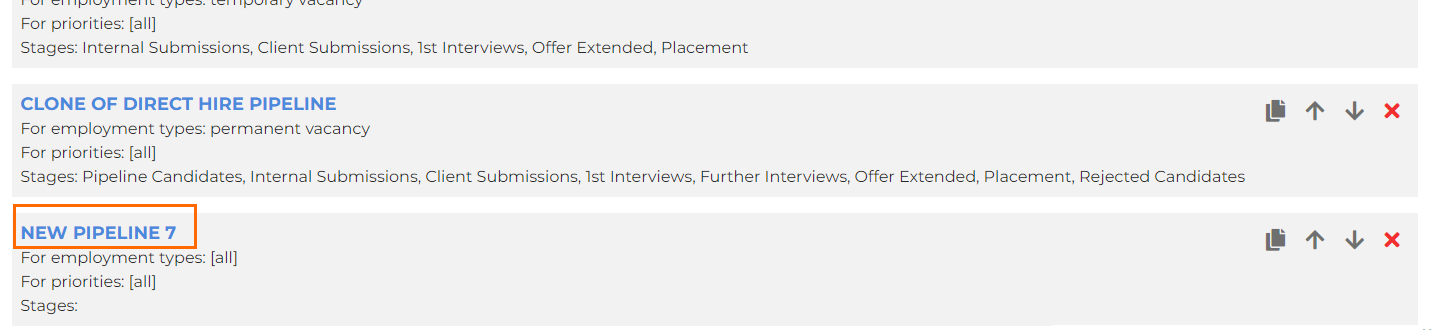
- Click on the name of a pipeline to open the Edit screen.
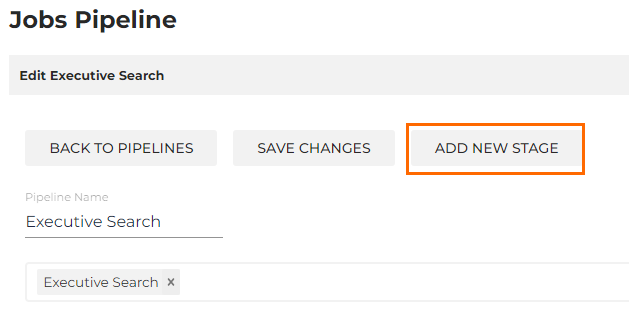
- Click the Add New Stage button to add a stage to the pipeline.
Configure a Pipeline Stage
When adding a Stage to your pipeline you can configure the following options:

- Stage Name: Enter a name for this stage of the pipeline (e.g. "Internal Submissions/Shortlists")
- % Chance of Fill (Weighting): This enables you to define a % chance of filling the job/vacancy based on the stage in the pipeline. This feature is most valuable if you use the Expected Value column in the Pipeline (either mapped in directly or manually entered).
At the point a candidate is shortlisted for a job/vacancy, the chance of placing the candidate is nominal, so you can enter a low percentage value (e.g. 5(%)) for this stage. At the Further Interview or Offer Stage, the percentage chance is likely to be much higher (e.g. 50 or 75(%)).
You can use your business' data to report over conversion rates (e.g. CVs/Resumes Sent to Placement) to help accurately define the % Chance to Fill for each stage.
- Status (defaults to "In Progress"): Select a status from the following options:
- In Progress: Any activity status leading up to a placement that is not a rejection, dropout or cancellation.
- Placement: To be used with placement metrics.
- Placement and Rejection / Dropout / Cancellation: Essentially a non-placement candidacy end status. Only usable if you are using reject and dropout statuses in Bullhorn ATS. If so, Bullhorn Analytics can map these into your account and add them as stages for your pipeline.
- Created Date: Define whether you want to see the activity by its Created Date (the date the action was added) or its Event Date (the date of the activity).
For 1st Interviews, your choice of options will determine whether you see the creation date of the interview (Created Date) or the date the interview occurred (Event Date).
- Choose Metrics For Stage...: Select the related metric.
For accurate pipeline reporting, the dates on your Submission (Shortlist) records must reflect when each stage actually occurred. Each Submission (Shortlist) status change should be recorded with the date it happened in your ATS system.
Reorder and Delete Stages
The order of stages in a pipeline should reflect your recruitment workflow for the chosen Employment Type as closely as possible, e.g. CV Sent followed by 1st Interview, Further Interview, Offer and Placement, etc.
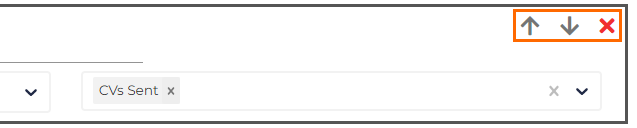
Use the arrow icons to reorder the stages as required, or use the X icon to delete a stage.
When you have finished adding and configuring stages, click Save at the top of the page to save your changes.