Create a List via Advanced Search
Creating a list via Advanced Search is considered best practice as you can test out different list criteria before saving and syncing your list. See How to Optimize Lists to learn more.
Do the following to create a list:
- Navigate to the Contacts page.
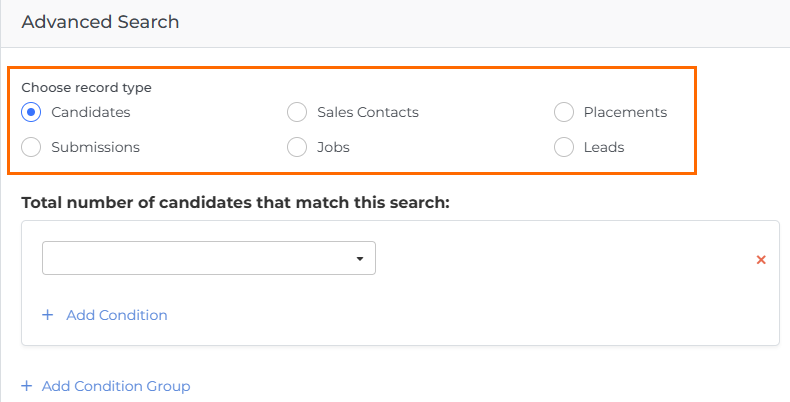
- Click Advanced Search. A side window will appear.

- Select the record type you're targeting. These include:
- Candidates
- Sales Contacts
- Placements
- Submissions
- Jobs
- Leads
To learn more about which entity types to choose, see Entities and Lists.
-
Add the conditions and condition groups you want to filter your lists with. For more information on conditions and condition groups, see Conditions and Condition Groups in Lists.
After inputting your conditions, the number of records that match your criteria is shown.

- Click Search. A list of all the records that match your criteria will now appear.
-
In the Advanced Search Criteria box, enter a List Name.
You can't save automation names, group names, list names, or stage names that contain the following characters: < > " ' % ; ( ) & +
- Select a type for your list. Types include:
- One-time lists: Use these to get a snapshot of list criteria at a moment in time. Generally, this is most useful for reporting purposes. The list will only add records that match the criteria at the time you select Save, and won't change.
- Always updated lists: These are lists that continually add or remove records dynamically as they meet the specified criteria. These lists are updated on the same schedule as ATS data syncing.
- Click Save. The new list will now appear on the Lists page.
Was this helpful?
