Auto-assigning Packet Mappings
Overview
This article contains information on how to set up Onboarding to automatically assign certain documents to a candidate or placement when it pulls.
Steps
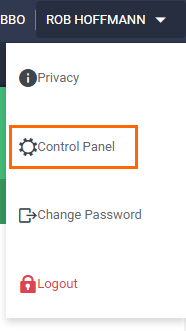
- Navigate to the Control Panel by selecting your name and then Control Panel.
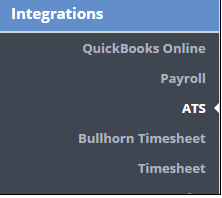
- Click Integrations, and then ATS. Click the Bullhorn drop-down that appears to the right.
- In the search bar that appears at the top, type “packet”. This will filter the view down to Employee.Onboarding.Packet 1 through 4, and Assignment.Onboarding.Packet 1 through 4
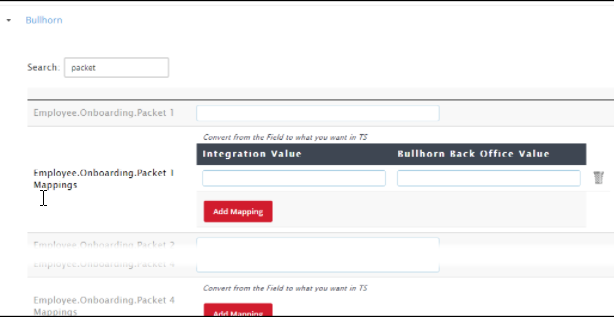
- Enter the name of the ATS field that you want to pull from into the field.
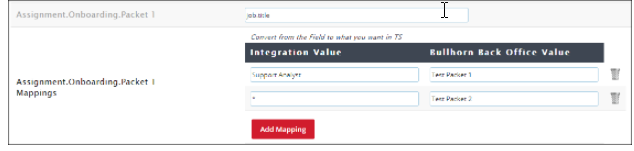
- Render the corresponding section for Mappings, click Add Mapping. On the right side under the Bullhorn Back Office Value column, enter the name of the packet you want to have assigned. The Integration Value column on the left side should contain the value that will trigger the packet to be assigned.
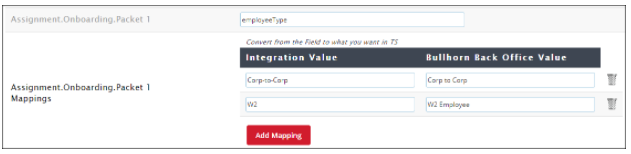
In this example, if the employeeType field has a value of Corp-to-Corp it will assign the Corp to Corp packet, and if it has a value of W2 it will assign the W2 Employee packet.
The mappings are flexible and can be used in many different ways to suit your needs.
- In this case, if the placement has a job title of Support Analyst it will send Test Packet 1, while all others will fall under the wildcard icon (*) and send Test Packet 2.
Was this helpful?