Sending Documents to Client Contacts
Overview
After you've Uploading a New Onboarding Document and decided on a Understanding Completion Workflows, you will want to send the document to the desired parties.
While the workflow may be either Simultaneous or Ordered, the process for sending the documents is the same. You will determine the workflow when creating the document.
Steps
Documents must be sent from either Employee or Placement records.
- Navigate to either the the Employees or Placements tab.

- Open the employee's record by selecting
 next to their name.
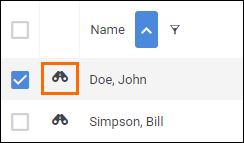
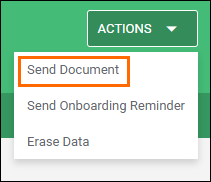
- In the record, select Actions > Send Document.
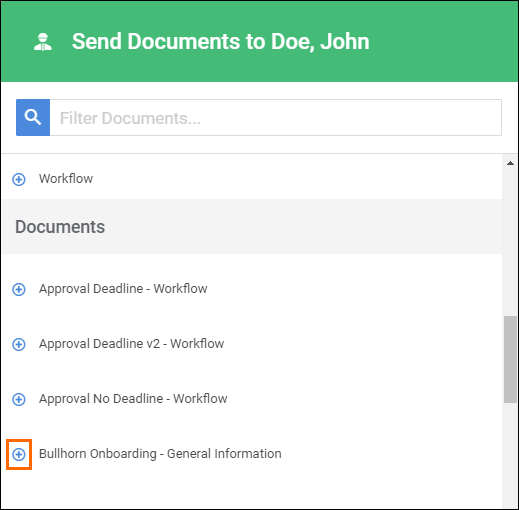
- On the Send Documents screen, select
 next to the document you wish to send to the employee and/or client contacts to add it to the document list.
- You can also use the Filter Documents... search to quickly narrow down the documents you wish to send.
- Note: Client Docs is only available for individual documents and will not work with documents assigned as part of a packet.
- In the Selected column, enter the names of the Primary and Secondary contacts in their designated fields.
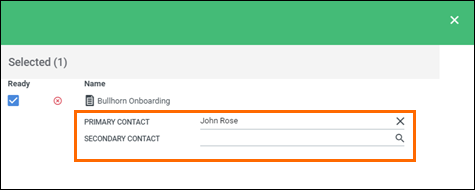
- Once you have added and reviewed all of the documents you are sending, select Send.

Now that you have sent documents to client contacts, let's review how Client Docs appear on Document Lists.
Was this helpful?