Unsubmitting or Rejecting Onboarding Documents
Overview
There may be times when an employee submits a document with incorrect or incomplete information. In these cases, you will want to unsubmit or reject the document. Unsubmitting or rejecting documents can be accomplished via the Employee record.
Before You Begin
To get a quick overview of document status and to make searching for employees with onboarding documents easier, it is recommended that you add the Submitted, Approved, and E-verify columns to the Employee list view:
- Navigate to the Employees tab.

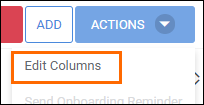
- From the Actions menu, select Edit Columns.
- In the Edit Columns window, check the boxes for Submitted, Approved, and E-Verify (if applicable).
- You can adjust the order of the columns by holding
 next to the column name and dragging it to the desired spot on the list.
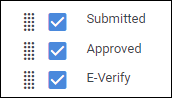
- Once you have finished adding and adjusting the columns, select OK to return to the list view.
Steps
- Navigate to the Employees tab.
- Locate the employee that submitted documents and select
 next to their name to open their record.
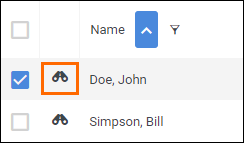
- In the employee record, select Documents.

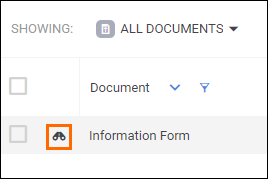
- In the employee's document list, locate the document to approve.
There several options for narrowing your search:- The Showing filter lets you choose between showing all employee and placement documents, documents assigned to the Employee record, and documents assigned to specific placements.
- Each of the column headers can be sorted and/or filtered to locate specific documents more easily.
- Choose next to the document to open it.
- Review the document and confirm that there is an issue that the employee needs to correct.
- Select
 .
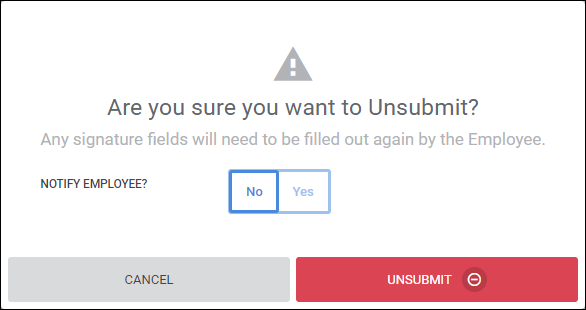
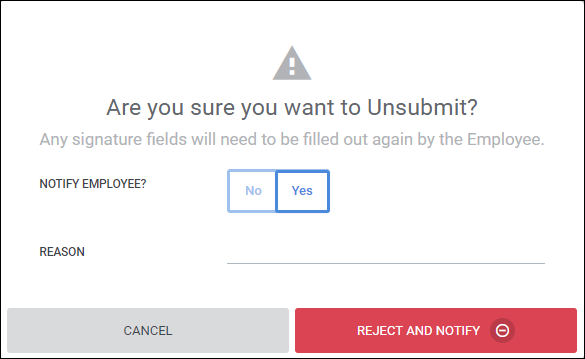
. - On the unsubmit confirmation screen, you will be asked if you would like to notify the employee:
- No - Select Unsubmit to return the document to the "In Progress" status. The employee will not be notified of the change. Any signature fields will need to be filled out again.
- Yes - Enter in a reason for the rejection to let the employee know what they need to correct in the document. Select Reject and Notify to proceed. Along with their corrections, the employee will need to sign the document again. The document will be set to the "In Progress" status.
- No - Select Unsubmit to return the document to the "In Progress" status. The employee will not be notified of the change. Any signature fields will need to be filled out again.
Other actions you can take:
- Save - saves any changes made to the document without approving it.
- Unsubmit / Reject - returns the document to the In Progress status. You will be asked if you would like to notify the employee. You select yes, you will be prompted to enter in a reason for the rejection.
- Approve - approves the document. If you use Back Office for tracking time and expenses, all required documents will need to be approved before the employee can submit time.
- Unapprove - If the document has already been approved, this will return the document to the submitted status.
- Actions > Clear Data - The document will be unsubmitted and unapproved. Any signature fields will need to be filled out again by the candidate. The change history of the document will be preserved. The candidate will not be notified of the change.
- Actions > Clear and Remove - This will completely clear any data and signatures entered on the document and remove the document from the candidates list. Neither you or the candidate will be able to access the document or its history.
- Actions > Send Document Reminder - This will send an email reminder to the employee to complete and submit the document.
- Actions > View PDF - allows you to see what the completed document looks like as a PDF file.
Was this helpful?