Time to Fill Reporting in Bullhorn Reporting (Previously Canvas)
Whether it’s for KPI or other business purposes, you may want to see how many days it took your recruiters to move a candidate through your workflow stages. You can use Bullhorn Reporting’ calculate feature to quickly determine that length of time.
The report can only display data if all workflow stages are followed on each job.
If a 0 is indicated, this means that the workflow stage in question was completed the same day as the prior stage.
Creating the Query
We will begin this report by first creating a query, rather than a list. We are doing this to ensure we have certain data items available which won’t display on our list.
Steps
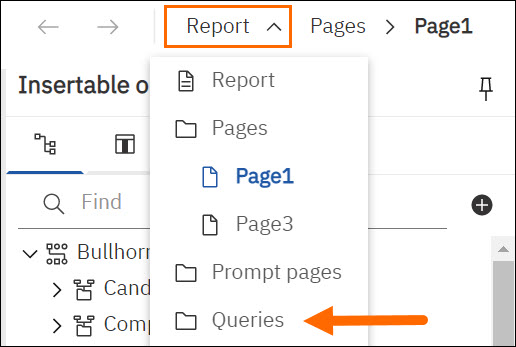
- Click on Report, then Queries.
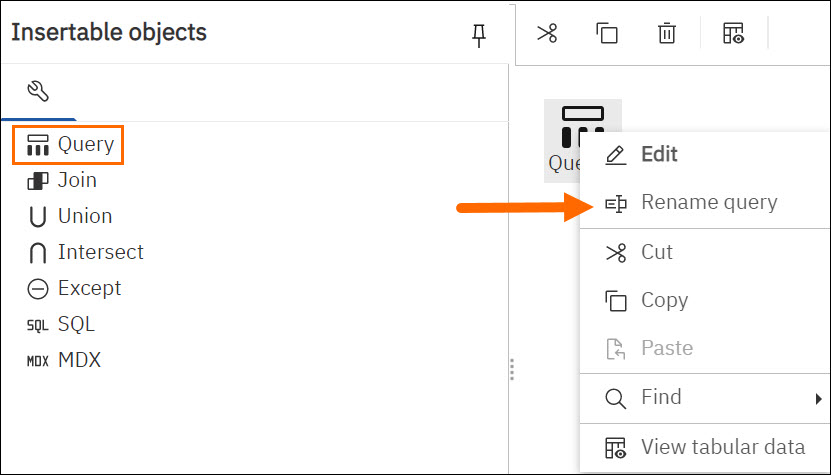
- Under Insertable Objects > Toolbox > double-click Query.
- Right click Query1, then select Rename Query.
- In the Name pop-up, enter the Value as “Job Information”, then select OK.
- Double-click Job Information, which is the newly named query.
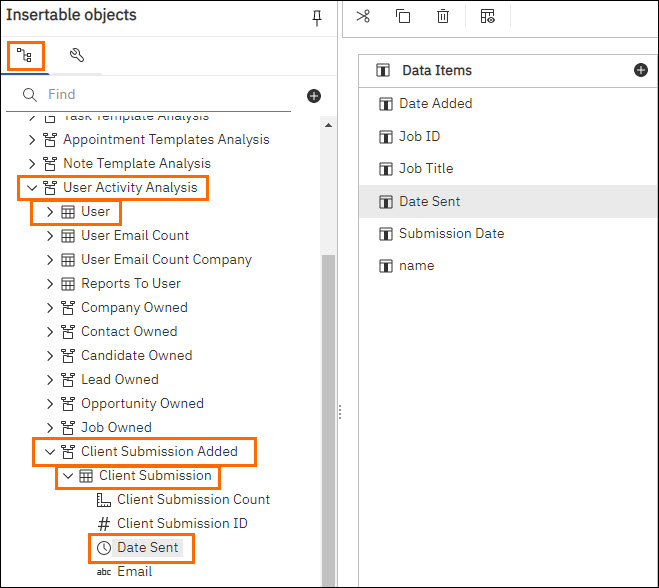
- Under Insertable Objects, in the Sources tab, click User Activity Analysis > User.
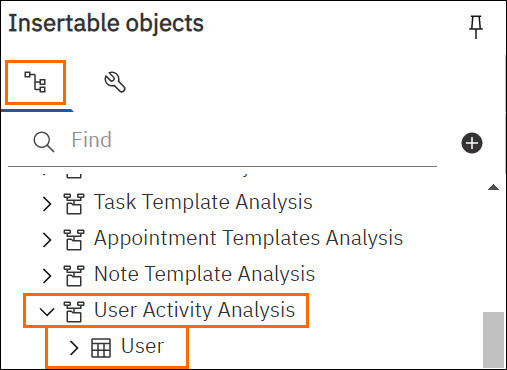
- Double-click Name to add it to Data Items.
- Still under Insertable Objects > Sources > User Activity Analysis, click Job Owned > Job.
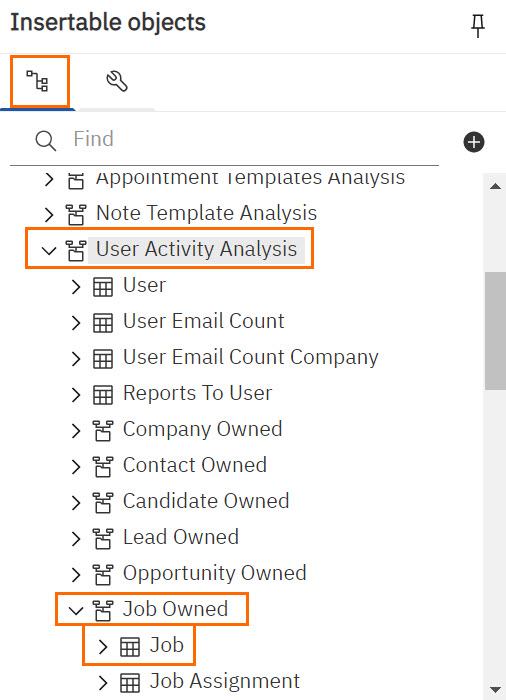
- Double-click Date Added > Job Title > Job ID to the Data items.
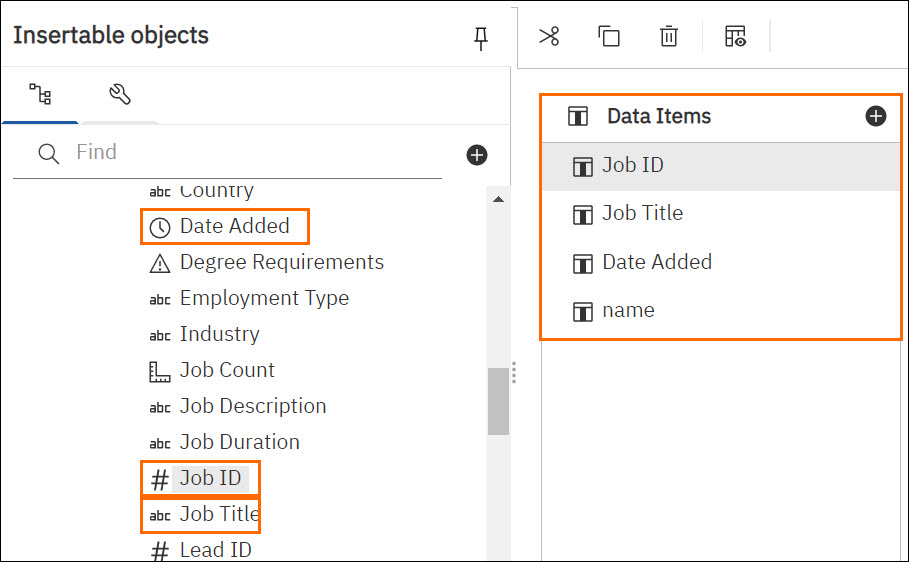
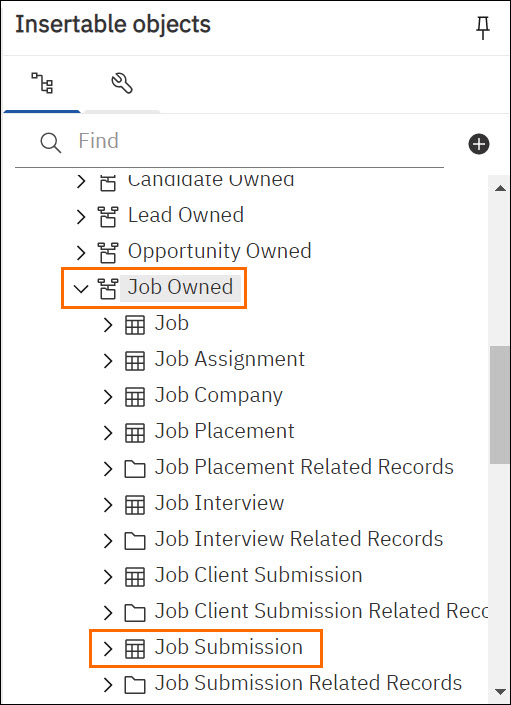
- Still under Insertable Objects > Sources > User Activity Analysis > Job Owned, click Job Submission.
- Double-click Date Added to add it to the Data items.
- Under Data items, click Date Added1.
- In Show properties, under Data Item > Name, click DateAdded1.
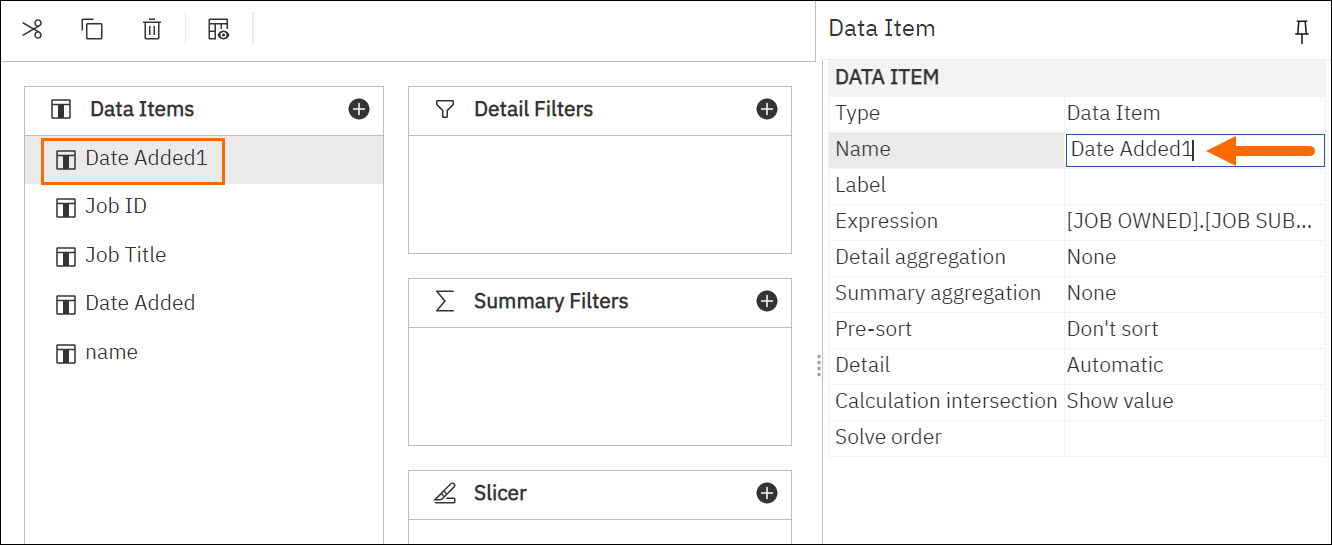
- Type “Submission Date” and then on the keyboard, press Enter.
- Still under Insertable Objects > Sources > User Activity Analysis , click User > Client Submission Added > Client Submission > Date Sent.
- In Show properties, under Data Item > Name, click Date Sent.
- Type “Client Submission Date” and then on the keyboard, click Enter.
- Still under Insertable Objects > Sources > User Activity Analysis , click Job Owned > Job Interview.
- Double-click Date Added to add it to the Data items.
- Under Data items, click Date Added1.
- In Show properties, under Data Item > Name, click Date Added1.
- Type “Interview Date Added" and then on the keyboard, click Enter.
- Still under Insertable Objects > Sources > User Activity Analysis , click Job Owned , click Job Placement.
- Double-click Date Added to add it to the Data items.
- Under Data items, click Date Added1.
- In Show properties, under Data Item > Name, click Date Added1.
- Type “Placement Date Added" and then on the keyboard, click Enter.
- Click Report > Page1.

Creating the List
Now we’re going to create the list for the report.
Steps
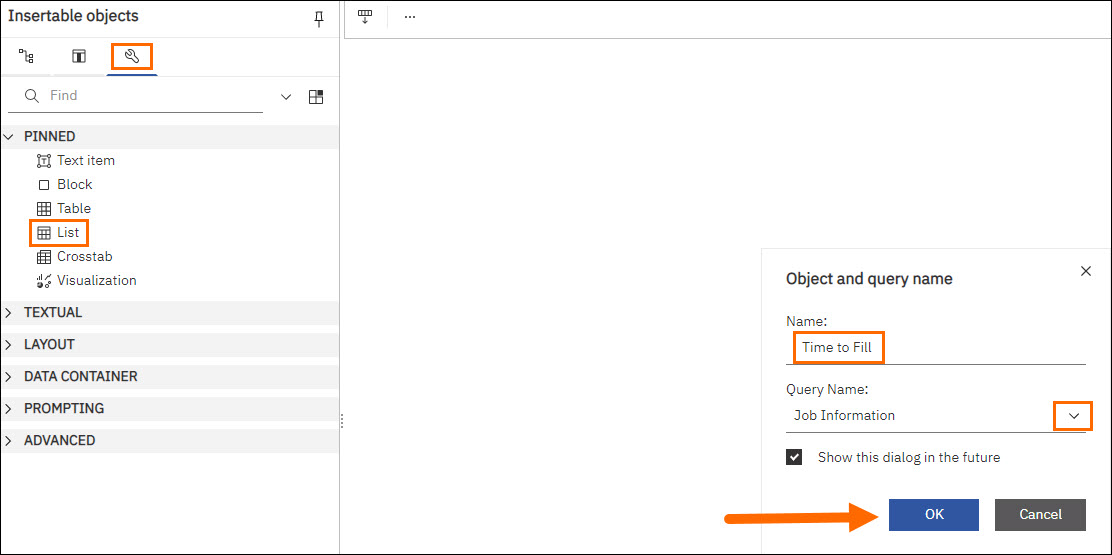
- Under Insertable Objects, from the Toolbox tab, double-click List.
- On the Object and query name pop-up, for the Name, type “Time to Fill".
- For the Query Name, choose Job Information, then click OK.
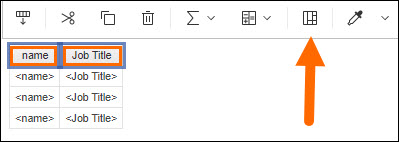
- Under Insertable Objects, from the Data Items tab, double-click Name and Job Title to move this onto the list.
- In the table, click Name. Holding down Shift on your keyboard, also select Job Title. With both column headers selected, click Group/Ungroup.
Time Calculations
Now we are going to create the following four calculations to get our data:
- Days to Internal Submit
- Days to Client Submit
- Days to Interview
- Days to Placement
The expressions below assume you have not changed the title of the Job entity, for example to [Vacancy ID] or [Req ID]. If you have, update [ ID] to the title you’ve chosen. There’s no need to update any other part of the expressions.
Steps
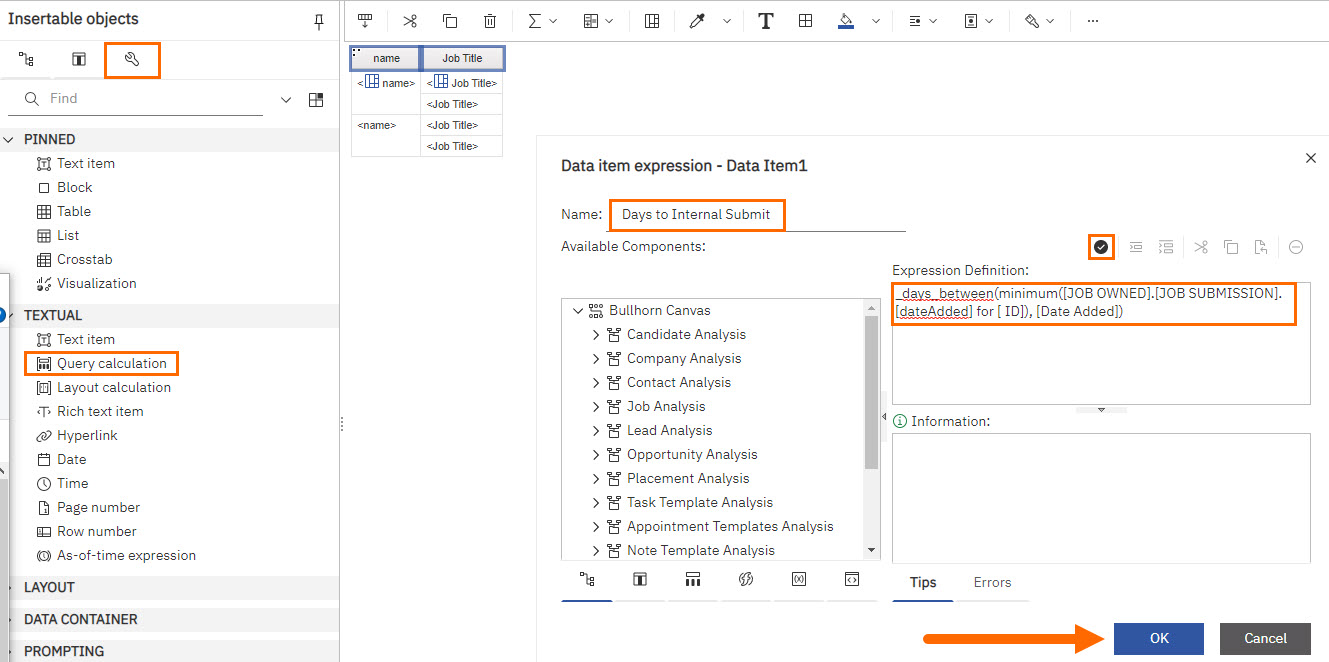
- Under Insertable Objects, from the Toolbox > Textual, double-click Query calculation.
- In the Data item expression - Data Item1 pop-up, for the Name, type “Days to Internal Submit”.
- In the Expression Definition box, type the below expression:Copy
(_days_between(minimum([JOB OWNED].[JOB SUBMISSION].[dateAdded] for [JOB ID]), [Date Added] ) - Click Validate.
- Fix and errors that come up, then click OK.
- Under Insertable Objects, from the Toolbox > Textual, double-click Query calculation.
- In the Data item expression - Data Item1 pop-up, for the Name, type “Days to Client Submit”.
-
In the Expression Definition box, type the below expression:
Copy(_days_between(minimum([Client Submission Date] for [Job ID]), [Date Added]) - [Days to Internal Submit] ) -
Click Validate.
- Fix and errors that come up, then click OK.
- Under Insertable Objects, from the Toolbox > Textual, double-click Query calculation.
- In the Data item expression - Data Item1 pop-up, for the Name, type “Days to Interview”.
-
In the Expression Definition box, type the below expression:
Copy(_days_between(minimum([Interview Date Added] for [Job ID]), [Date Added]) - [Days to Client Submit] ) -
Click Validate.
- Fix and errors that come up, then click OK.
- Under Insertable Objects, from the Toolbox > Textual, double-click Query calculation.
- In the Data item expression - Data Item1 pop-up, for the Name, type “Days to Placement".
-
In the Expression Definition box, type the below expression:
Copy(_days_between(minimum([Placement Date Added] for [Job ID]), [Date Added]) - [Days to Interview] ) - Click Validate.
- Fix and errors that come up, then click OK.
Filtering the List
Finally, we want our report to only show data when a job actually exists for our users. Otherwise, will print all of our users with blank data due to our use of the User Analysis Package.
Steps
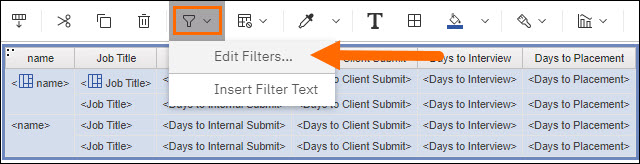
- Select Filters from the toolbar and choose Edit Filters….
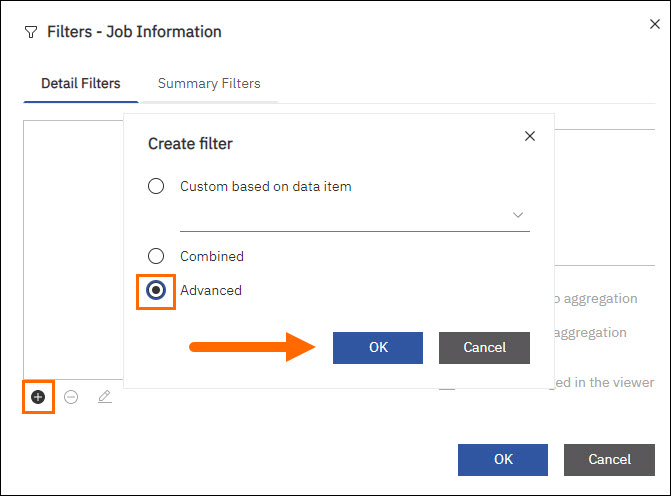
- In the Filter - Job Information pop-up, click Add.
-
In the Create filter pop-up, select Advanced and then click OK.
-
In the Expression Definition box, type the below expression:
Copy[Job Title] is not missing - Click Validate.
- Fix and errors that come up, then click OK and OK again.
- You may now Save and Run your report.
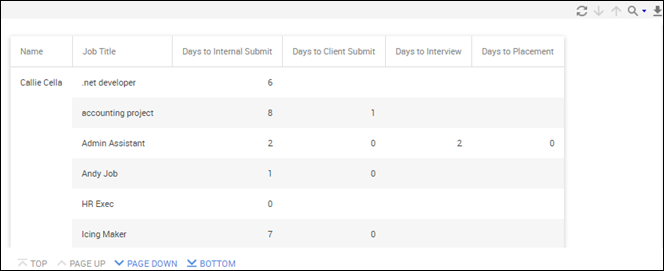
You now have a report that tells you how many days it took for a job to move from one workflow step to another. You can further enhance your report by Linking to Bullhorn Records in Bullhorn Reporting (Previously Canvas).