Groups for Automations
Groups in Bullhorn Automation allow you to organize and manage your workflows more effectively. This guide explores how to create, assign, and use groups to streamline automation management. By categorizing your automations into groups, you can improve organization, enhance collaboration, and easily track related workflows. Whether you’re managing automations for different teams, projects, or business goals, this article provides the insights you need to leverage groups for a more efficient automation experience.
Accessing and Managing Groups
There are three ways to access and manage the grouping functionality.
- The first way is by clicking the blue Manage link above your Automation List.
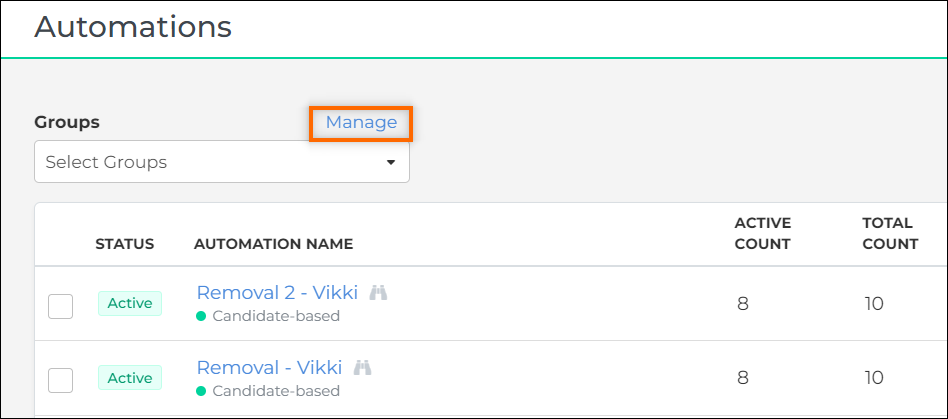
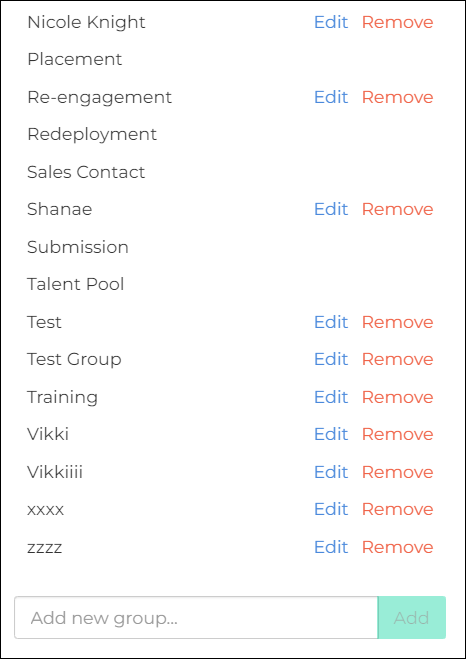
- This will take you to the Manage Groups area which is the overview of all of your Automation groups. Here you can add new groups, edit existing groups, or remove existing groups.
- This will take you to the Manage Groups area which is the overview of all of your Automation groups. Here you can add new groups, edit existing groups, or remove existing groups.
- The second way is by clicking the Select Action button next to the automation you would like to manage the groups for.
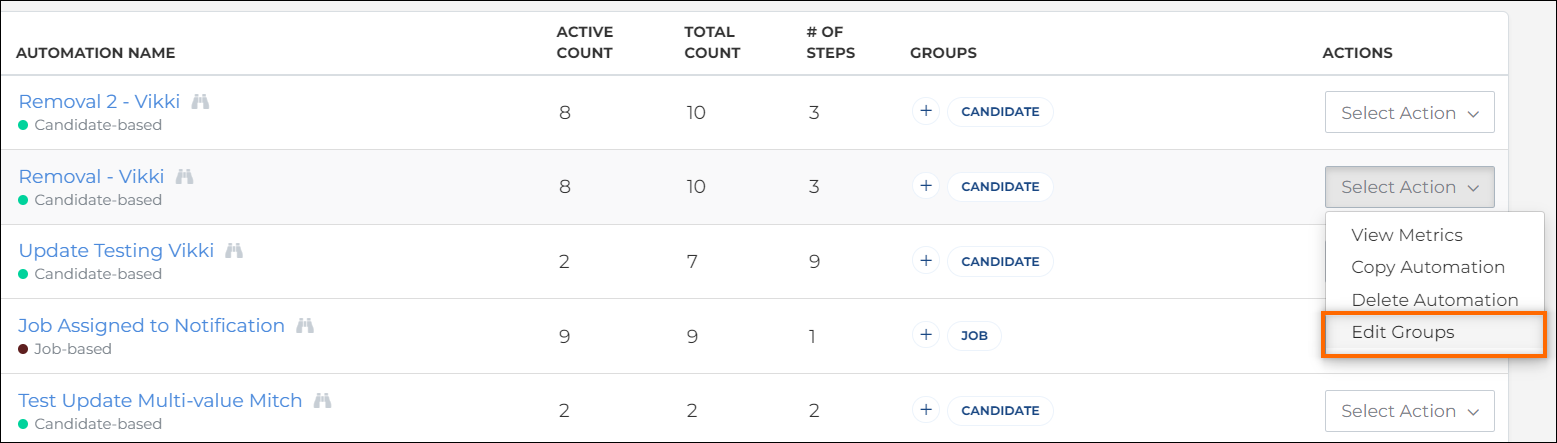
- This will take you to an area where you can select a group to add this automation to, or remove a group that this automation is associated with.
- This will take you to an area where you can select a group to add this automation to, or remove a group that this automation is associated with.
- The third way to manage automation groups is working inline, within the Groups column. Click the + button next to the automation you want to manage the groups for.
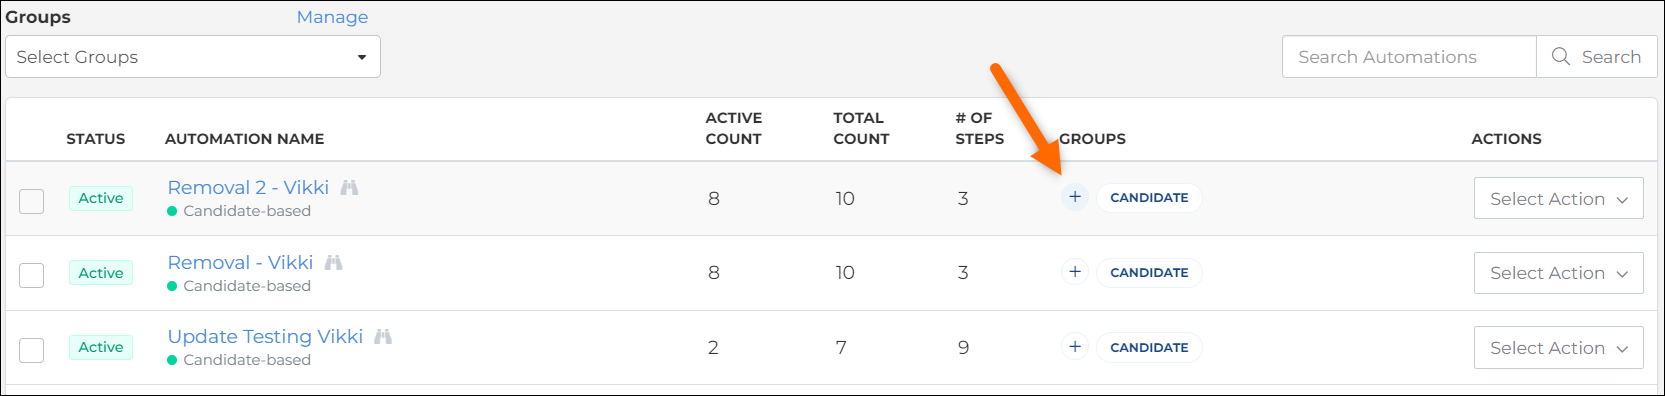
- Clicking the + button or selecting the Edit Groups action will take you to the Automation Groups page. There you can select which groups you'd like to put the automation in (as many as you'd like!) as well as quickly removing groups the automation was in.
- Clicking the + button or selecting the Edit Groups action will take you to the Automation Groups page. There you can select which groups you'd like to put the automation in (as many as you'd like!) as well as quickly removing groups the automation was in.
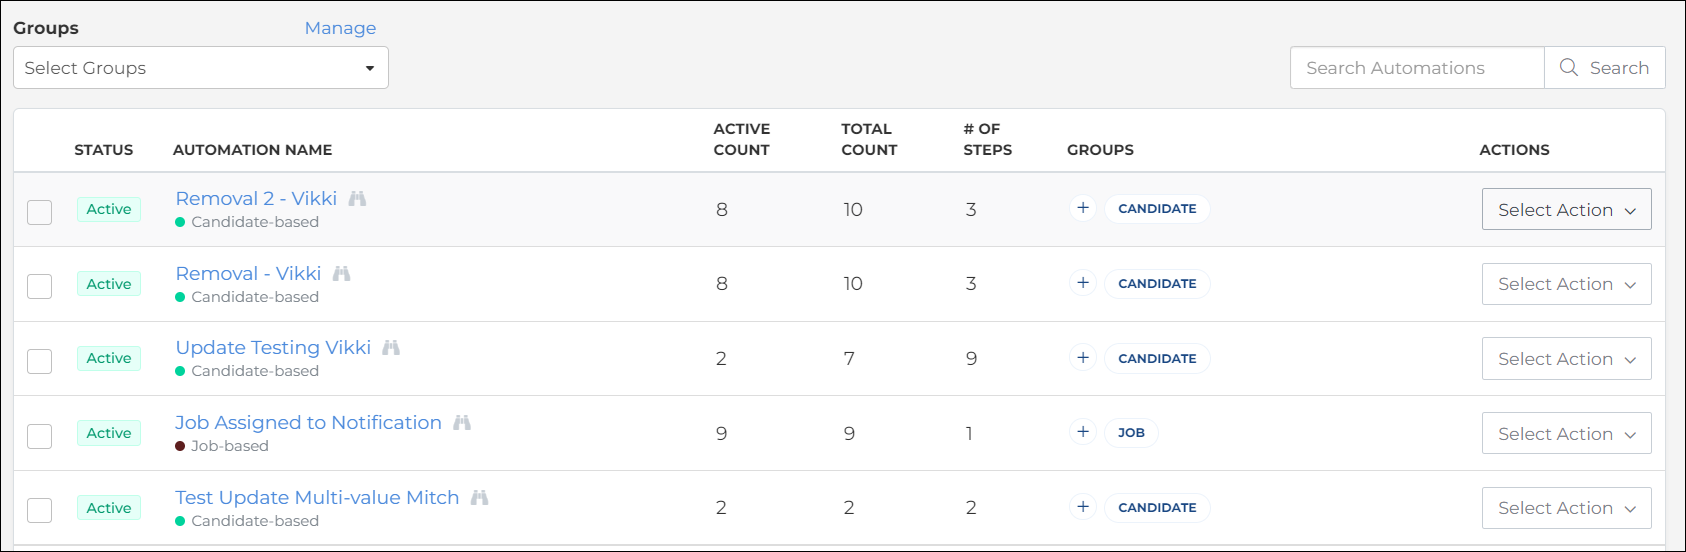
After you have sorted your automations into groups, you are able to select which group(s) you'd like to view. Selecting more than one group will display any automations in either group. You'll also notice that the groups each automation belongs to will be displayed in the automation overview page.