Creating a Manual Invoice
Overview
While Bullhorn Back Office automates the creation of invoices, there are still those times where you need to create a manual invoice. The following article illustrates how to create a manual invoice in Bullhorn Back Office.
Steps
- Navigate to the Receivables tab.

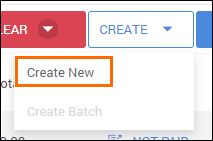
- Select the Create > Create New.
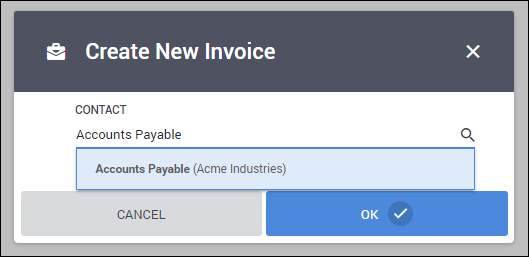
- In the Create New Invoice pop-up, search for and select the name of the billing contact.
- If you are just creating a "one-off" invoice that is not tied to any client, just select OK.
- Choose OK to proceed to the Invoice Editor.
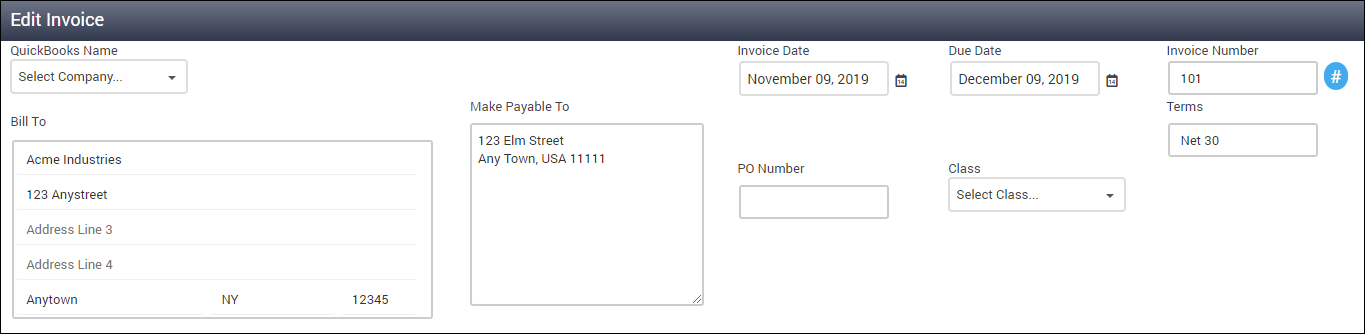
- In the Invoice Editor, the top section contains the contacts Bill To information and other details such as the invoice date, and terms.
- Make any changes to this information as necessary.
- To add a new line item to the invoice, select Add Line.
- In the new Line Item, complete the following information:
- Tax / Dis / Sur - If applicable, check the box if taxes, discounts, or surcharges should be applied to the line item.
- Placement - Choose the placement related to the line item.
- Source - Select what type of charge is being applied, such as regular time hours, overtime hours, expenses, etc.
- Item - Choose the appropriate item related to the line item.
- This is based on your Quickbooks or general ledger.
- Class - Select the appropriate class for the line item.
- This is based on your Quickbooks or general ledger.
- Date - Enter the date or week ending date the charge occurred.
- Description - Provide any additional information related to the charge.
- Quantity - This is typically the number of hours of a particular type worked.
- Rate - The dollar cost of the charge.
- Amount - this is automatically calculated based on the Quantity and Rate.

- If you would like to add a note to the line item section, select Add Note Line.
- In the new Note Line, you can only edit the Description field.

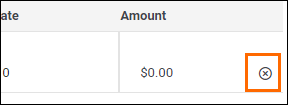
- To remove a line item or note line, select the X at the right-end of the row.
- To rearrange line items or note lines, select and drag the
 at the left of the row to the desired spot.
 - If you have any supporting documentation you would like to attach to the invoice, select Attachments to upload the files.
- Once you are done editing the invoice, select Save.

The invoice will now show on the receivables tab as Approved and can be emailed or printed.
Note: Unapproving an invoice that was created manually will erase the entire invoice. If you need to make changes to a manual invoice, you can open them in the editor without unapproving them first.
Discounts and Surcharges
If you have Discounts or Surcharges enabled, you can apply them to the invoice by selecting Add Discount or Add Surcharge and completing the available fields.