Editing an Invoice
Overview
This article contains steps and information pertaining to editing invoices.
Updating the invoice number to a higher number sequence can not be undone. The invoices will continue to follow that order unless all invoices are edited back to the initial sequence of numbers.
Steps
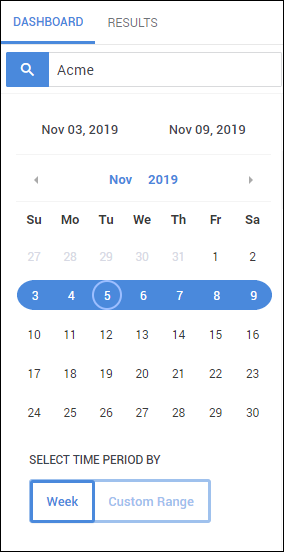
- Navigate to the Receivables tab.
- Search for the invoice you would like to edit using the calendar, search box, and column filters.
- After locating the invoice, select the binoculars
 to open the Invoice Editor.
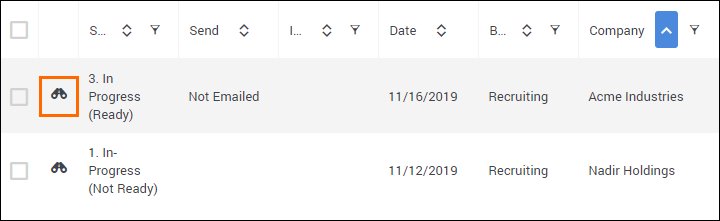
- Update the invoice as needed. You can use the Invoice Editor to add additional information as necessary:
- Add Line - This allows you to add another line to the invoice that contains billable hours. This line can also be set to Taxable or Not Taxable.
- Add Note Line - Adding a Note creates a line that does not have any values associated with it but shows up on the Invoice.
- Add Tax - Although taxes can be added as part of the Company tab or Manager tab, you can use this to manually add a tax.
- Attachment - If additional documentation is related to this Invoice, you can use this to upload those documents.
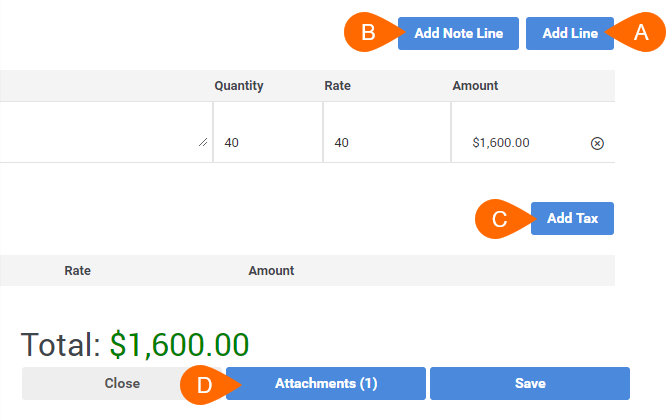
- Once you are finished with your edits, select Save to confirm your changes.
If the modified invoice is unapproved, it will revert back to system generated values and the changes will be lost.
Example: If a timesheet was updated after the invoice was initially approved, but you already made an edit that you wish to keep, you will want to repeat the steps above to edit the invoice again to reflect the changes on the timesheet.
Was this helpful?