Marking Invoices as Paid
Overview
Bullhorn Back Office provides two methods for marking invoices as "Paid" - either directly within BBO or through the integration with QuickBooks Desktop. This article covers both methods.

Note: This feature is not compatible with QuickBooks Online. If you are using QuickBooks Online, use Method 1 to manually mark the invoices as paid.
Before You Begin
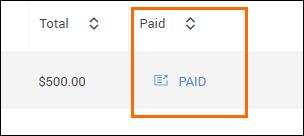
If you do not have a Paid column on your Receivables tab, please contact Bullhorn Back Office Support to have it enabled.
Steps
Method 1: Manually marking an invoice as "Paid"
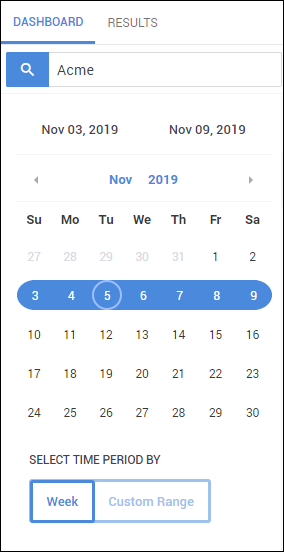
- From the Receivables tab, search for the invoice to be marked as Paid using the calendar, Search box, and column filters.
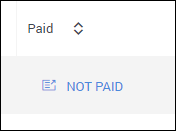
- In the Paid column, select Not Paid.
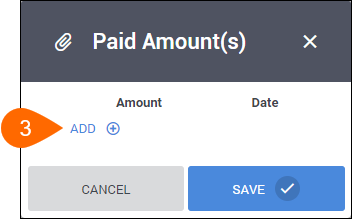
- In the Paid Amount(s) pop-up, choose Add to add a payment line.
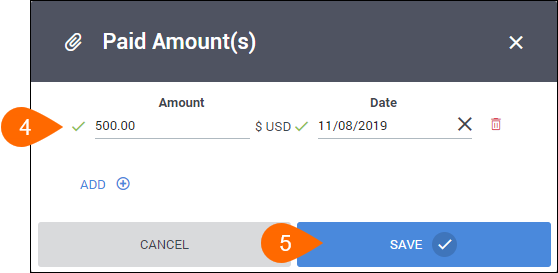
- Enter in the Amount and Date of the payment.
- If multiple or split payments were made, you can select the Add button again to add additional payment lines.
- If a payment was entered in error, you can select
 to delete the line.
- Select Save to confirm the payment.
- The invoice will now display as "Paid" on the Receivables tab.
Method 2: Marking invoices as paid in QuickBooks Desktop
Note: This feature is only compatible with QuickBooks Desktop. If you are using QuickBooks Online, use Method 1 to manually mark the invoices as paid.
The QuickBooks Web Connector will automatically refresh the Bullhorn Back Office data once an invoice has been paid through QuickBooks Desktop.